
Good morning, blog readers! This morning I’m writing about my second attempt at the Banana loaf. While my last attempt was delicious, it broke apart while coming out of the pan. After receiving some excellent suggestions (thank you!) I used parchment paper at the bottom of the pan, which worked beautifully!
Also, because my eldest son was opposed to eating this in “loaf” form, I separated the recipe into two sections, one loaf, and one tray of muffins. He loved it!
You may be wondering why I chose to add “green” to my banana loaf. Well, allow me to tell you. I recently learned that I was iron deficient, so I am making an effort to eat more greens. While I understand that boiling spinach isn’t the healthiest (versus eating it raw), I wanted to experiment.
So there you have it, and here it is!
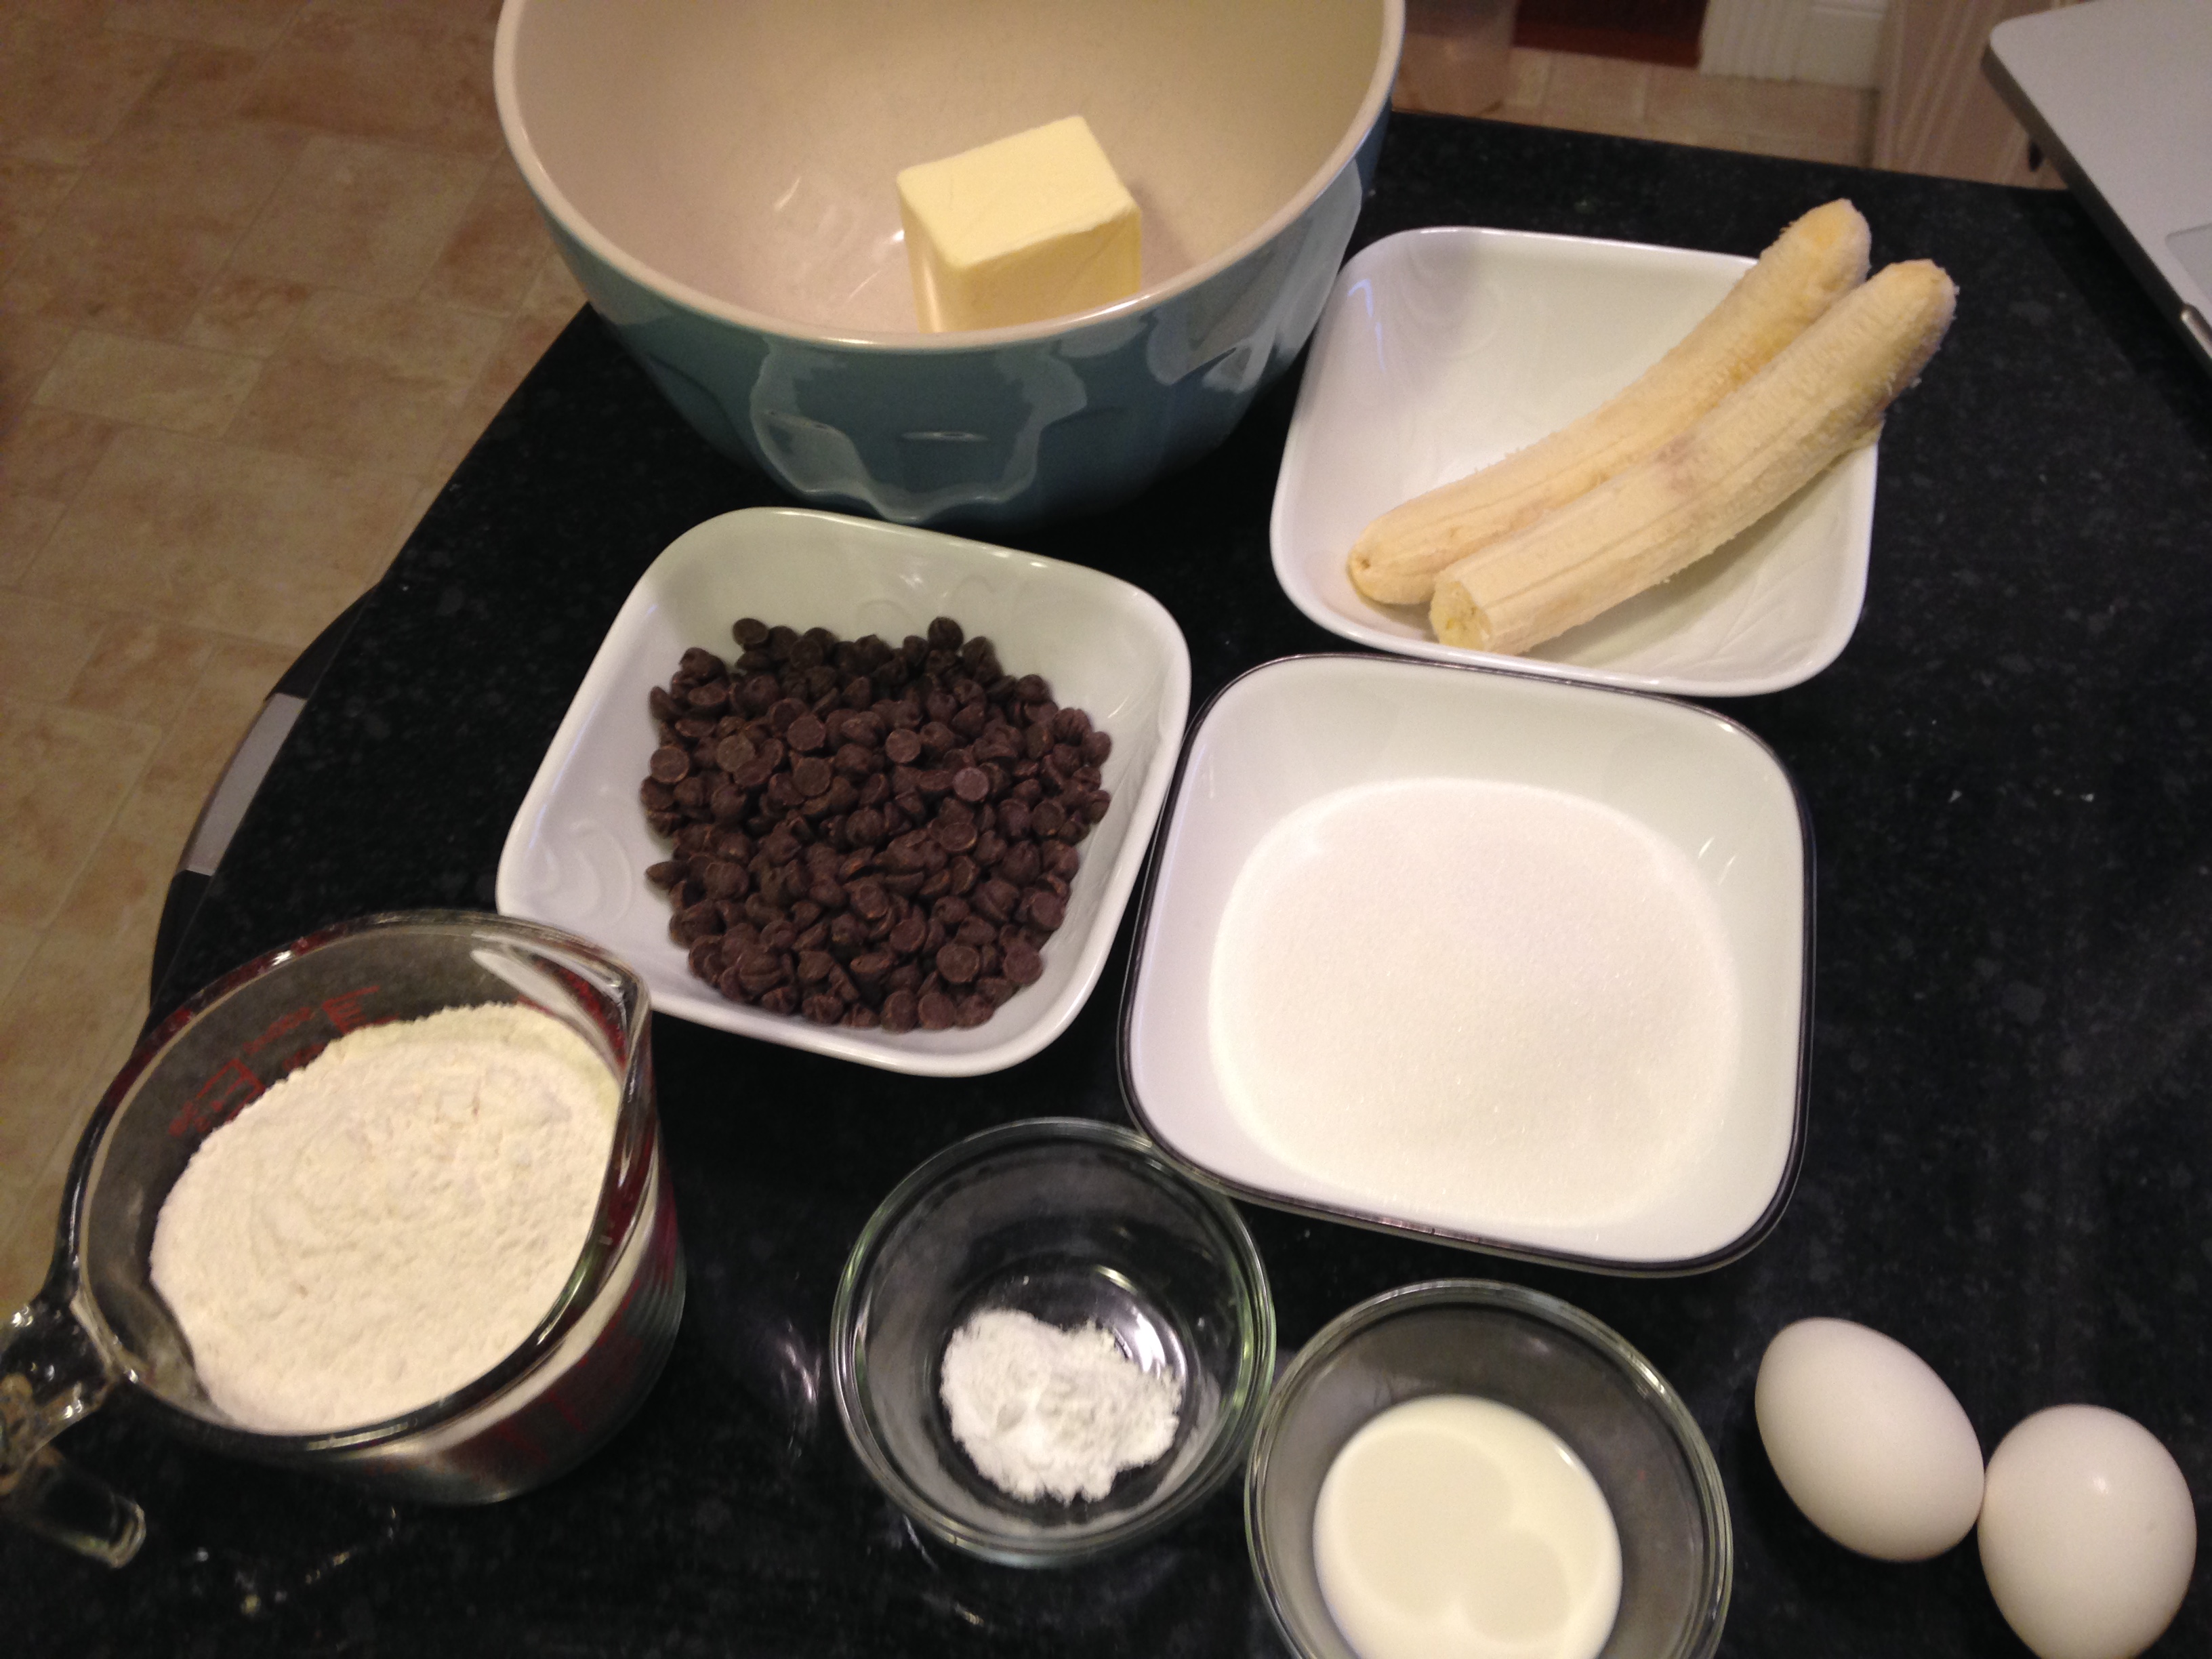
I followed my previous recipe:
– 3/4 cup of room temperature butter (again, I got impatient, so I popped it in the microwave for 15 seconds)
– 1 1/2 cups of sugar
– 2 cups flour
– 2 eggs
– 1 1/2 tablespoons of milk
– 3 ripe bananas (one of ours was rotten, so while I had originally thought I’d had enough, I only ended up with two)
– 1 teaspoon of baking soda
– Chocolate chips (the original recipe did not have a specific measurement here, so again, I guessed at the amount)
Here are the steps I took:
1. Preheat the oven to 350 degrees.
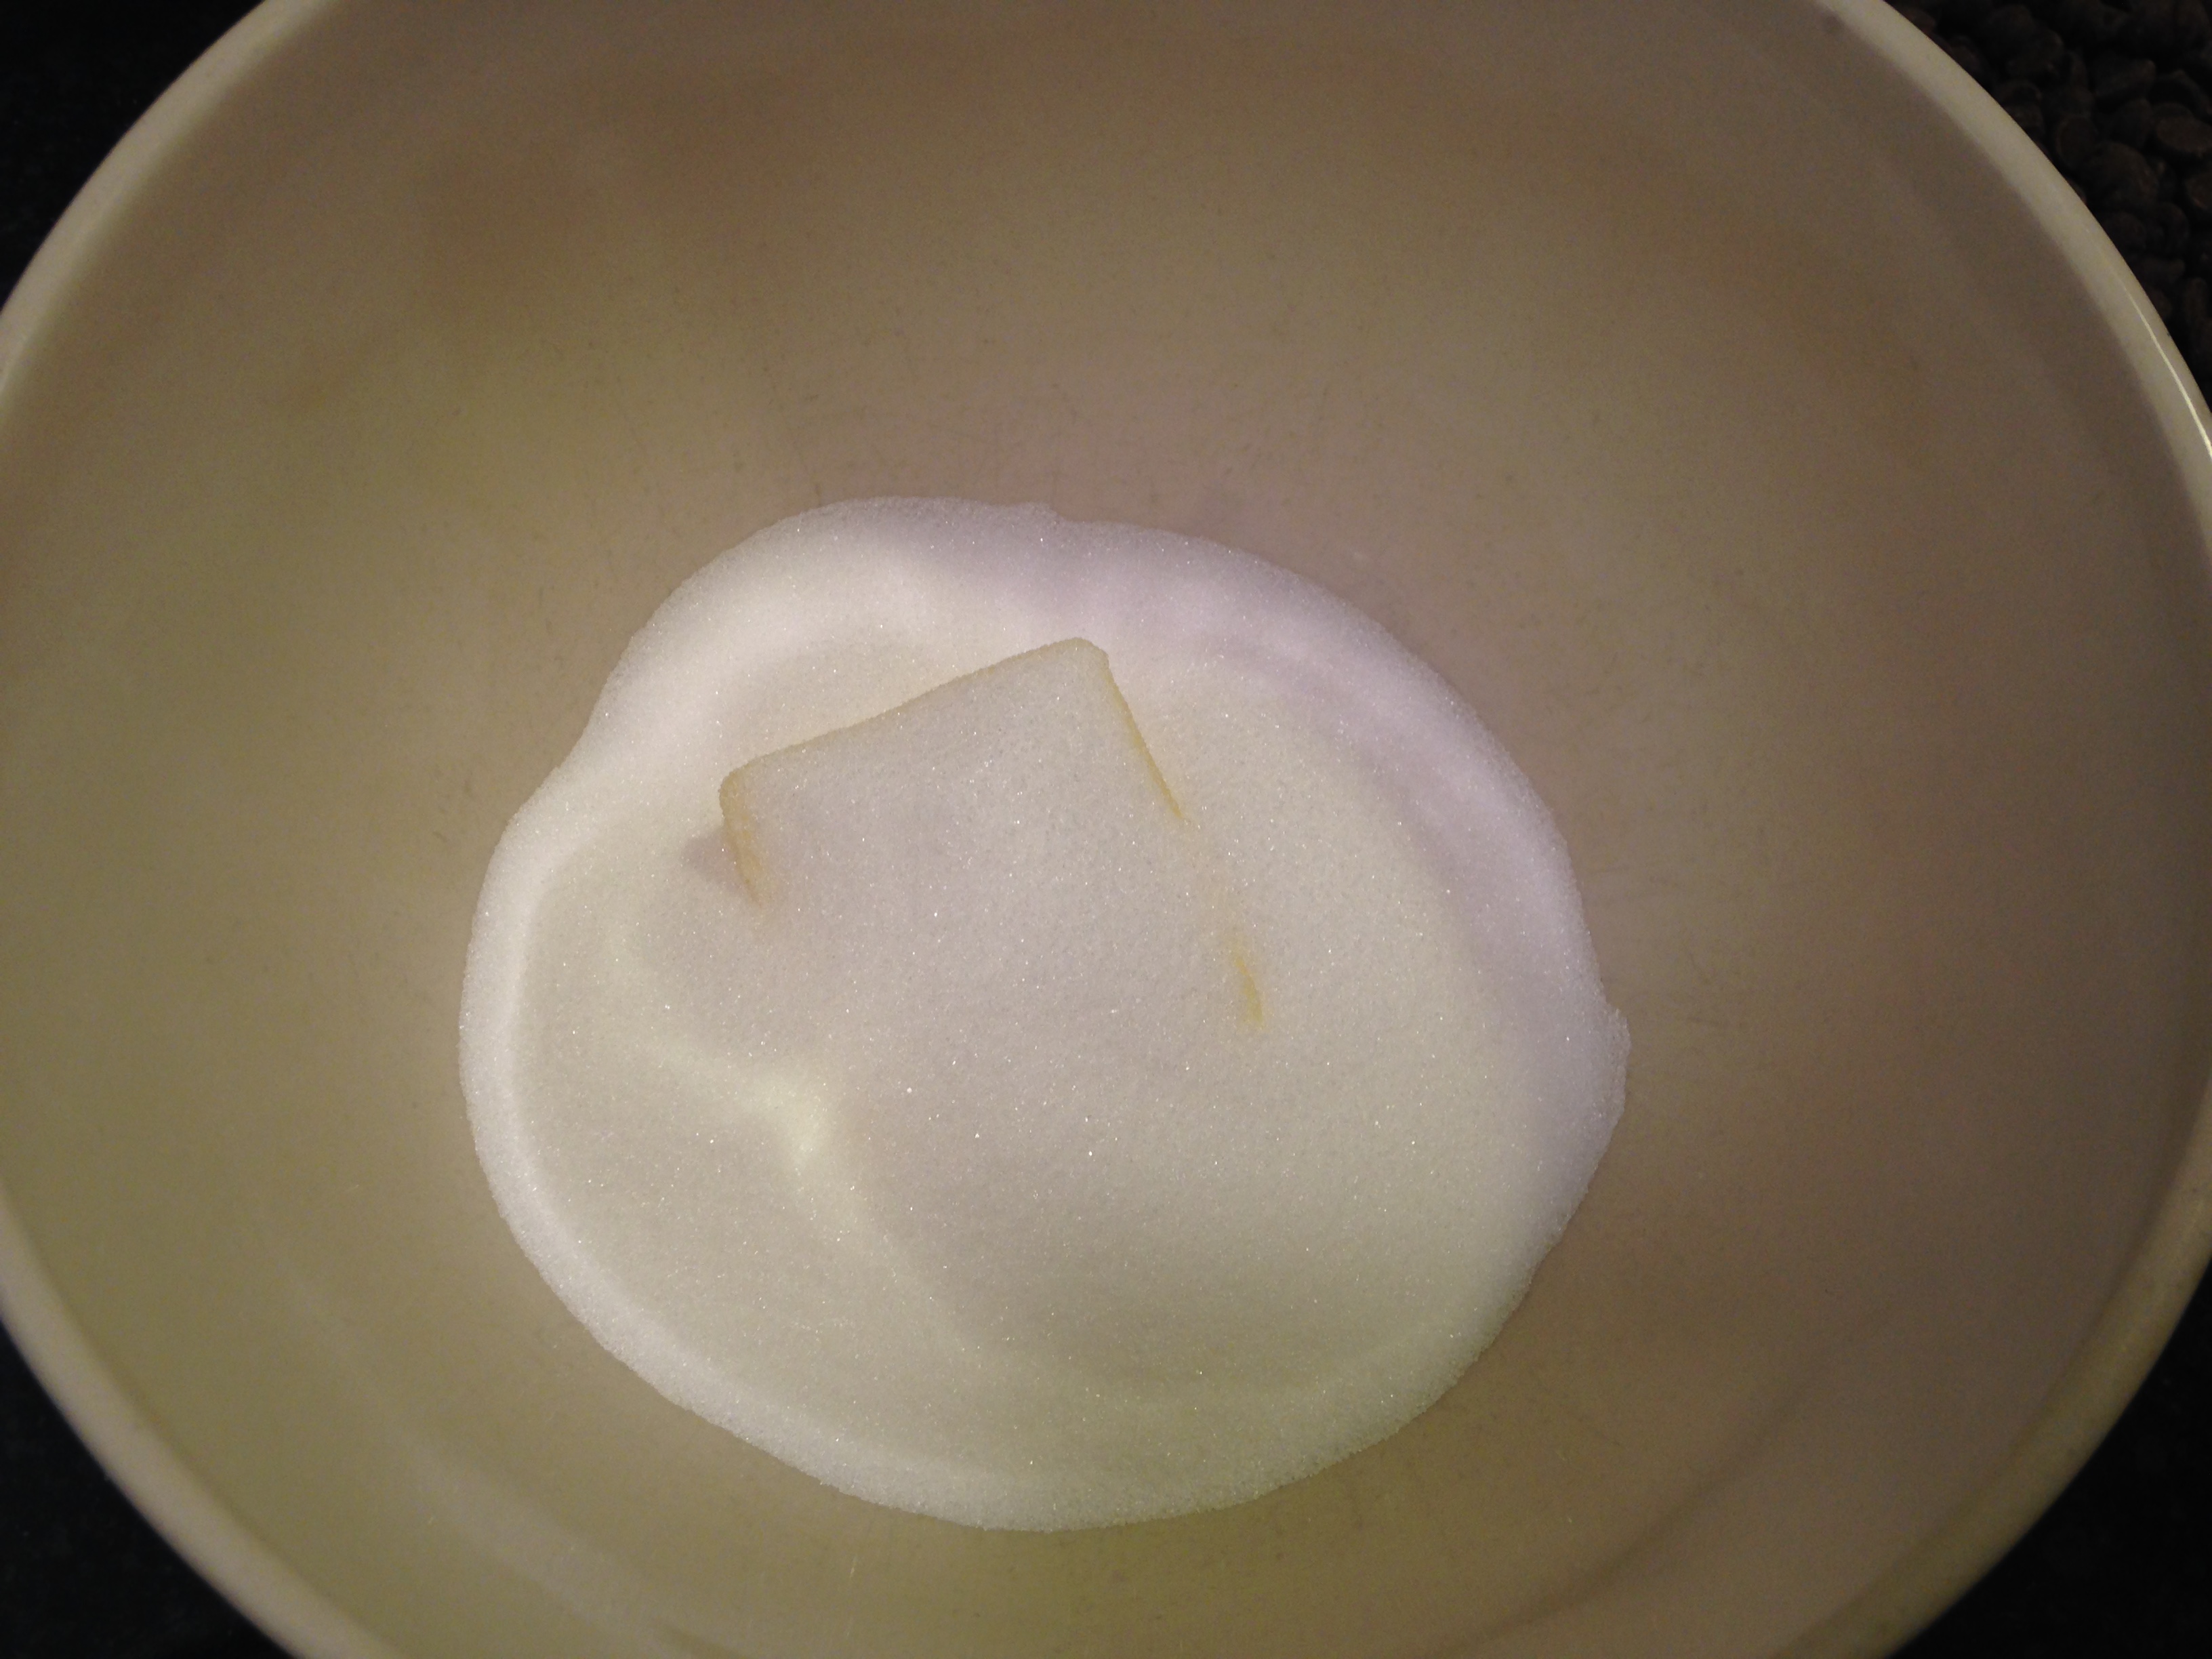
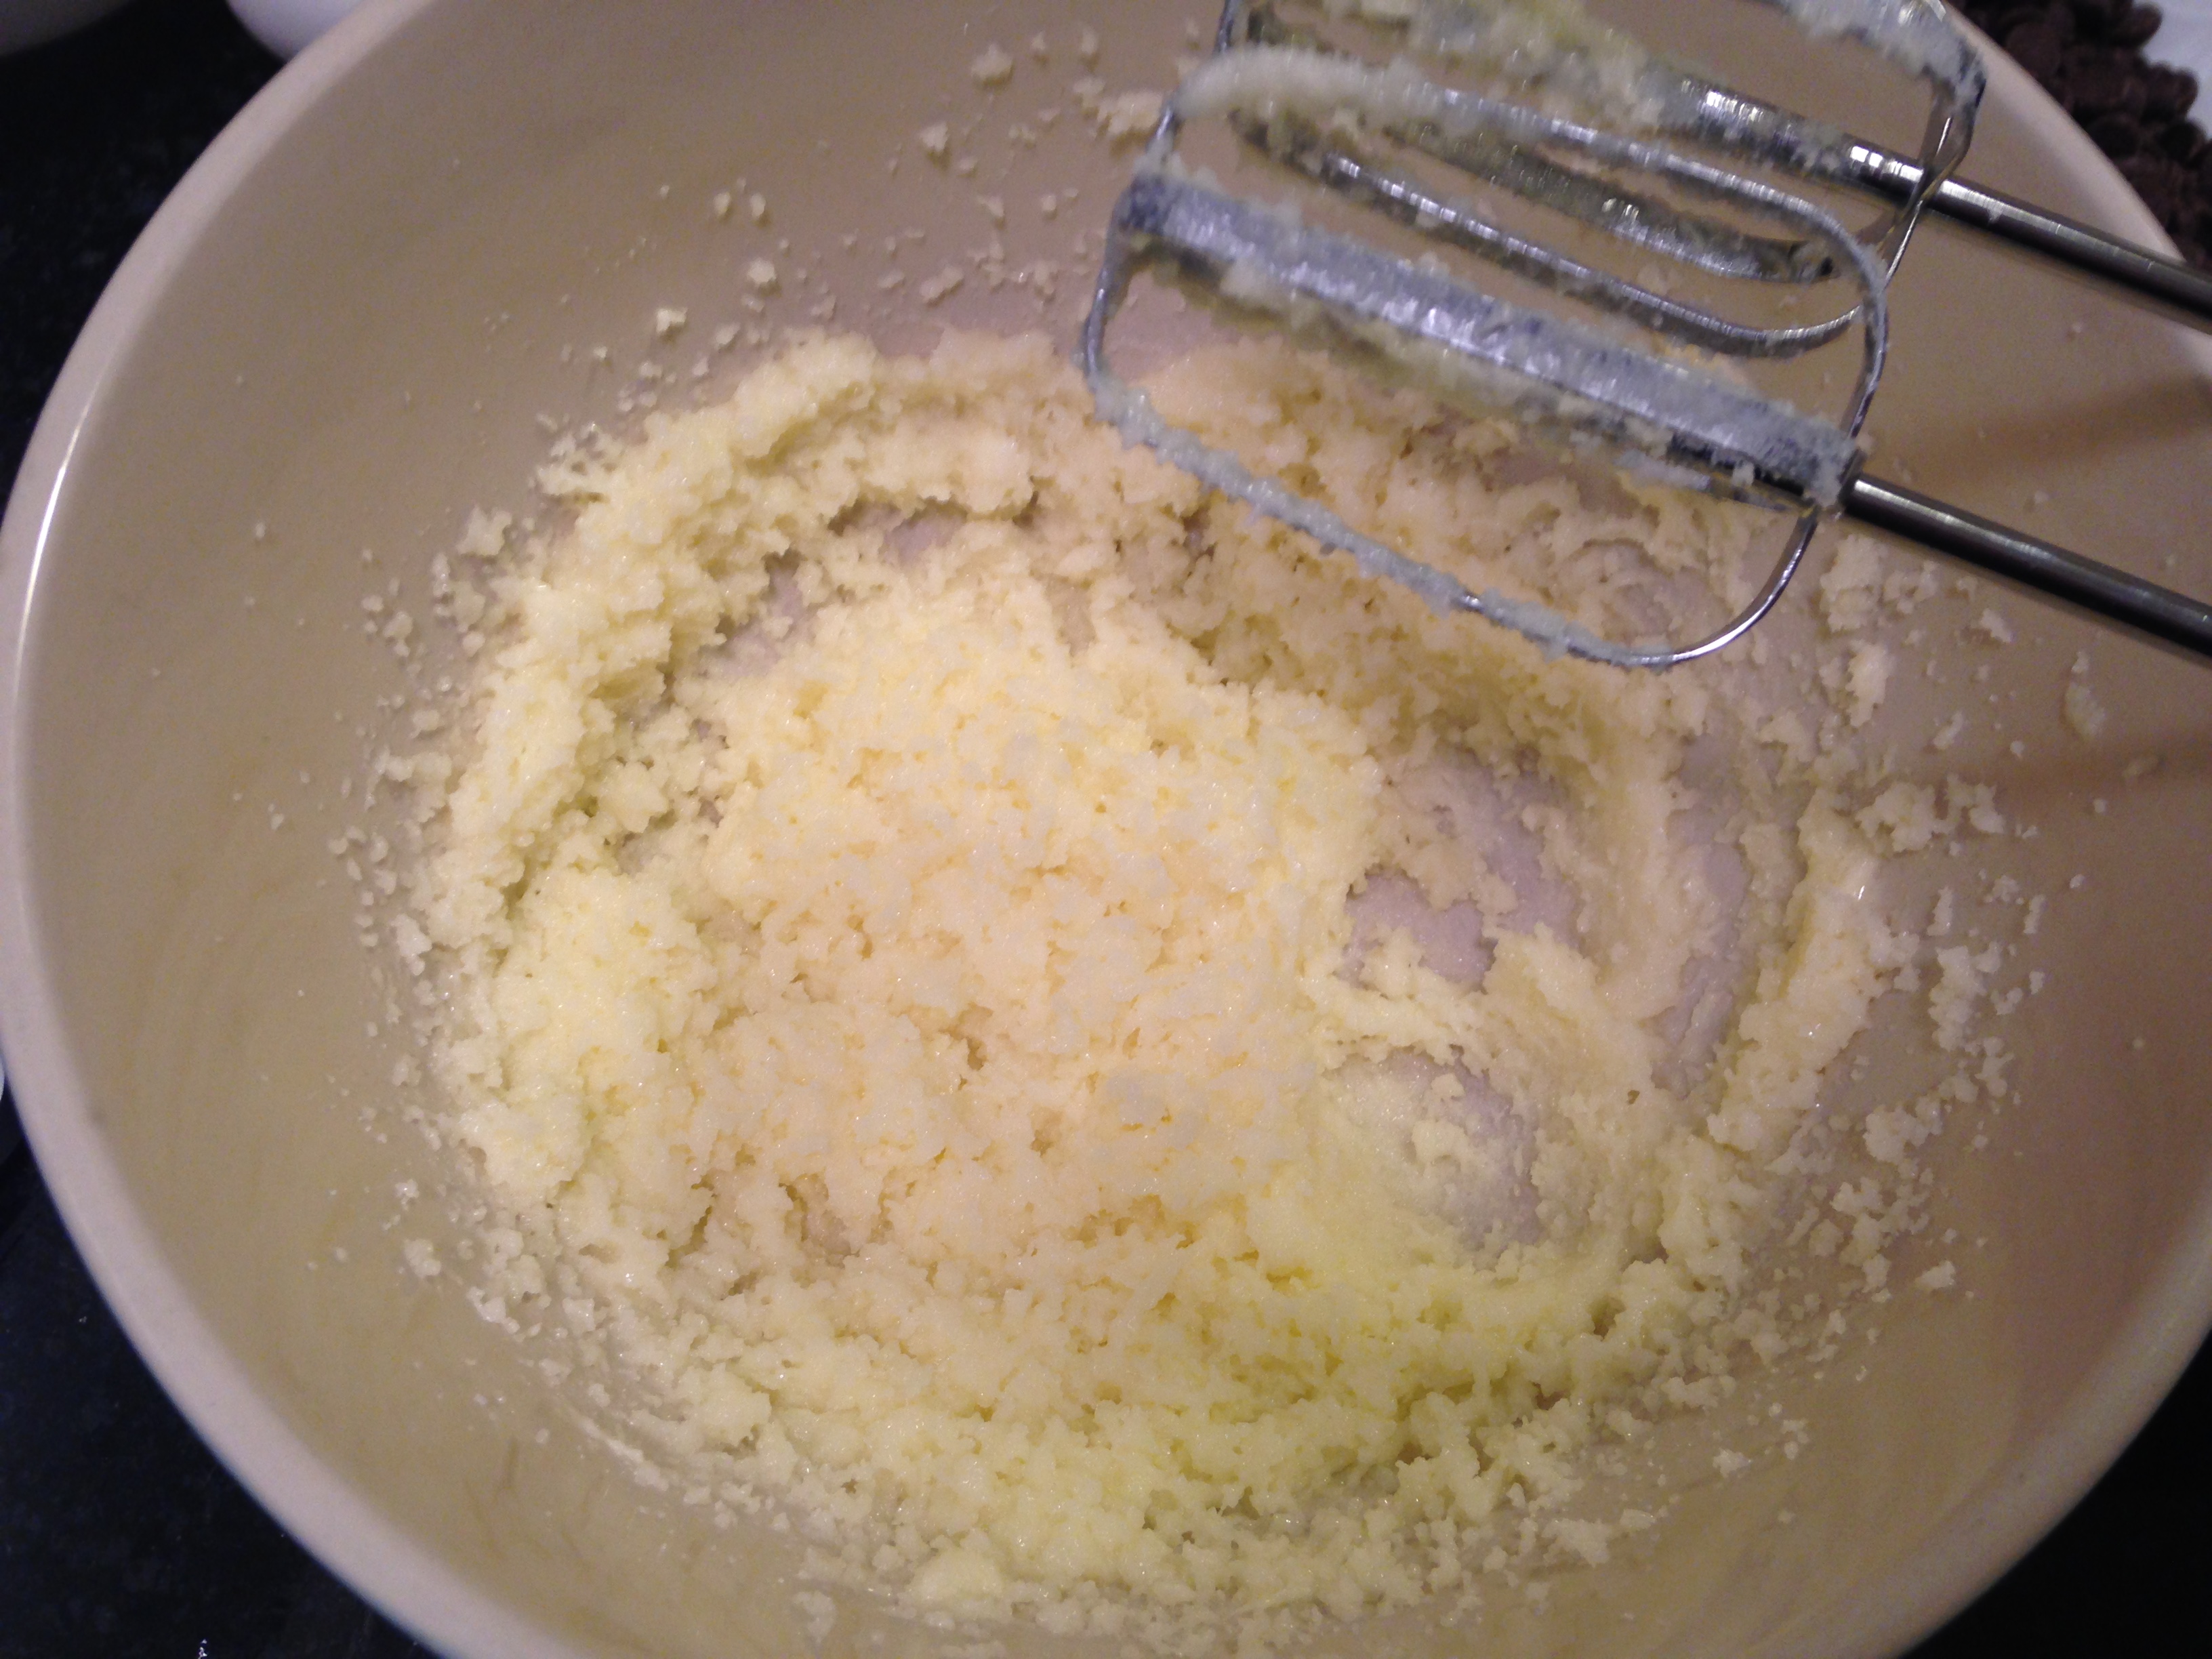
2. Combine, in a large bowl, the butter and sugar. Again, I used my mixer, which I love.
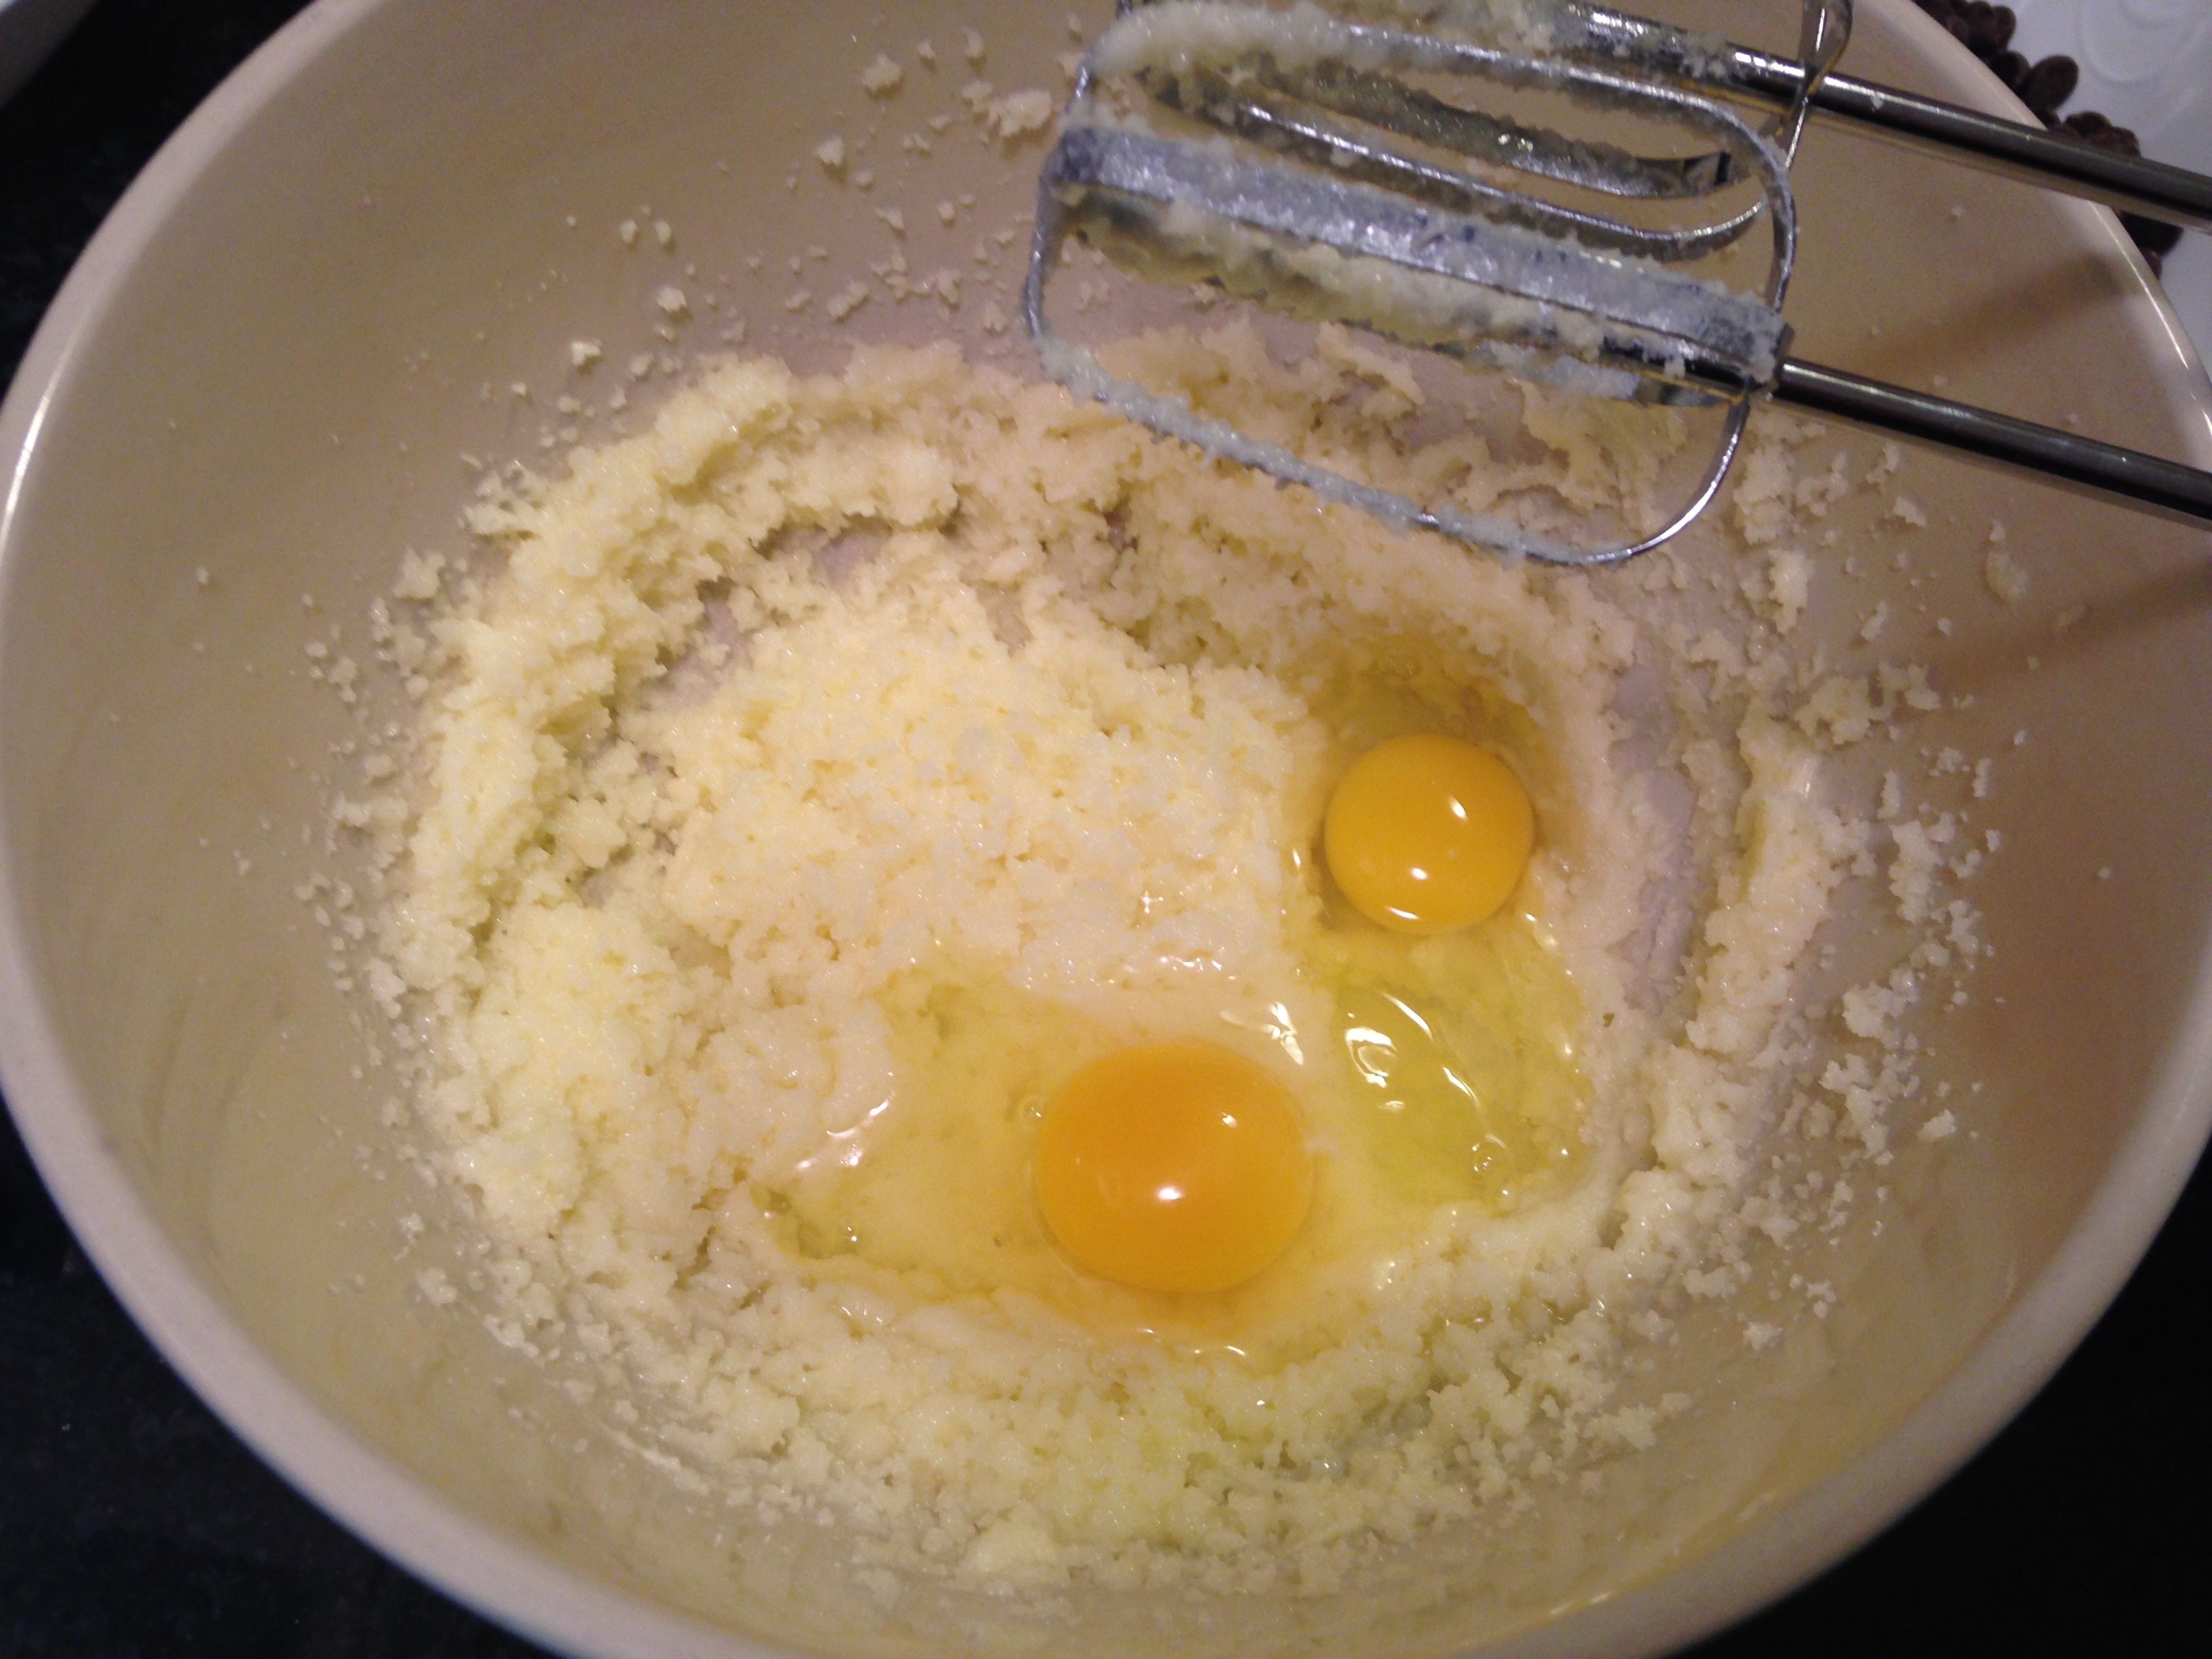
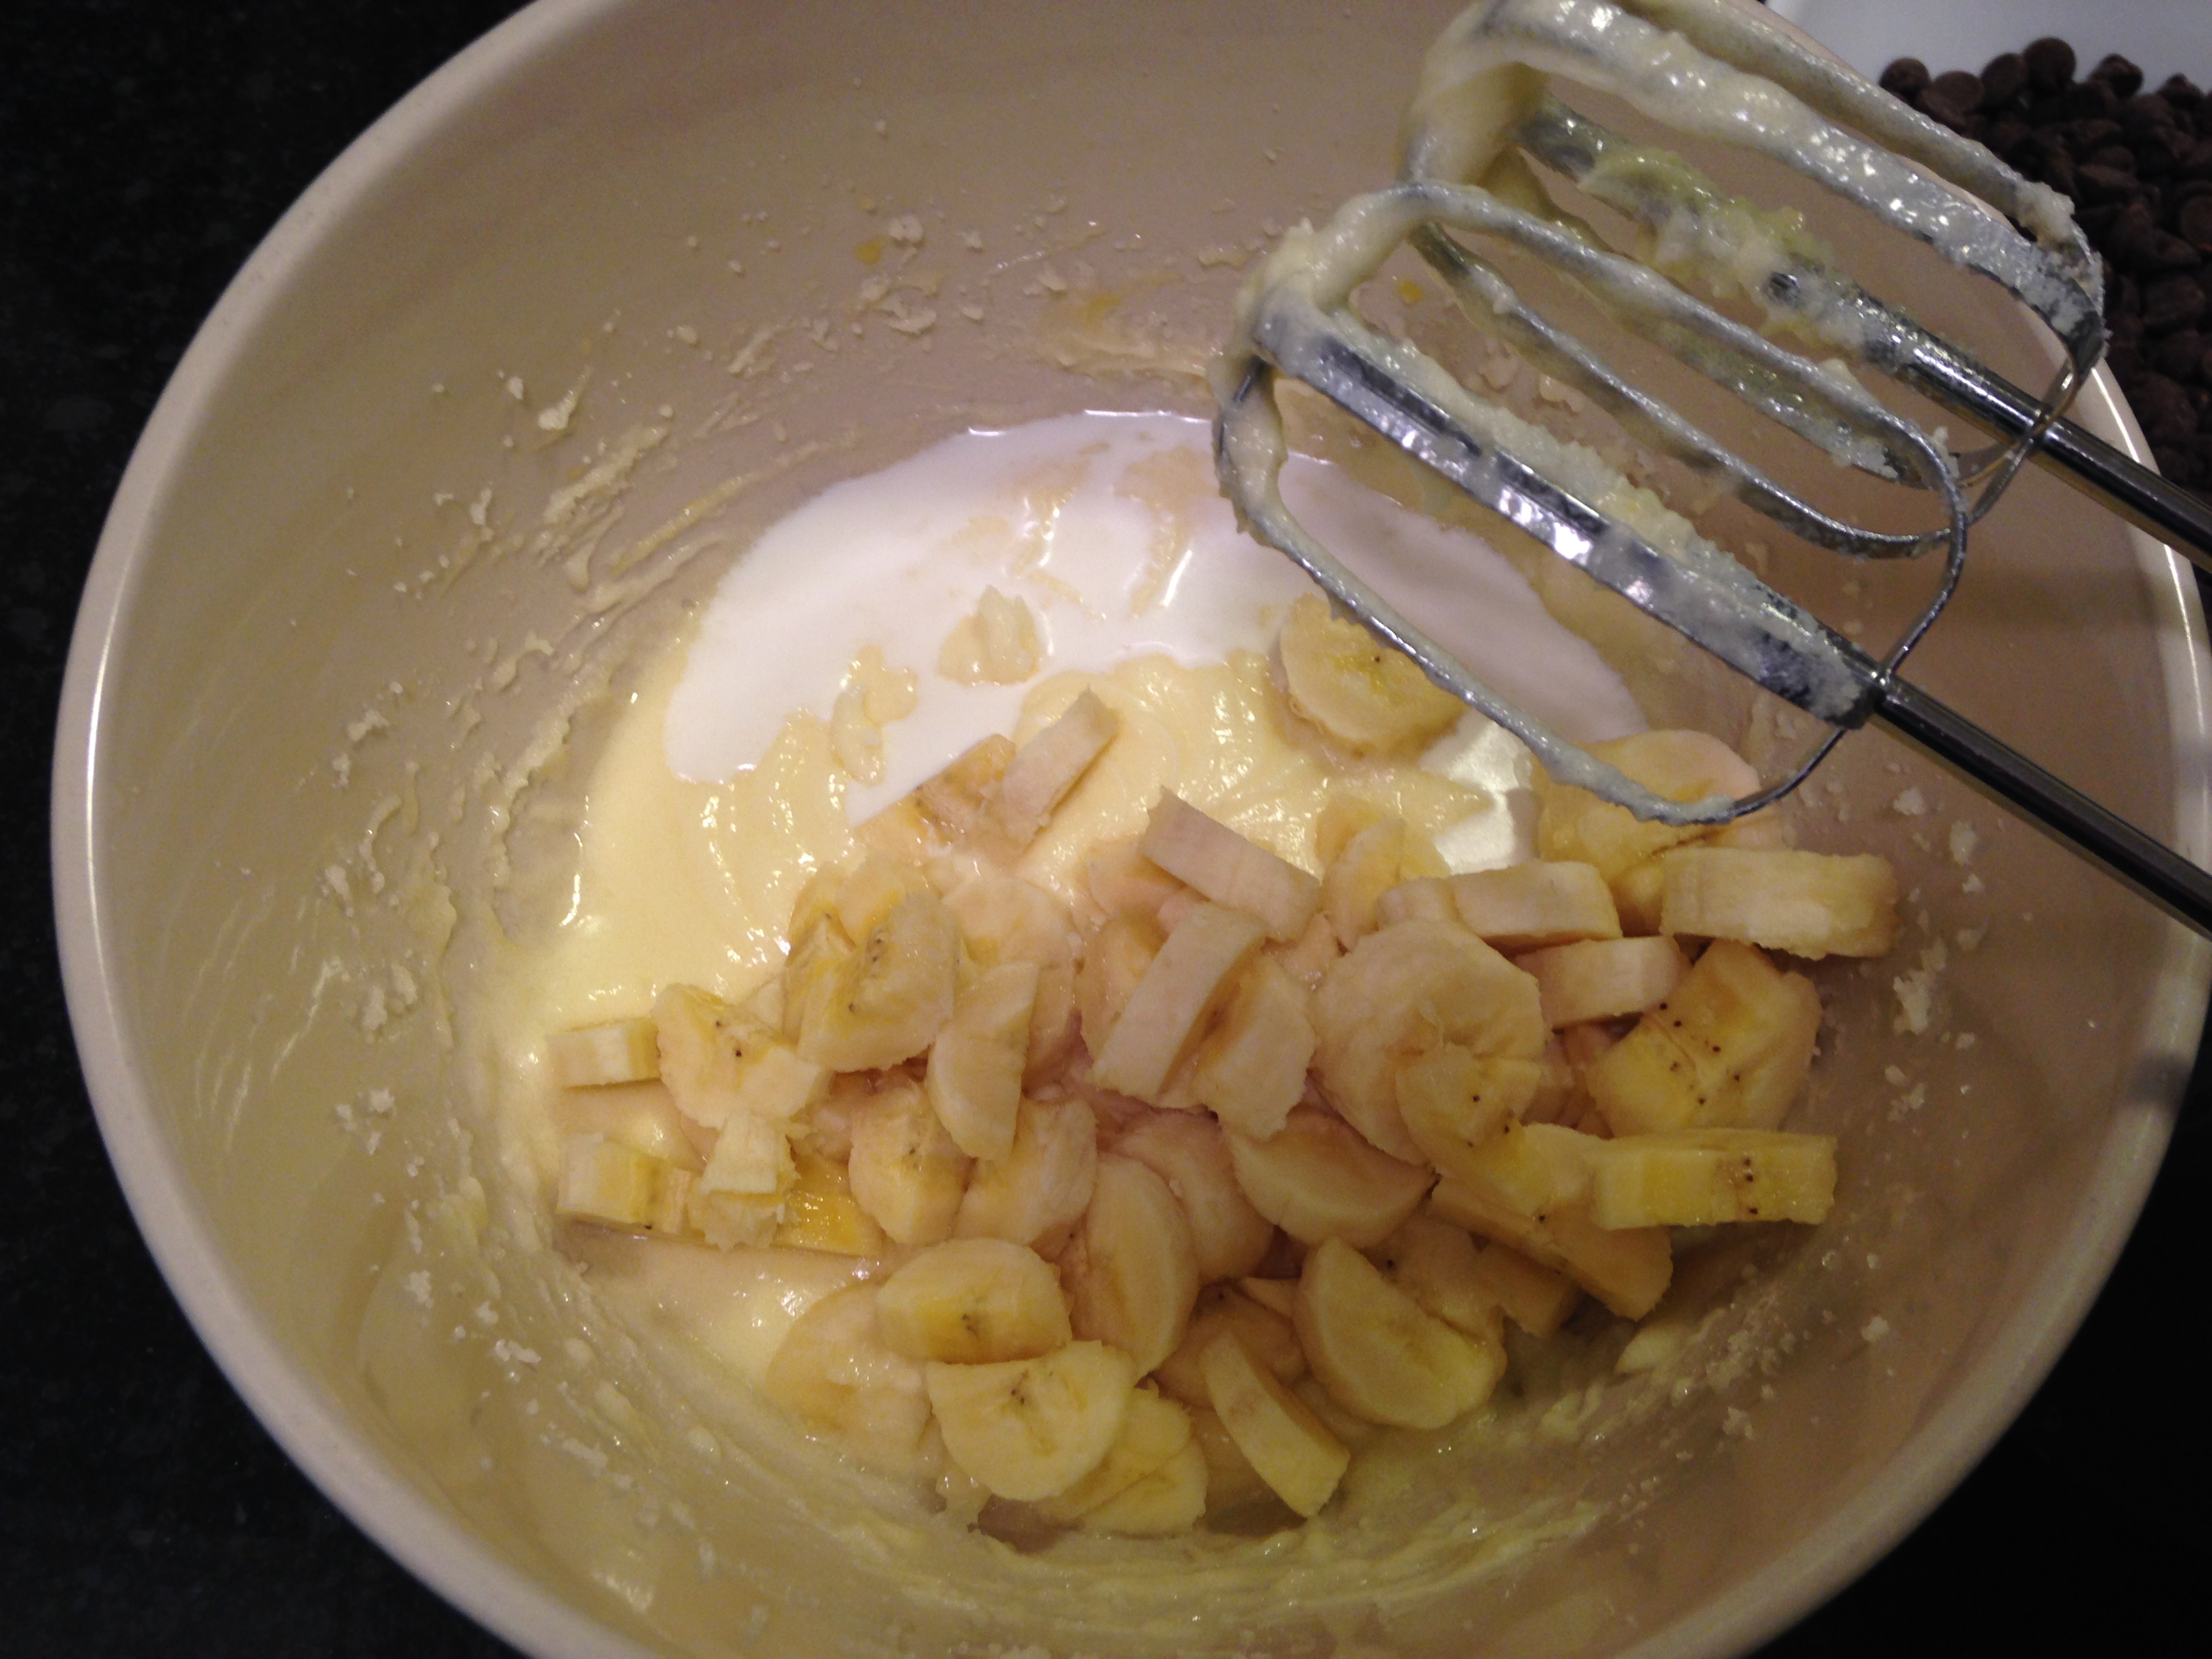
3. Add eggs and blend.

4. Add in the bananas and milk and mix well. It’ll be lumpy because of the bananas.

5. Add baking soda and flour (I mixed the two together before I put it in my mixture) and stir. *Note: remember, if you are using an electric hand mixer as I did, to switch to a mixing spoon because it will get too thick for your mixer.

6. Stir in chocolate chips. (I had helpers to add in the ingredients).

7. Next, I spooned the dough out into my muffin tray (a silicone one, which in my opinion, isn’t the best).


8. Put the tray in the oven and I cooked it for about 15 + minutes. *Note: I had to put them on a cookie sheet about half way through the cooking process because I noticed my cups overflowing.

9. While my muffins were cooking, I boiled my spinach.

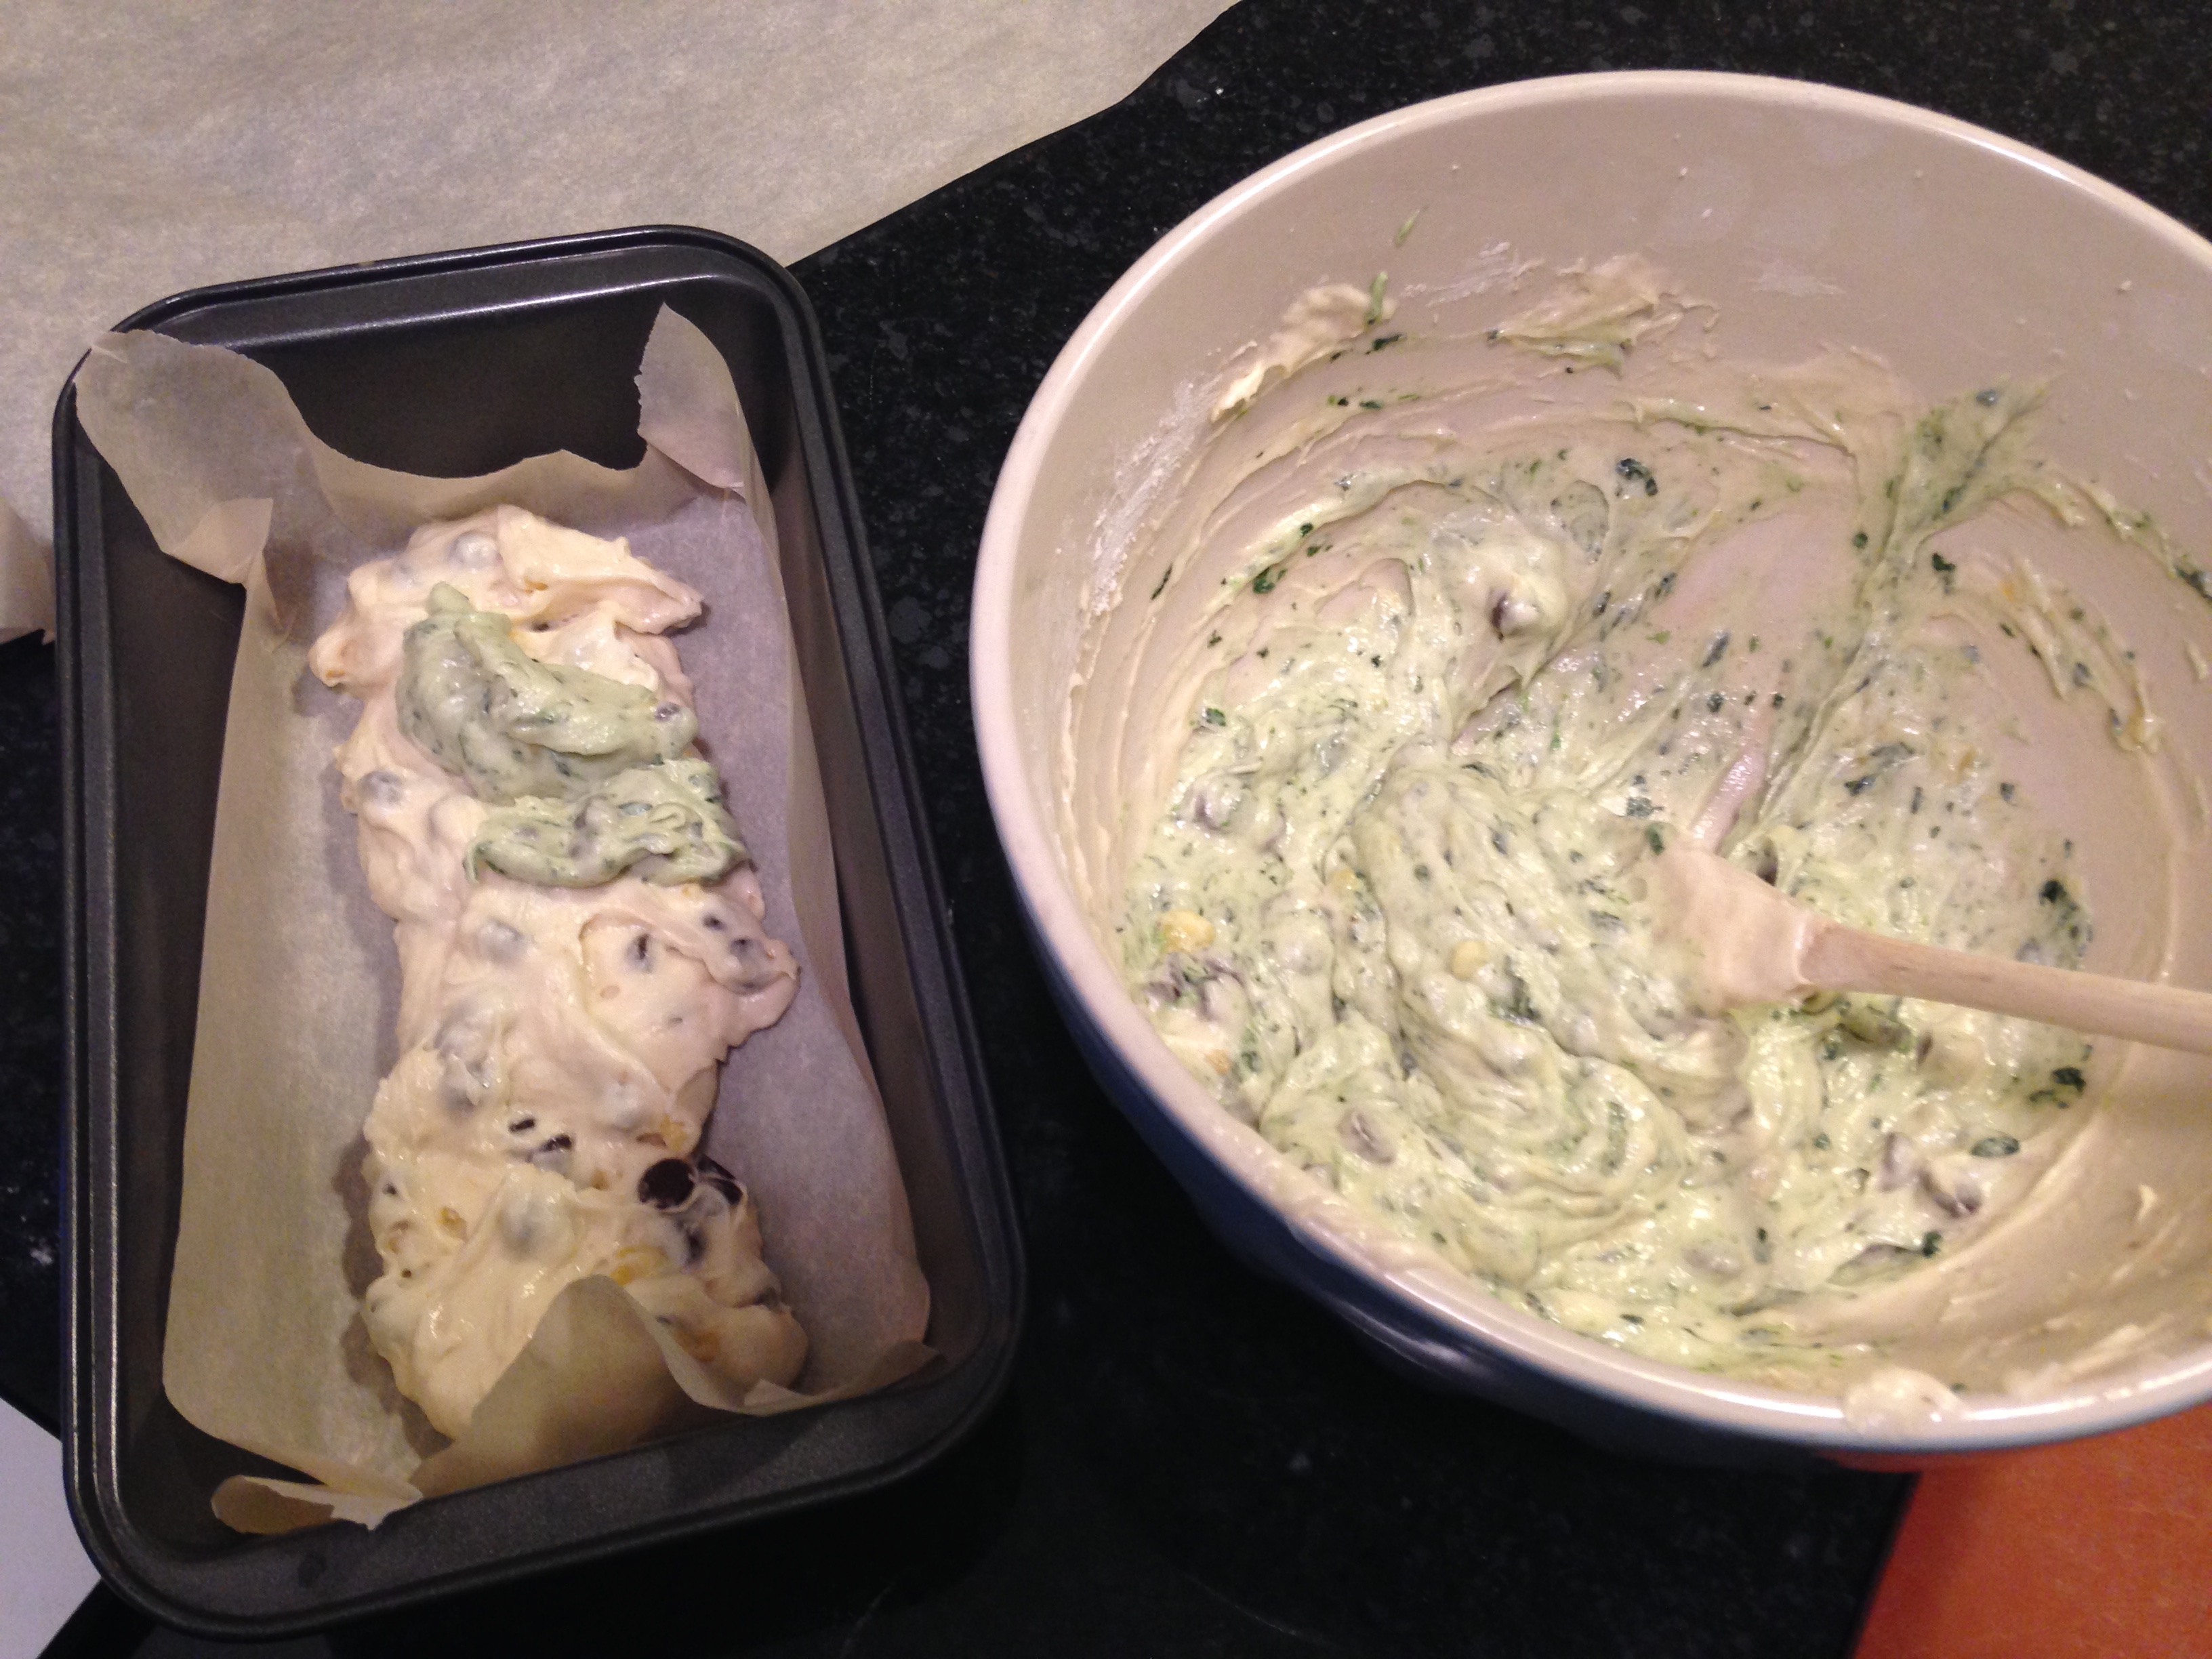
10. Once my spinach was cooked and strained, I tried putting it in my nutrabullet, which, let’s be honest here, didn’t do what I’d hoped it would in this particular case. So I took it out and chopped it.


11. Add spinach to the remaining dough, and mix. I don’t know why I decided to do it, but at first I mixed it with a smaller amount and put some of the spinach-free dough in the bottom of the bread pan. It made no sense, so I mixed the rest and put the whole amount in the pan.


12. Remove muffins from oven and let cool.

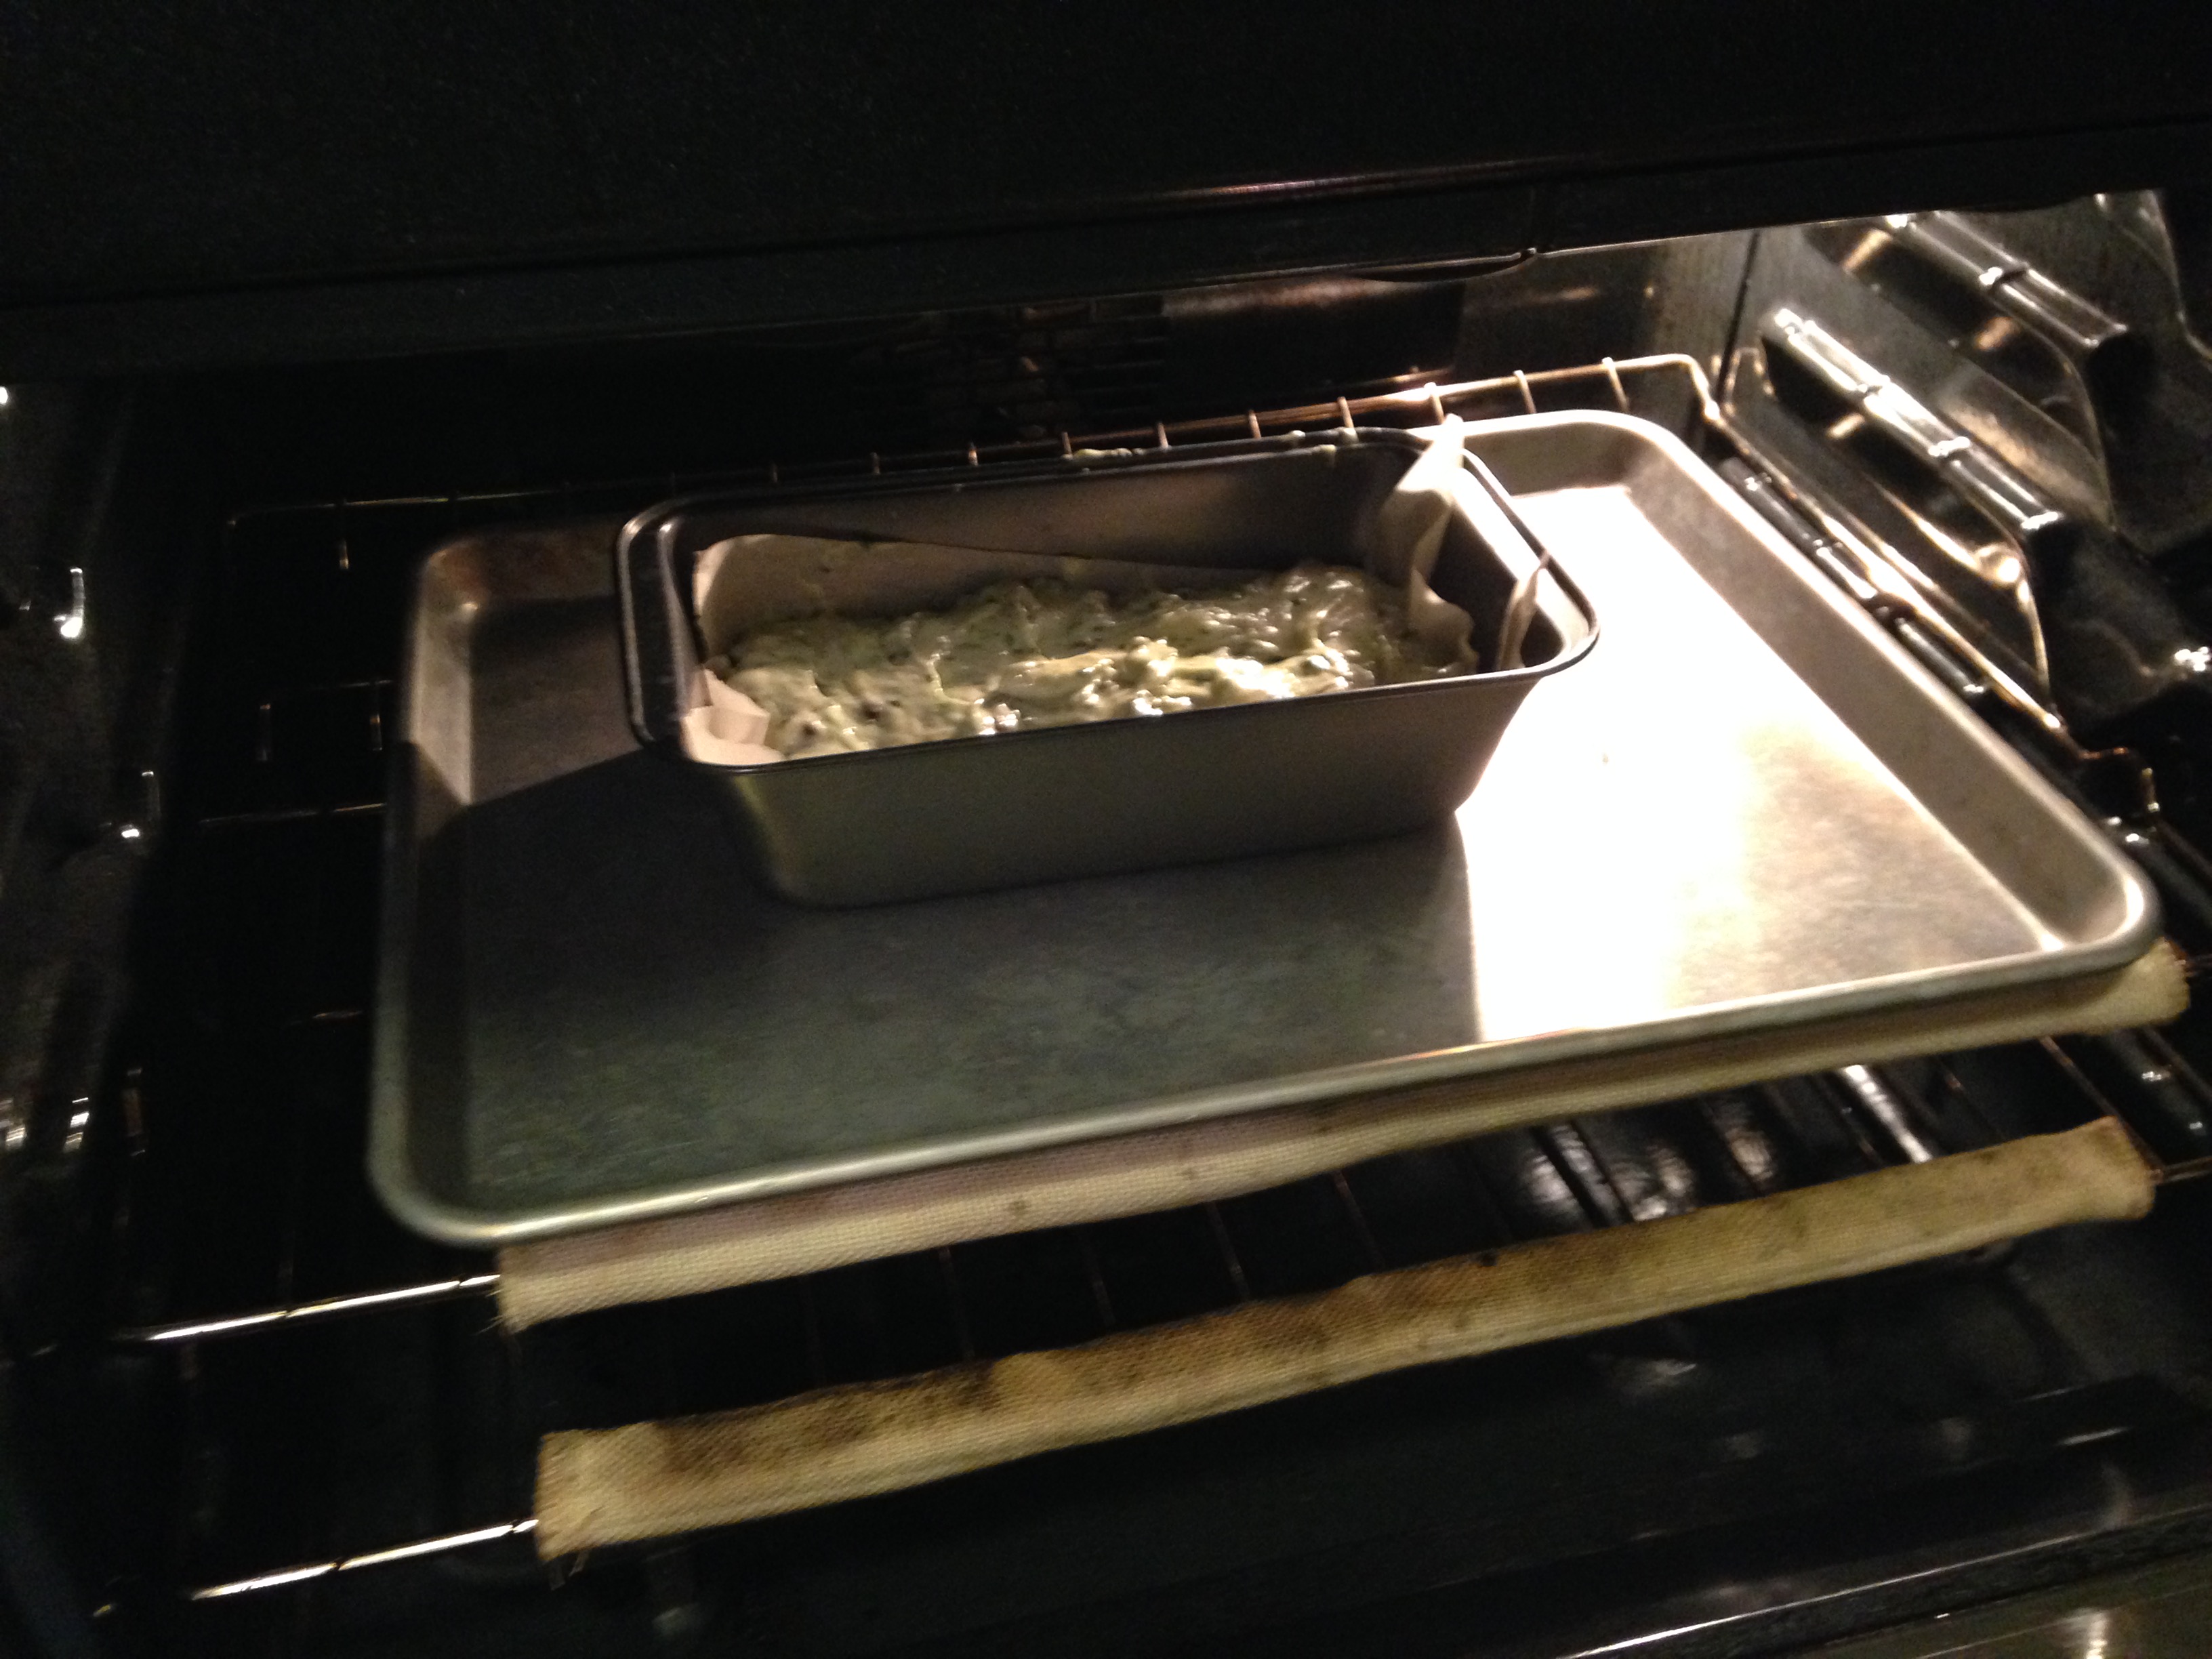
13. Put loaf pan in the oven and cook for roughly 40 minutes.

14. Take it out and let it cool. *Note: The parchment paper worked wonders here. The loaf slipped right out of the pan with no issues. I am definitely doing it that way again!


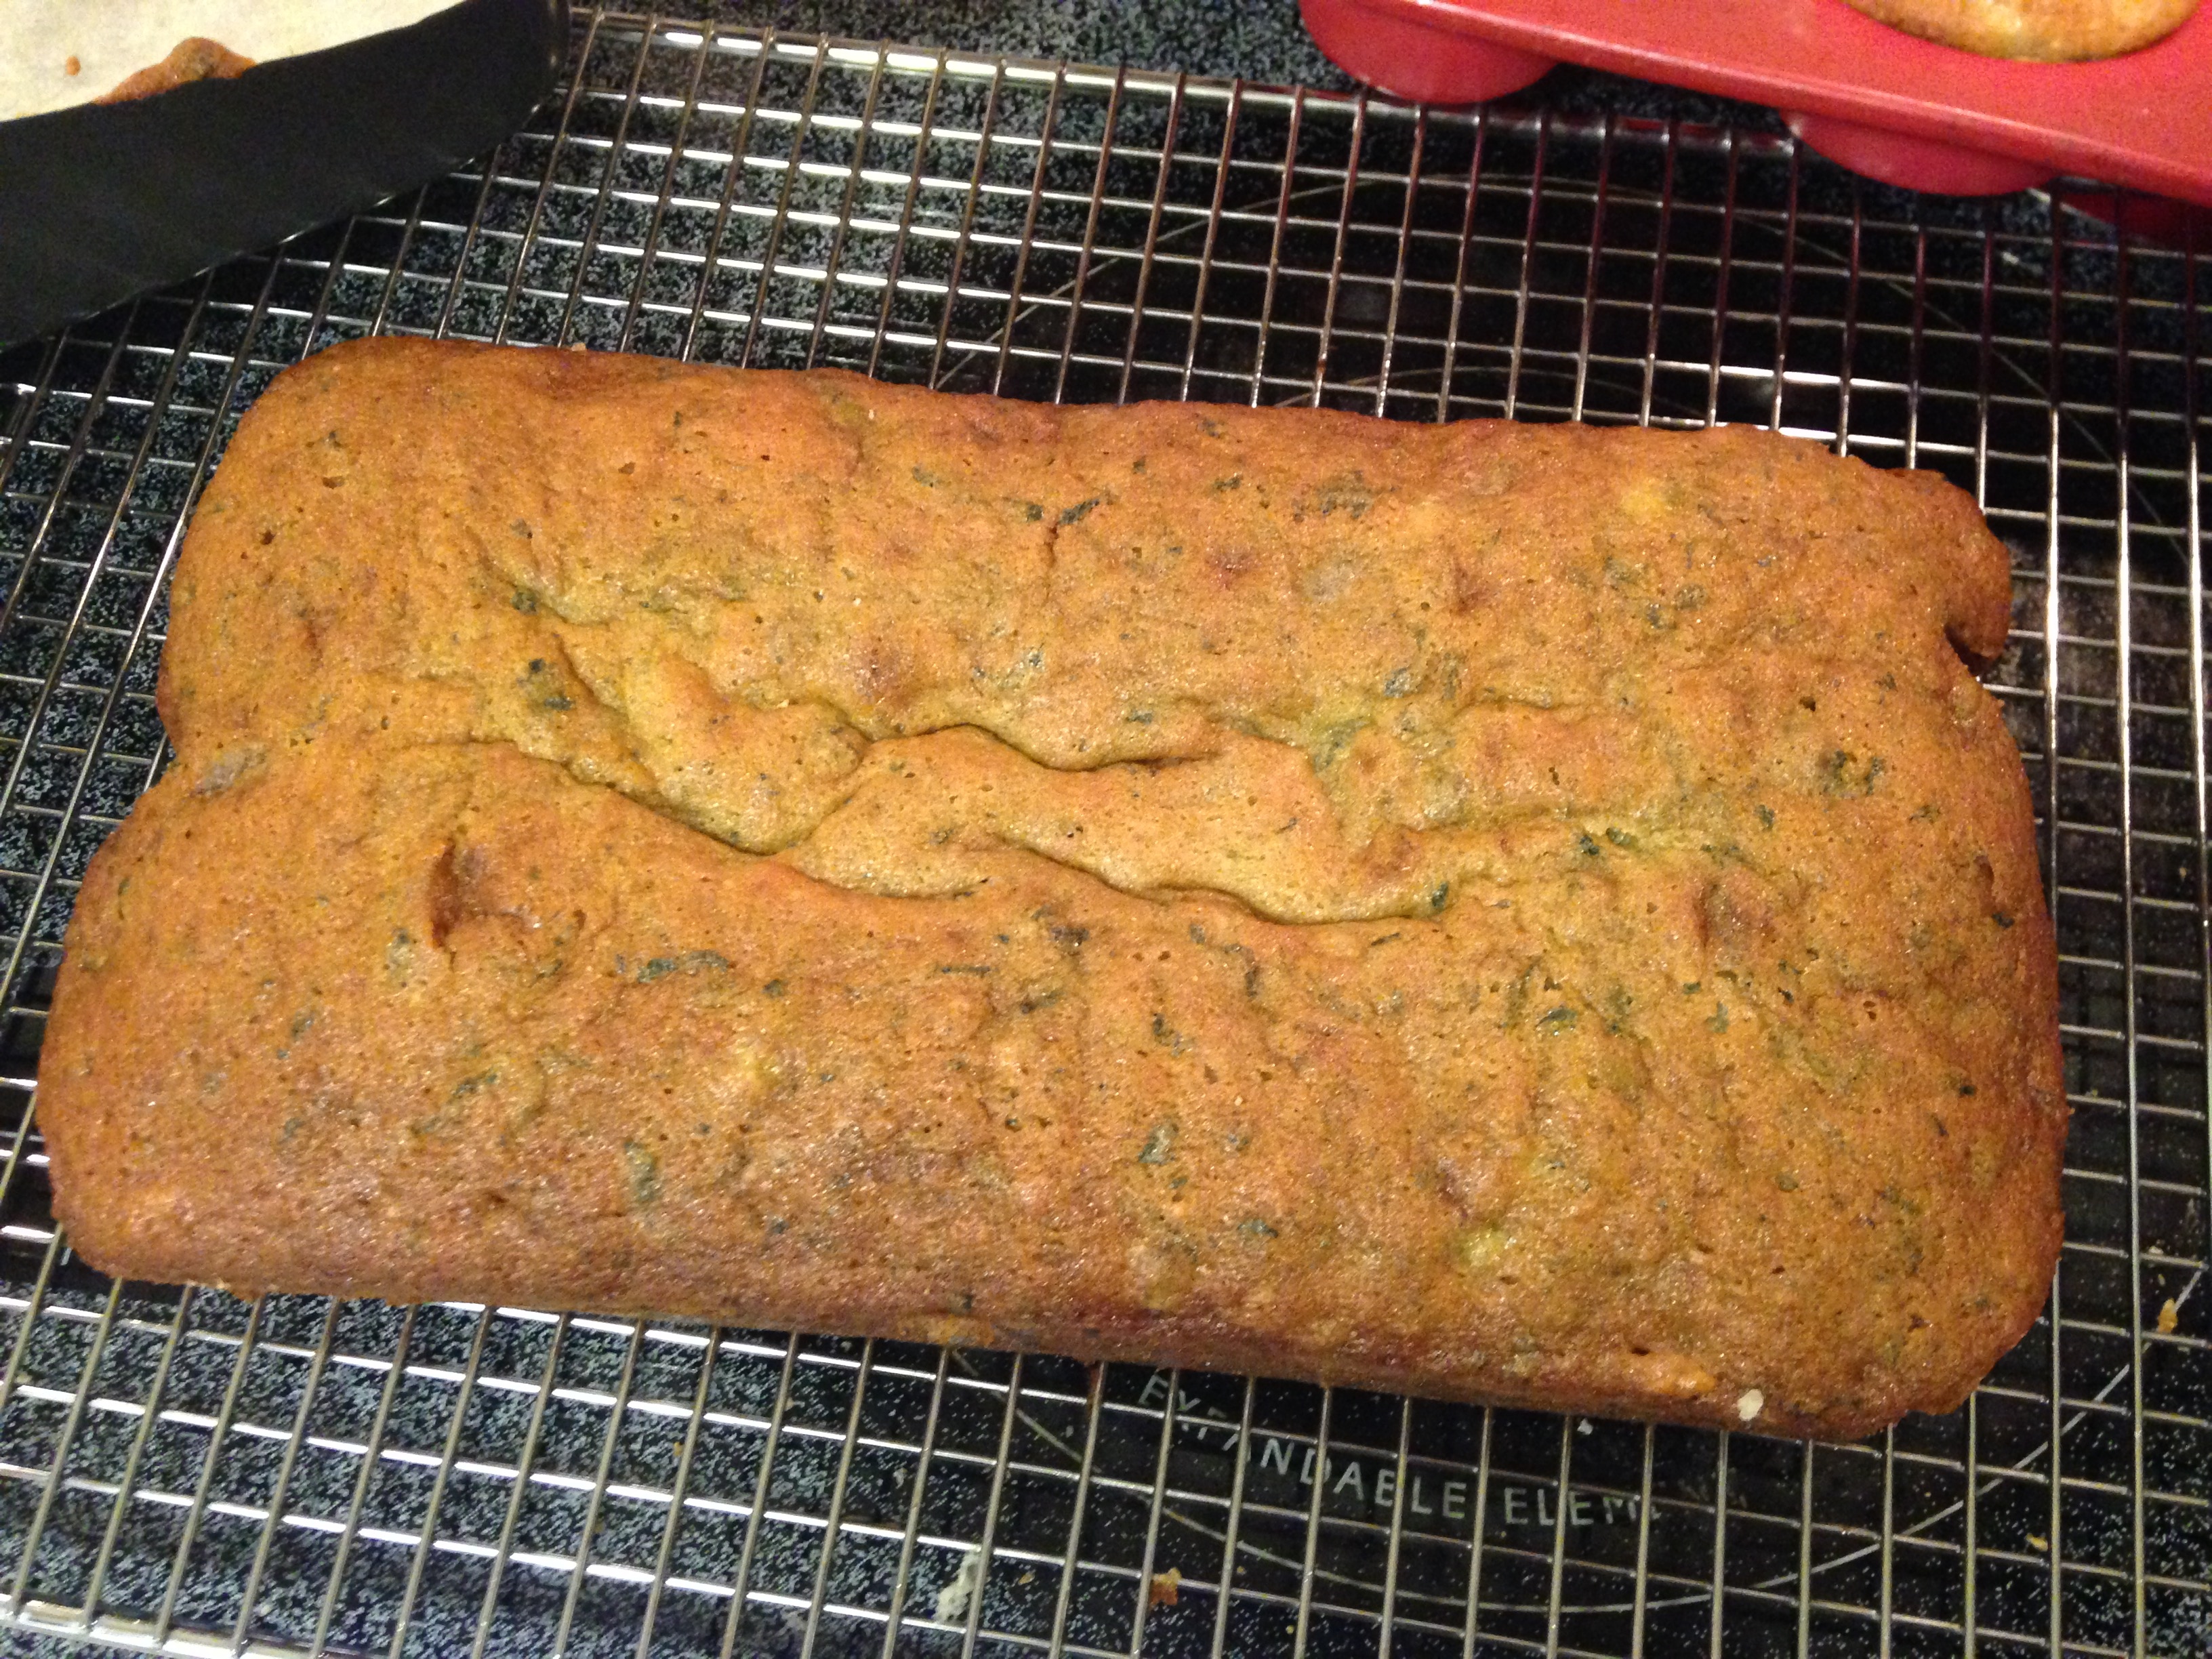

The loaf sank a little bit after it had cooled, but it still tasted wonderful.
The muffins were really difficult to remove from the sheet… but that didn’t diminish the taste at all. My kids loved them!

Final thought: I’ve got to say, that adding spinach to my loaf didn’t change the taste one bit. It had a fun colour that my kids liked, which also made it entertaining to eat! I will definitely make this again.
Thank you all for reading!
