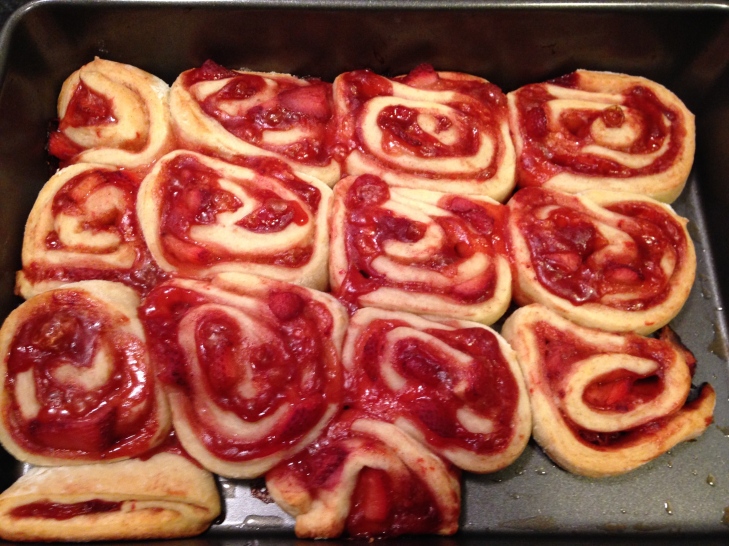
The Strawberry Cinnamon Buns

Happy Thursday, everyone! Today I’m writing about my experiment with strawberry cinnamon buns. I found the recipe on Pinterest (where else?) and wanted to try it instantly. They didn’t turn out exactly how they look on the recipe I followed, but I’m blaming that on my yeast. I think that perhaps it’s a little old… or it’s the salt in the recipe. But I figured that if this person makes them all the time, then they know what they’re doing, right? So it must be the yeast. Anyway…

This is the recipe I followed:

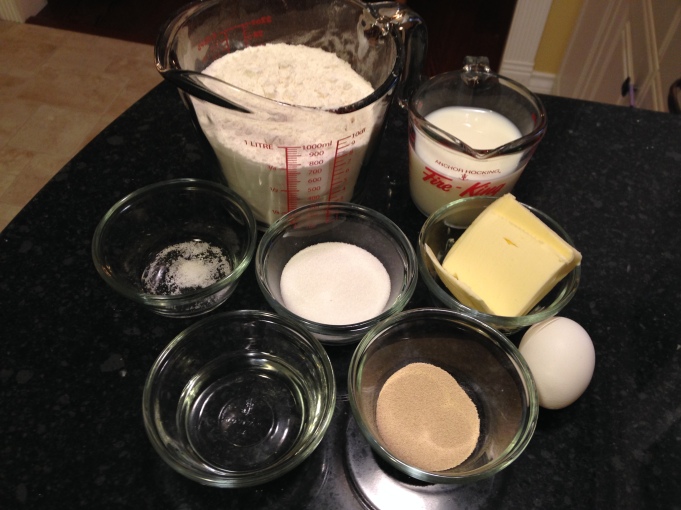
– 3/4 cup milk
– 1/3 cup softened butter
– 3 1/4 cups all purpose flour
– 2 tsp instant yeast
– 1/4 cup white sugar
– 1/2 tsp salt
– 1 egg
– 1/4 cup water

IMG_2858

For the filling:

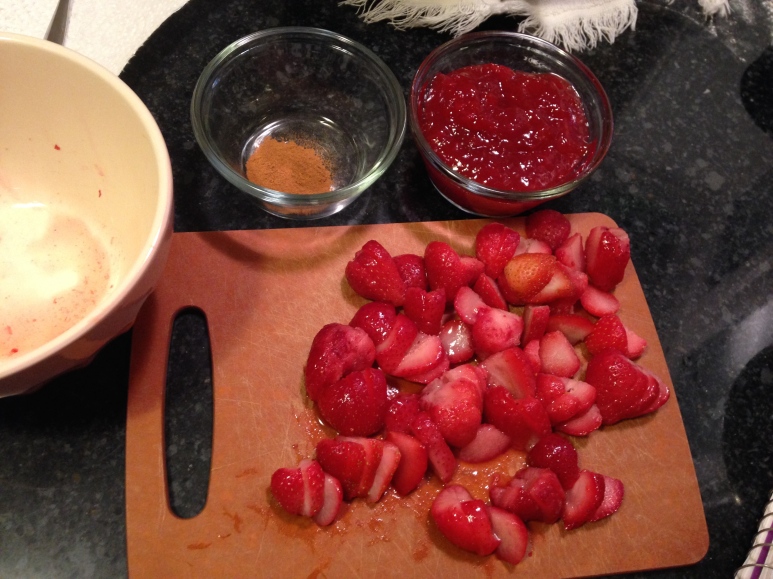
– 1 cup strawberry jam
– 1/2 teaspoon of cinnamon
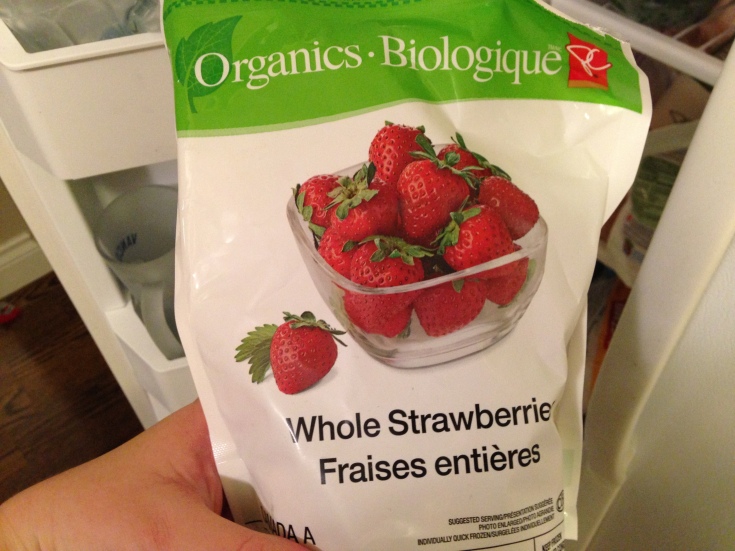
– 2 cups sliced strawberries (all we had were frozen strawberries, but I used them anyway)

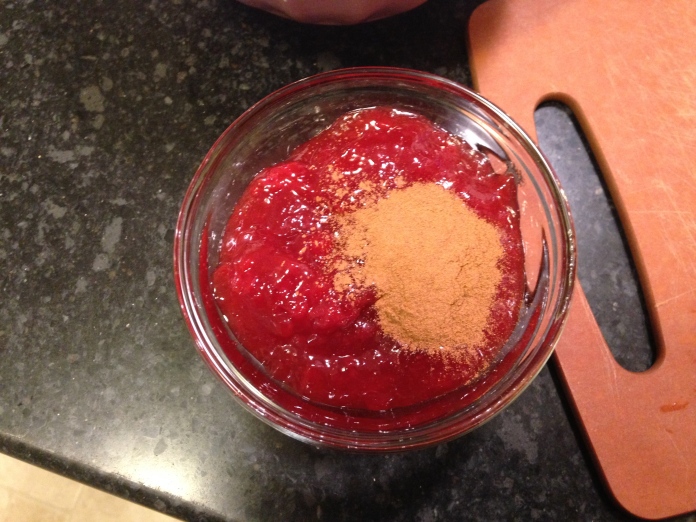
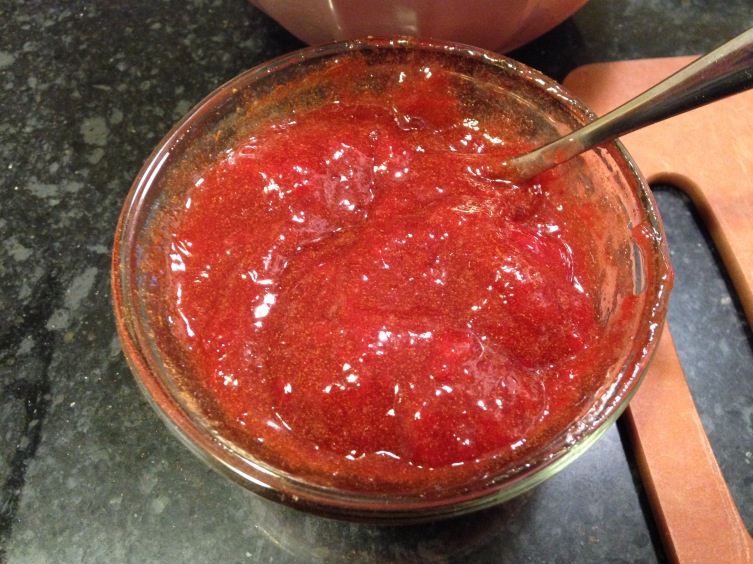
*Note: The recipe says to add ingredients separately here, but I’m terrible at “sprinkling” things because it always ends up in clumps. I didn’t want anyone biting into a cinnamon clump, so I pre-mixed the strawberry jam and the cinnamon.

IMG_2870 IMG_2871 IMG_2872 IMG_2873

Icing:

– 1 cup powdered sugar
– 1/4 tsp cinnamon
– 1-2 tbsp milk

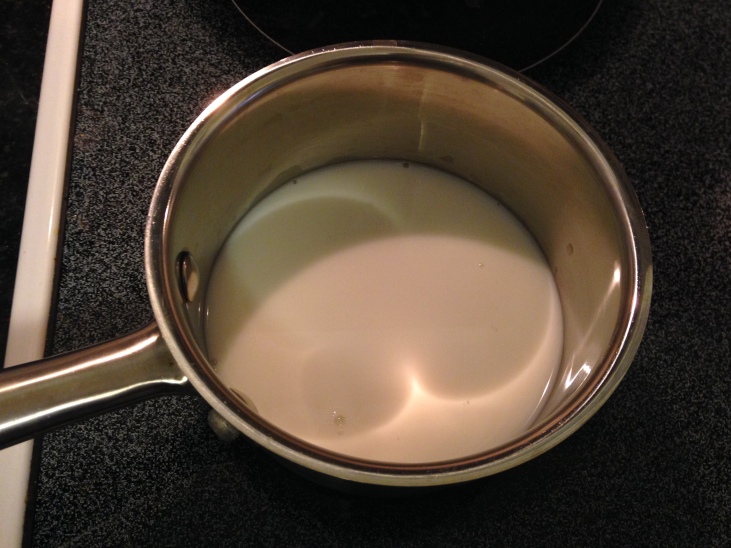
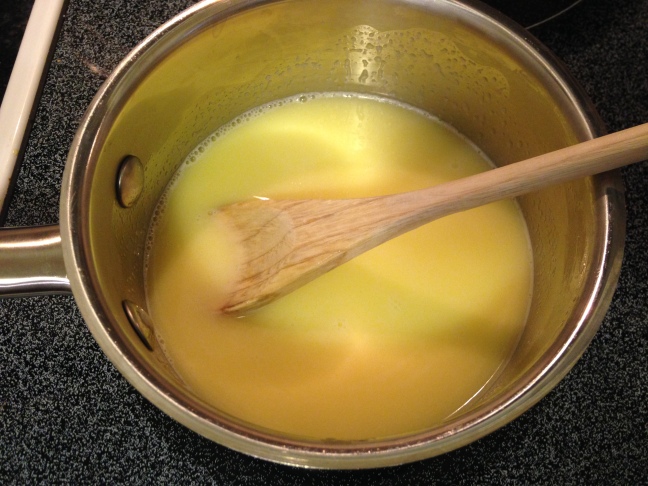
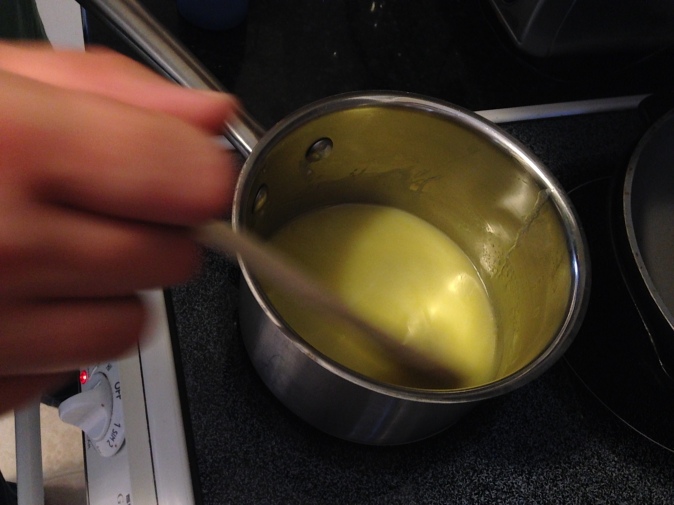
1. Heat the milk in a small saucepan until it gets warm. Then mix in the butter until it’s nice and melted. Take it off the heat and work on the rest of the recipe while it cools (mine was still pretty warm/hot when I added it, but as my husband says, it’s better for the yeast to be warm)

IMG_2859 IMG_2860 IMG_2861

2. In a lage bowl, combine flour, yeast, sugar, and salt (the recipe said to only put in 2 1/4 cups of flour in at this point, but I clearly didn’t read that, as I dumped the whole thing in). Mix well.

IMG_2862

3. Stir in the egg and water. Mix well.

IMG_2863

4. Stir in the milk mixture (probably still warm/hot) until dough forms.

IMG_2864 IMG_2865

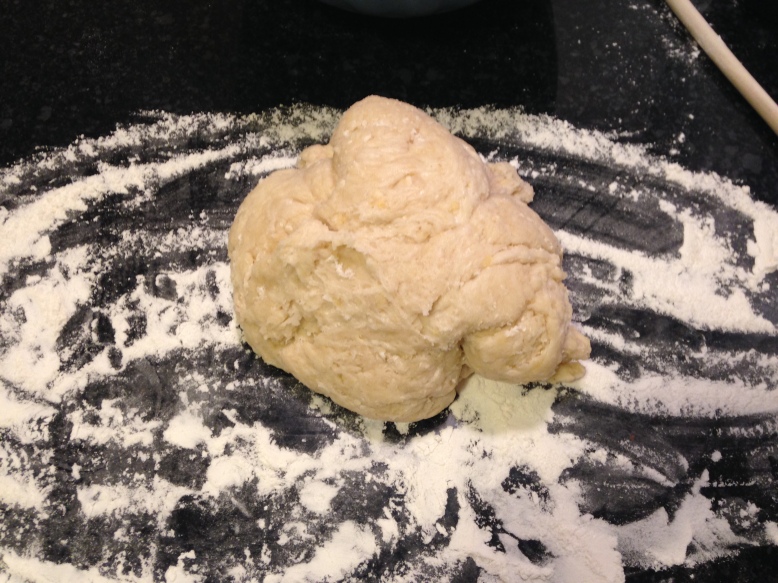
5. This is where the recipe says to add in the extra cup of flour. Then dump the dough on a lightly floured surface and kneed until smooth.

IMG_2866

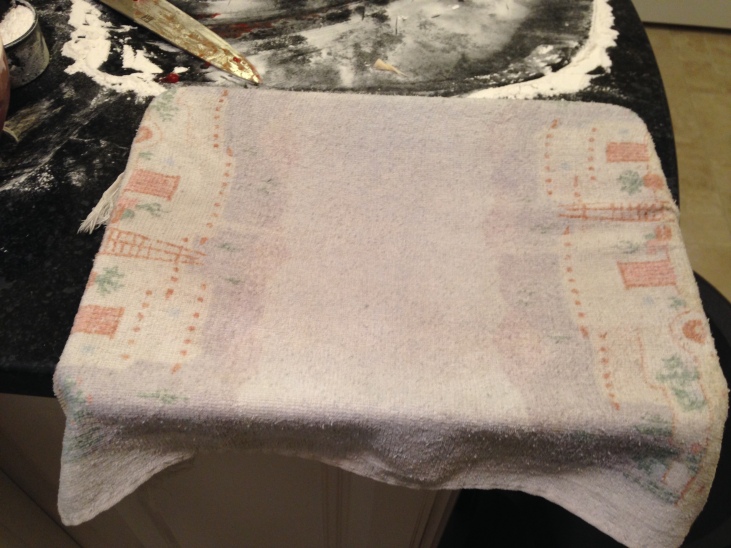
6. Put the dough ball back in the bowl and cover with a damp towel. Let it rest for 10 minutes.

IMG_2867 IMG_2868

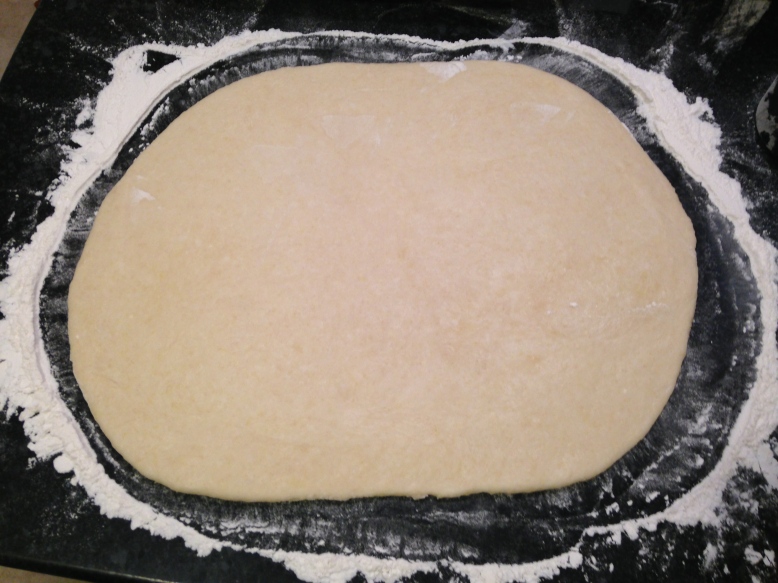
7. Roll out dough into a “15-10” inch rectangle (the recipe seemed very specific here, but as I didn’t have measuring tape around, I guessed at this size).

IMG_2874 IMG_2875

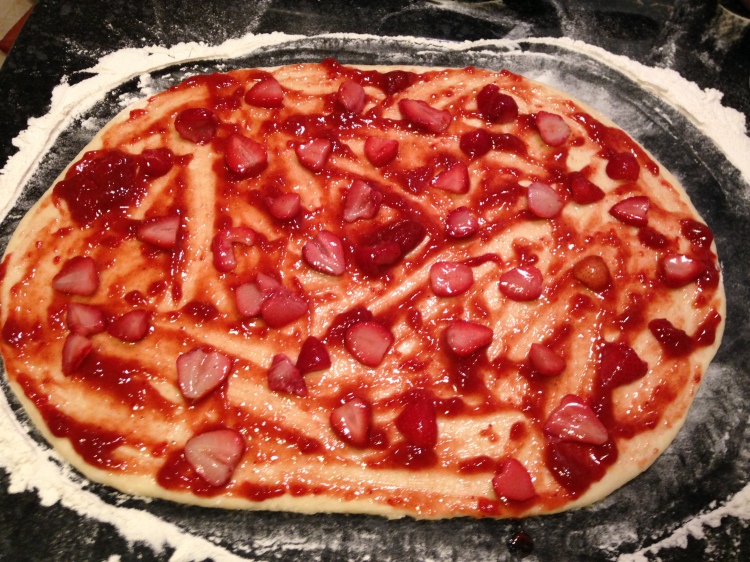
8. Spread the strawberry jam mixture over the dough then evenly cover with chopped strawberries. It looks like a sweet pizza!

IMG_2876

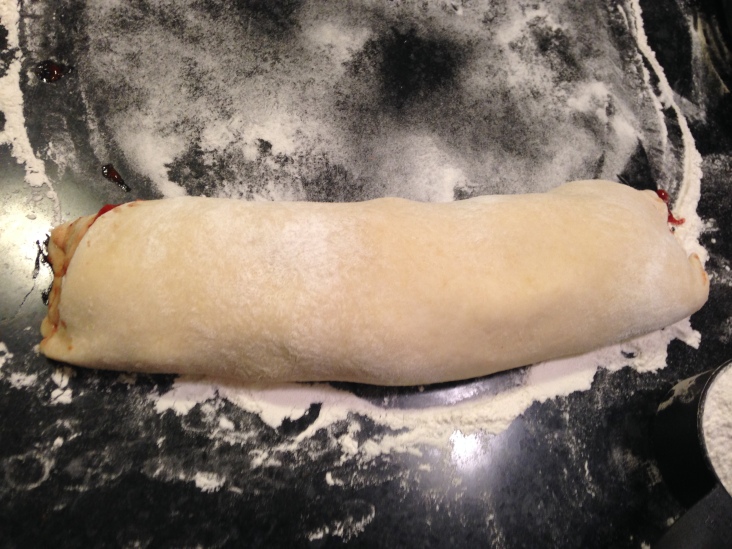
9. Roll up the dough and pinch the seam to seal. (This didn’t really work for me, as the jam  made it goopy).

IMG_2877 IMG_2878

10. Cut into 12 equal size rolls. (Again, this didn’t work. My knife wasn’t sharp enough and the dough just got squished. I did my best, though, and it didn’t end terribly.) *Note: Watch out, it can get really messy.

IMG_2879

11. Place rolls on a “greased 11×13” baking dish. Cover with a cloth and let rise until doubled (30 minutes). Ok, as I said above, my yeast clearly isn’t working… or there’s something else wrong with this recipe, because mine did not rise until doubled. They pretty much just stayed the same.

IMG_2880 IMG_2881

12. Preheat the oven to 375 degrees F.

13. Bake in the preheated oven for 30 minutes or until golden brown.

IMG_2892

The icing:

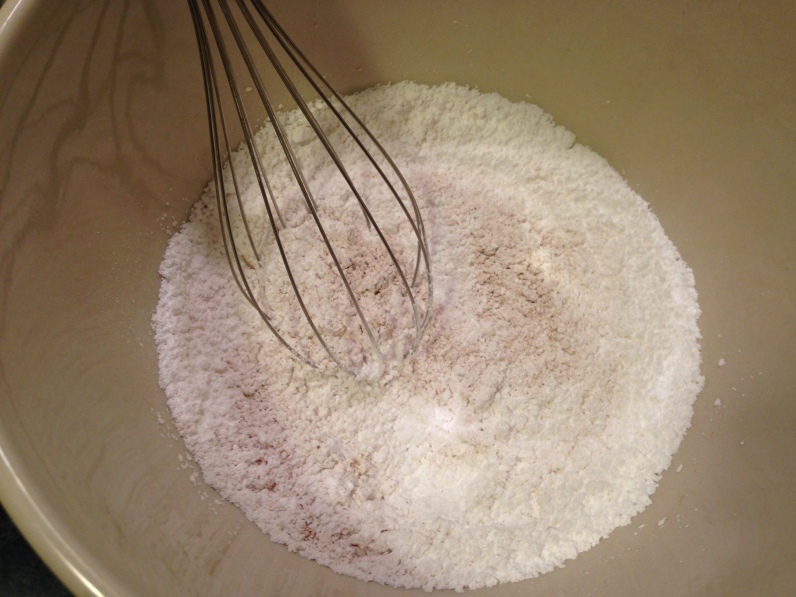
1. Mix the powdered sugar and cinnamon with 1 tbsp of milk and mix. Add other tbsp of milk or until you reach the desired consistency.

IMG_2883 IMG_2885 IMG_2886

IMG_2888

2. Drizzle over finished rolls.

*Note: I found the cinnamon a little overwhelming in the icing and there wasn’t nearly enough for all the rolls (we like lots of icing). What I would suggest, is adding perhaps 2 cups of icing sugar to the listed amount of cinnamon and add milk based on that.

IMG_2897 IMG_2898

Final thought: These were delicious. They were perhaps a little more dense than they were meant to be, but I liked them anyway. My older boys weren’t as taken with them as my twins and my husband and I were, though. It was an interesting experience, and the end was yummy, but I’m not sure I’d make them again.

Thank you all for reading!

Pineapple Upside Down Cake – Thanksgiving Dinner (Part 4 of 4)

Good evening, blog readers! I’m sorry it’s taken me so long to get to this post. Things are always busy in the Champagne house. But here I am, ready to write for you!

This blog is about the pineapple upside down cake that we had for dessert for our Thanksgiving dinner. Let me tell you something… it was delicious! Very, very sweet… but delicious.

This is the recipe I followed: (I doubled the recipe)

Cake:

– 4 eggs
– 1 1/3 cups white sugar
– 8 tbsp pineapple juice
– 1 1/3 cups flour
– 2 tsp baking powder
– 1/2 tsp salt

Topping:

– 1/2 cup butter
– 1 1/3 cups brown sugar (packed)
– 1-2 cans pineapple rings (we only needed 1)

*Note: I left the maraschino cherries out of the recipe because we as a family do not like them. Also, in the photos below, I had already mixed the flour, baking powder, and salt together.

IMG_2428 IMG_2427

The directions:

1. Preheat the oven to 350 degrees F and butter/spray muffin tins (or in my case, my oft-used bunt cake pan).

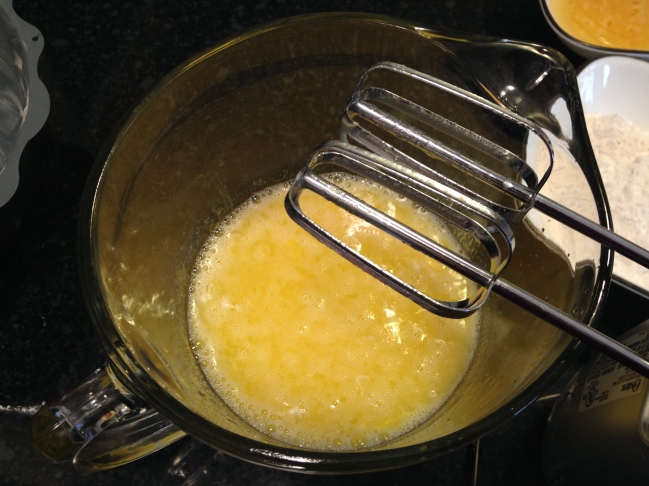
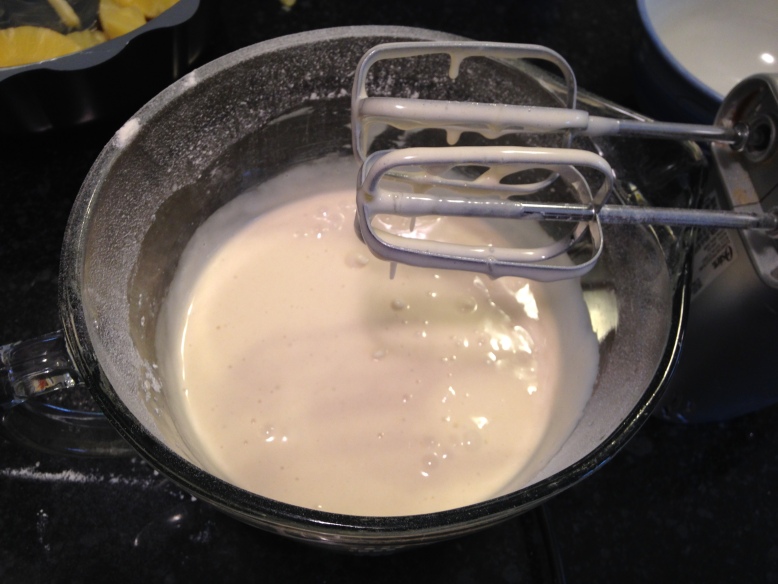
2. In a mixing bowl, add eggs, sugar, pineapple juice and beat for 2 minutes.

IMG_2437

3. In a separate bowl, sift together flour, baking powder, and salt. (I just mixed them, I didn’t sift them. It still turned out well.)

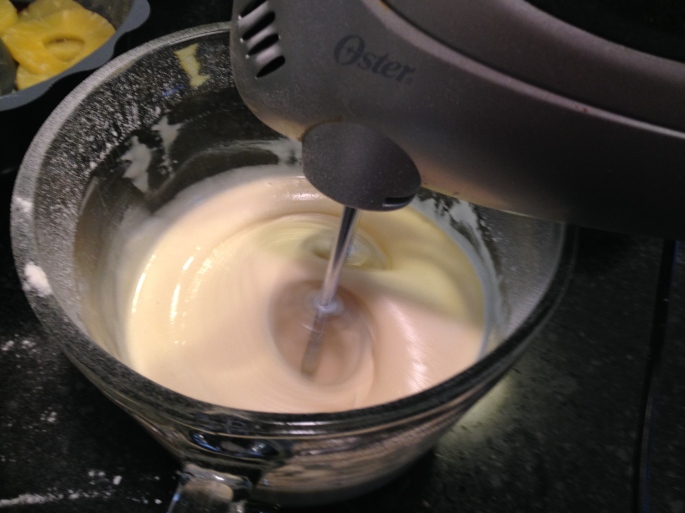
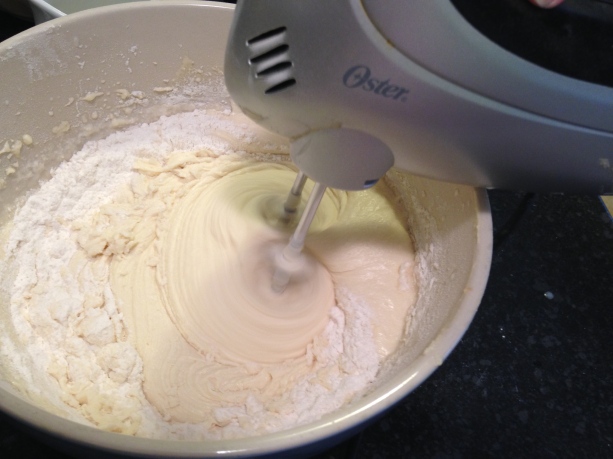
4. Add the dry ingredients to the wet ingredients and mix for two minutes.

IMG_2442 IMG_2443 IMG_2444

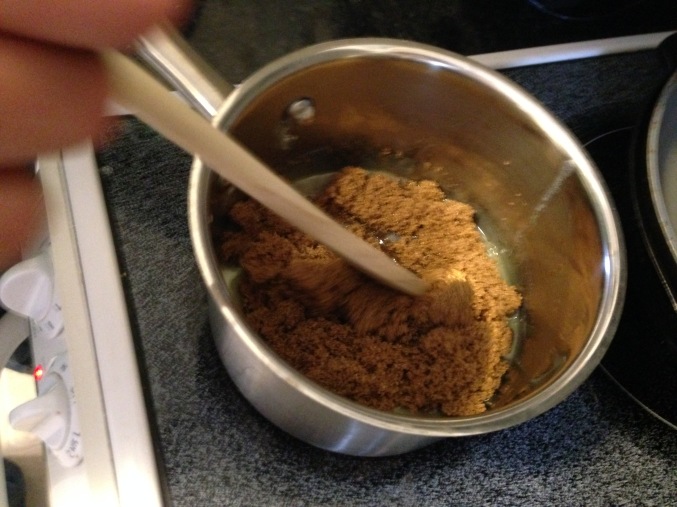
5. In a sauce pan, melt butter and add brown sugar. Stir on low for one minute.

IMG_2430 IMG_2433 IMG_2434 IMG_2436

6. Pour layer of warm brown sugar mixture into bottom of cake pan/muffin tins.

IMG_2439

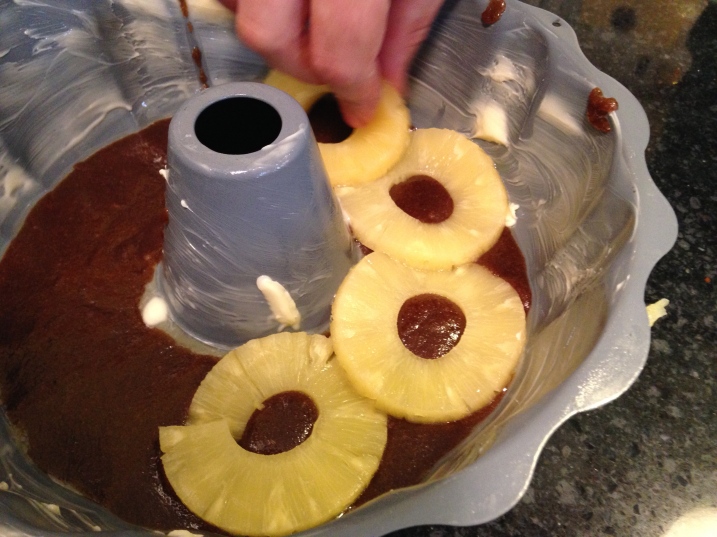
7. Place pineapple rings on top.

IMG_2440 IMG_2441

8. Pour cake mixture over pineapple rings (until pan 3/4 of way full).

IMG_2445 IMG_2446

9. Bake! We baked ours originally for 25 minutes, but when I went to check it, it was still watery. I kept it in the oven for another 20 minutes. After that, I kept checking with the toothpick test until it was done. I’m not certain how long it was, precisely.

IMG_2491

10. Remove from oven. Let it cool for “3 minutes”. Run a knife around the edge. The recipe says to place a wire rack on top and flip the whole thing over, but I wanted to preserve the topping juices so I turned it over onto a plate.

IMG_2493 IMG_2494

I’ve got to say that I was very impressed with my work here. It looked beautiful!

11. Cut, serve, and enjoy!

IMG_2496

Thank you all for reading!

Calamitous Cake

It has been a few days since my last post; thank you for your patience! For future reference, I don’t cook on the weekends. At least I try not to. I leave that up to my husband.
Now, for my blog:

Yesterday was a big day for us in the Champagne household. It was my eldest son’s first day of Kindergarten and my middle son’s 4th Birthday! And I had to make the cake.

Let us be clear on one thing… I am a cake-out-of-the-box or store bought cake kind of girl. And even those sometimes turn out wrong, or dropped, or somehow ruined at my hand. I’ve never before tried to make a cake from scratch, so last night’s mess *wasn’t* my fault. I mean, if you’d wanted a nice-looking cake, you wouldn’t have asked me, right?

Ok, now that we’ve got that out of the way, I’ll tell you how it all went down. First, I looked on Pinterest – BAD idea. All the pictures of gorgeous cakes labeled “The best cake recipe ever!!” is both deceiving and insulting. When you try these recipes out for yourself and they end up horrible, it just leads to questions such as “What did I do wrong?!” and “What’s wrong with me that my cake didn’t turn out like the one in the picture? They said it was so easy!”

Needless to say, I immediately turned off my computer and went to my husband’s cookbook (yes, my husband’s. He’s an absurdly good cook – so unfair) and I looked up vanilla cake (which is what my son wanted).

IMG_2123

This is the recipe I used:

IMG_2077

It all started out as planned. I used:

– 3/4 cup butter
– 3 eggs
– 2 1/2 cups flour
– 2 1/2 teaspoons baking powder
– 1/2 teaspoon salt
– 1 3/4 cups sugar
– 1 1/2 teaspoons vanilla
– 1 1/4 cup milk

IMG_2098

1. I greased up my non-stick bunt cake pan (yes, I used it again… couldn’t find any other ones).

2. In a bowl, I stirred together flour, baking powder, and salt. (Note: If you copy this recipe, make sure you mix this in a bowl other than the one you intended on mixing the entirety of the cake in… I had to switch mine half-way through because my other bowl was too small.)

IMG_2099

3. I preheat the oven to 375 degrees F.

4. In a (small – oops!) mixing bowl I beat the room-temperature butter (I got tired of waiting for it to warm, so I put it in the microwave for 13 seconds then poked at it with a wooden spoon) with an electric mixer on medium to high, then gradually add sugar, mixing well. (The recipe said to “see picture below”, but the picture was so tiny, there was no way I could see what they meant. So I just assumed I was doing it correctly.)

IMG_2100 IMG_2101

5. Mix for 2 more minutes.

6. Add eggs one at a time, beating well after each egg.

IMG_2102

7. Beat in vanilla.

IMG_2103

8. Alternately add flour mixture and milk, mixing slowly in-between (slowly, to keep from spraying flour everywhere. – it is at this point that I both put on an apron and switched from the smaller bowl to the bigger one.)

IMG_2104 IMG_2106 IMG_2107

9. Mix thoroughly.

10. Pour into cake pan and put it in the oven. (I put mine in for 25 minutes, checked it, saw that it was still liquid, so I kept it in for another 10 minutes… then another 5 minutes… then another 10 minutes… then another 5 minutes… you get the picture. I think it was because I put it into such a thick pan, but I kept having to check it.)

IMG_2108 IMG_2109

11. Once it’s done cooking, take it out of the oven and let it cool.

Note: I didn’t know how long this process would take (particularly between parenting duties, screaming babies, and the birthday boy constantly asking “Is my cake done yet?”) so by the time mine came out of the oven, it was nearly dinner time and I hadn’t done the icing yet or even thought about what I would make for dinner.

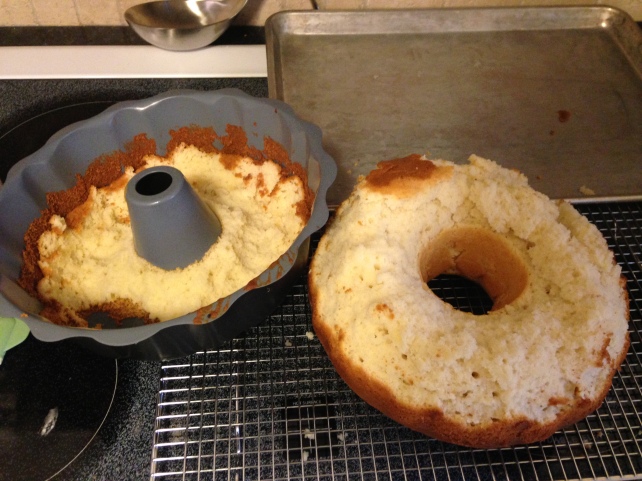
12. Ease the cake out of the pan upside down. Also note that step 11 is important… As I mentioned, I was in a rush, so I went and did it before my cake had cooled. Then this happened.

IMG_2111 IMG_2112

That’s right. Cheri’s disastrous experience with cakes continues… My husband came home a little later and tried to fix it for me. He cut off the top of the cake and stuffed it in the centre hole. It still looked like a mess, but at least it was semi cake shaped.

IMG_2118

Next came the icing. This is the recipe I used:

– 1 cup unsalted, softened butter
– 3 to 4 cups of SIFTED confectioners (powdered) sugar (I used 4 cups)
– 1/4 teaspoon salt
– 1 tablespoon vanilla extract
– Up to 4 tablespoons of heavy cream or milk (I used 4 tablespoons of cream)

IMG_2110

This recipe called for a “mixer” with a “paddle attachment” but as I don’t have one, I used my little hand mixer.

The steps:

1. Beat the butter for a few minutes.

2. Add the sifted, powdered sugar and mix (on slow speed) until sugar is fully mixed in with the butter. (I put my apron back on at this point, after having been splattered with sugar butter…)

IMG_2113

3. Increase speed and mix.

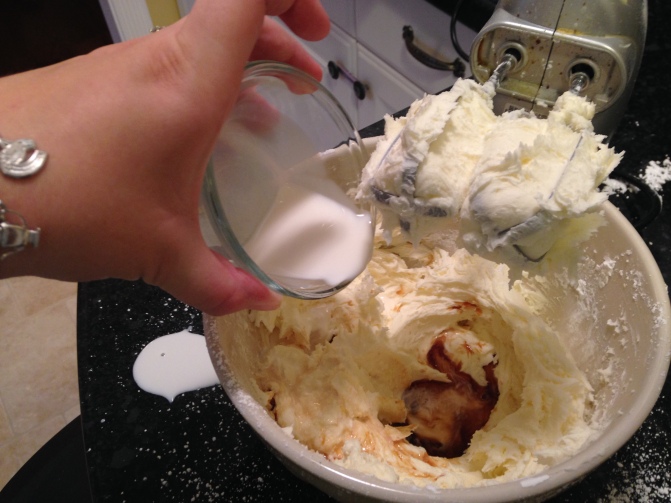
4. Add vanilla extract, salt, and the milk and beat. (Recipe called for only two tablespoons of milk to start, then to add more if needed, but I dumped all of mine in – it worked perfectly for me.)

IMG_2115

5. Mix, mix, mix for 3 minutes.

IMG_2116

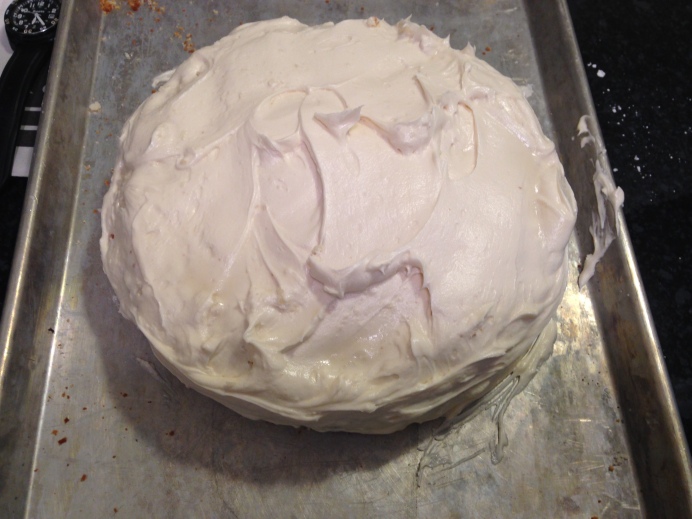
Next came icing the cake… Now, I’m absolutely terrible at this, but gratefully my babies started crying so I had to go tend to them and left the icing of the cake to my husband. (Huzzah!)

IMG_2119 IMG_2120

I didn’t take any pictures of it after it had been decorated (with sprinkles and candles) for my son’s birthday, but this was what it looked like after it had been iced. It wasn’t all that great looking and the centre crumbled out when we cut it, but man, oh, man was it delicious! The cake was thick and moist, the icing was sweet and creamy… mmm… It was a hit, despite my having made a hash of it.

Well, there you have it. My mess of a delicious cake at its end. I honestly don’t know if I’ll ever try to make a cake from scratch again, as it took WAY too long and the cake from a box is so much easier. I think it was worth it, though. Happy 4th to my son!

Thanks for reading!