Pulled Chicken Sandwiches

Good morning, everyone! Today I get to tell you about the cover image for my blog. I found the recipe (yes) on Pinterest and have modified it to my personal taste.

The recipe:

– 2 containers of BBQ sauce (I use Kraft’s Hickory and Chicken and Rib – I find that the mixture of flavours works very well. I have pictured them below)
– 2 to 3 boneless, skinless chicken breasts ( I used 2 in the pictures today)
– 1/2 or 1 chopped white onion (to taste – I can’t stand onions, so I only use 1/2 and I sift it out later)

IMG_2161 IMG_2164

This is an extremely simple recipe, which I think is why I am actually good at it. I also highly recommend it, because, well… yum.

These are the (simple) directions:

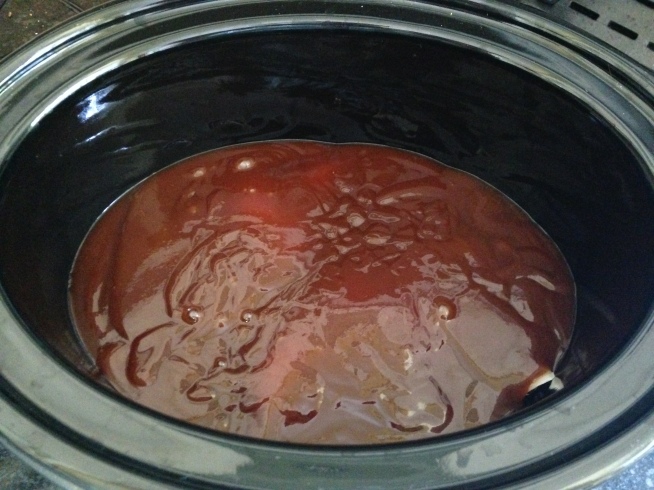
1. Dump the entire contents of one BBQ sauce bottle into the bottom of the slow cooker.

IMG_2162

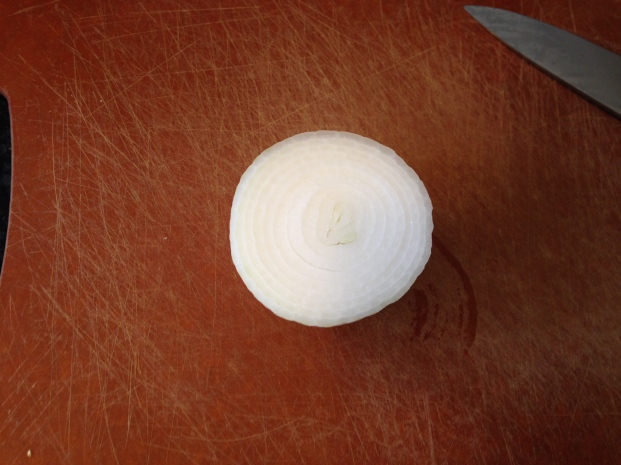
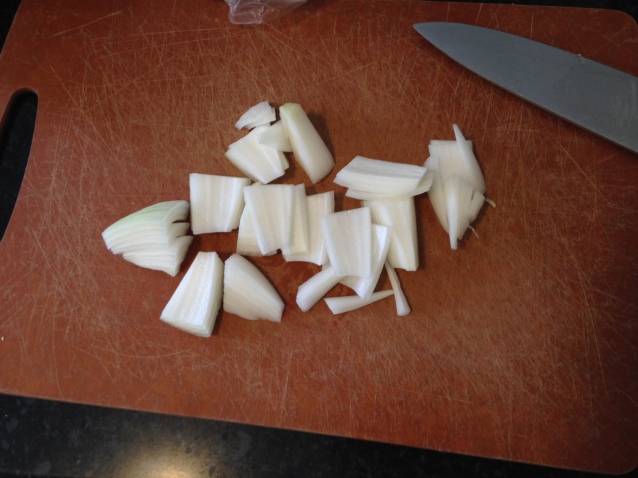
2. Chop the onion. I keep it in larger chunks because I do not like onion and I sift the pieces out after. But if you like onions, then I recommend chopping them into smaller pieces so that they can be mixed into the pulled chicken.

IMG_2165

3. Put the chopped onion on top of BBQ sauce in slow cooker.

IMG_2166

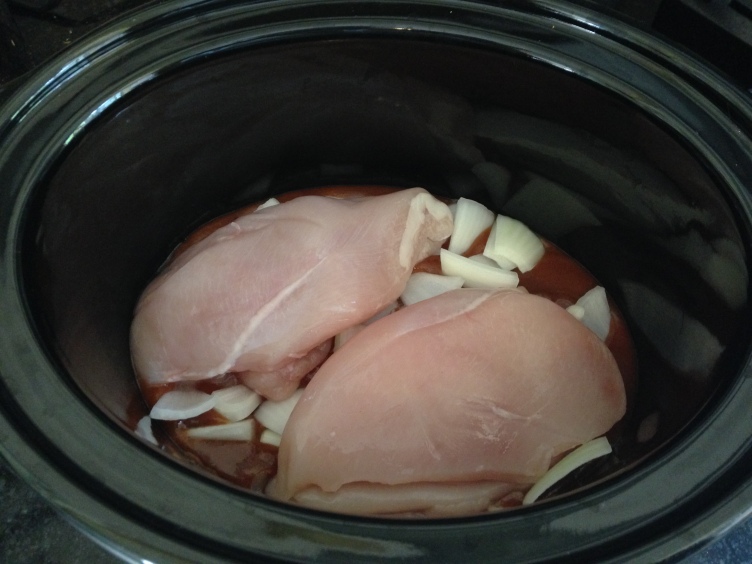
4. Place 2-3 chicken breasts on top of BBQ sauce and onions.

IMG_2167

5. Dump contents of other BBQ sauce container on top.

IMG_2169

6. Turn on slow cooker on high at 340 degrees F for 6 hours. I usually prepare my dinner at noon and we eat around 6:30pm, but if you want it to cook through the day, then lower the temp to probably 330 or 320.

IMG_2171

I sometimes poke the chicken with a wooden spoon after a few hours just to make sure that they’re all coated and they’re cooking. I might flip them over, as well. It’s perfectly fine to just leave them alone though. The picture below was taken about half way through the cooking process – after I’d poked the chicken.

IMG_2173

7. After the 6 hours, take the chicken out. You will know the chicken is done when it falls apart while you’re trying to remove it from the crock pot.

IMG_2177 IMG_2179

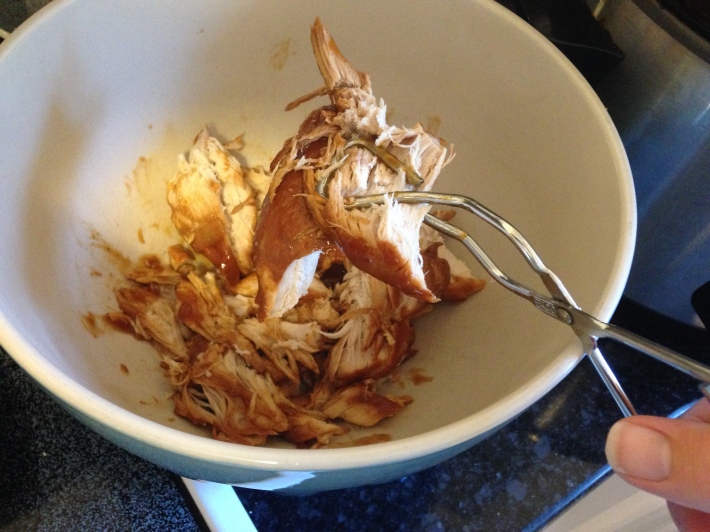
8. Pull the chicken. You can do this with your tongs, with two forks, sporks, or with your hands (careful, it’s hot!). It’s entirely your choice. I will either use one spork and one fork or I will take it apart with my tongs.

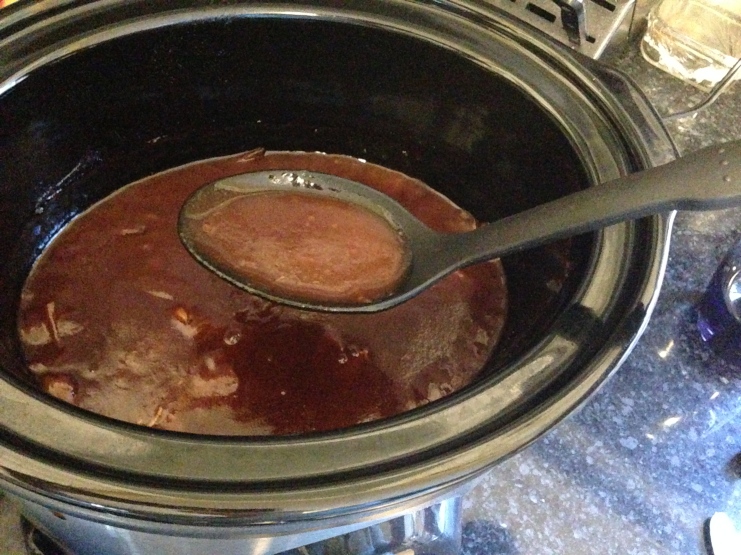
9. Once all the larger chunks are pulled and it’s just stringy meat, scoop out BBQ sauce from the slow cooker (and the onion bits, if that’s what you like) and put it in with the chicken. *Note: More than one scoop will be required. I usually put 4 or 5 scoops of sauce in.

IMG_2180 IMG_2181

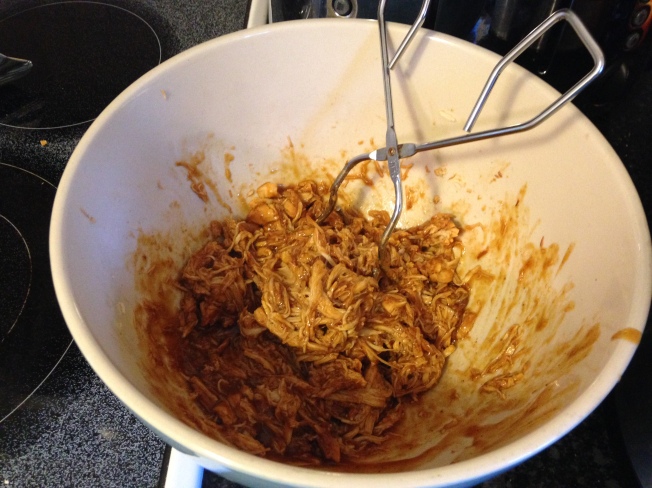
10. Once it’s mixed with the sauce and the consistency you like, place it on buns (we’ve used regular hamburger buns or kaiser buns, it’s your choice).

IMG_2182 IMG_2186

11. Serve! Yum! My husband and kids love these. We have them at least once per week.

Enjoy and thank you for reading!

Calamitous Cake

It has been a few days since my last post; thank you for your patience! For future reference, I don’t cook on the weekends. At least I try not to. I leave that up to my husband.

Now, for my blog:

Yesterday was a big day for us in the Champagne household. It was my eldest son’s first day of Kindergarten and my middle son’s 4th Birthday! And I had to make the cake.

Let us be clear on one thing… I am a cake-out-of-the-box or store bought cake kind of girl. And even those sometimes turn out wrong, or dropped, or somehow ruined at my hand. I’ve never before tried to make a cake from scratch, so last night’s mess *wasn’t* my fault. I mean, if you’d wanted a nice-looking cake, you wouldn’t have asked me, right?

Ok, now that we’ve got that out of the way, I’ll tell you how it all went down. First, I looked on Pinterest – BAD idea. All the pictures of gorgeous cakes labeled “The best cake recipe ever!!” is both deceiving and insulting. When you try these recipes out for yourself and they end up horrible, it just leads to questions such as “What did I do wrong?!” and “What’s wrong with me that my cake didn’t turn out like the one in the picture? They said it was so easy!”

Needless to say, I immediately turned off my computer and went to my husband’s cookbook (yes, my husband’s. He’s an absurdly good cook – so unfair) and I looked up vanilla cake (which is what my son wanted).

IMG_2123

This is the recipe I used:

IMG_2077

It all started out as planned. I used:

– 3/4 cup butter
– 3 eggs
– 2 1/2 cups flour
– 2 1/2 teaspoons baking powder
– 1/2 teaspoon salt
– 1 3/4 cups sugar
– 1 1/2 teaspoons vanilla
– 1 1/4 cup milk

IMG_2098

1. I greased up my non-stick bunt cake pan (yes, I used it again… couldn’t find any other ones).

2. In a bowl, I stirred together flour, baking powder, and salt. (Note: If you copy this recipe, make sure you mix this in a bowl other than the one you intended on mixing the entirety of the cake in… I had to switch mine half-way through because my other bowl was too small.)

IMG_2099

3. I preheat the oven to 375 degrees F.

4. In a (small – oops!) mixing bowl I beat the room-temperature butter (I got tired of waiting for it to warm, so I put it in the microwave for 13 seconds then poked at it with a wooden spoon) with an electric mixer on medium to high, then gradually add sugar, mixing well. (The recipe said to “see picture below”, but the picture was so tiny, there was no way I could see what they meant. So I just assumed I was doing it correctly.)

IMG_2100 IMG_2101

5. Mix for 2 more minutes.

6. Add eggs one at a time, beating well after each egg.

IMG_2102

7. Beat in vanilla.

IMG_2103

8. Alternately add flour mixture and milk, mixing slowly in-between (slowly, to keep from spraying flour everywhere. – it is at this point that I both put on an apron and switched from the smaller bowl to the bigger one.)

IMG_2104 IMG_2106 IMG_2107

9. Mix thoroughly.

10. Pour into cake pan and put it in the oven. (I put mine in for 25 minutes, checked it, saw that it was still liquid, so I kept it in for another 10 minutes… then another 5 minutes… then another 10 minutes… then another 5 minutes… you get the picture. I think it was because I put it into such a thick pan, but I kept having to check it.)

IMG_2108 IMG_2109

11. Once it’s done cooking, take it out of the oven and let it cool.

Note: I didn’t know how long this process would take (particularly between parenting duties, screaming babies, and the birthday boy constantly asking “Is my cake done yet?”) so by the time mine came out of the oven, it was nearly dinner time and I hadn’t done the icing yet or even thought about what I would make for dinner.

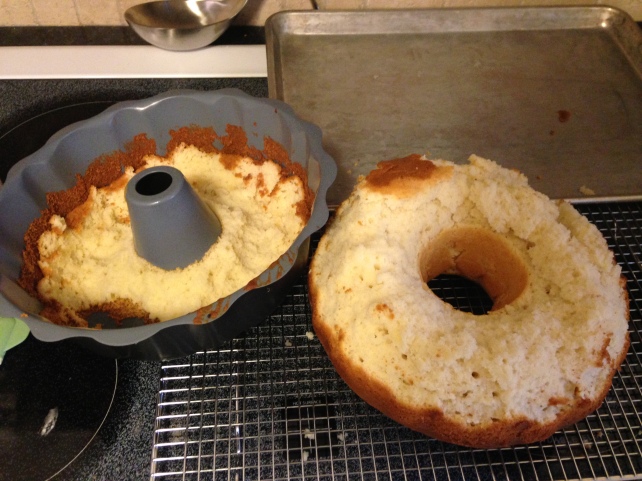
12. Ease the cake out of the pan upside down. Also note that step 11 is important… As I mentioned, I was in a rush, so I went and did it before my cake had cooled. Then this happened.
IMG_2111 IMG_2112

That’s right. Cheri’s disastrous experience with cakes continues… My husband came home a little later and tried to fix it for me. He cut off the top of the cake and stuffed it in the centre hole. It still looked like a mess, but at least it was semi cake shaped.

IMG_2118

Next came the icing. This is the recipe I used:

– 1 cup unsalted, softened butter
– 3 to 4 cups of SIFTED confectioners (powdered) sugar (I used 4 cups)
– 1/4 teaspoon salt
– 1 tablespoon vanilla extract
– Up to 4 tablespoons of heavy cream or milk (I used 4 tablespoons of cream)

IMG_2110

This recipe called for a “mixer” with a “paddle attachment” but as I don’t have one, I used my little hand mixer.

The steps:

1. Beat the butter for a few minutes.

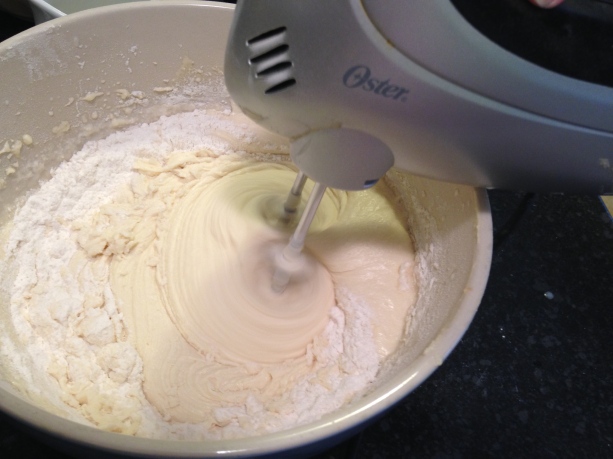
2. Add the sifted, powdered sugar and mix (on slow speed) until sugar is fully mixed in with the butter. (I put my apron back on at this point, after having been splattered with sugar butter…)

IMG_2113

3. Increase speed and mix.

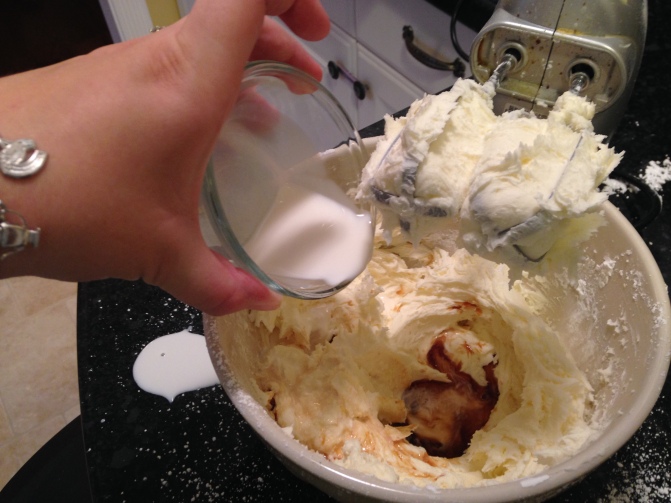
4. Add vanilla extract, salt, and the milk and beat. (Recipe called for only two tablespoons of milk to start, then to add more if needed, but I dumped all of mine in – it worked perfectly for me.)
IMG_2115

5. Mix, mix, mix for 3 minutes.

IMG_2116

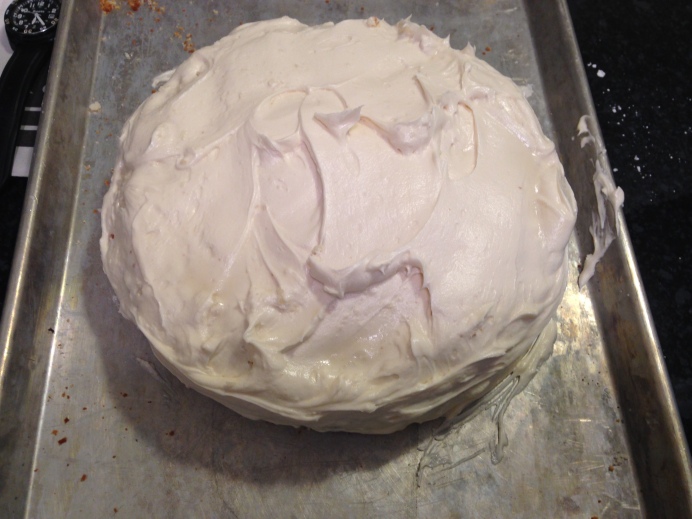
Next came icing the cake… Now, I’m absolutely terrible at this, but gratefully my babies started crying so I had to go tend to them and left the icing of the cake to my husband. (Huzzah!)

IMG_2119 IMG_2120

I didn’t take any pictures of it after it had been decorated (with sprinkles and candles) for my son’s birthday, but this was what it looked like after it had been iced. It wasn’t all that great looking and the centre crumbled out when we cut it, but man, oh, man was it delicious! The cake was thick and moist, the icing was sweet and creamy… mmm… It was a hit, despite my having made a hash of it.

Well, there you have it. My mess of a delicious cake at its end. I honestly don’t know if I’ll ever try to make a cake from scratch again, as it took WAY too long and the cake from a box is so much easier. I think it was worth it, though. Happy 4th to my son!

Thanks for reading!

Strangely Delicious Avocado Spaghetti

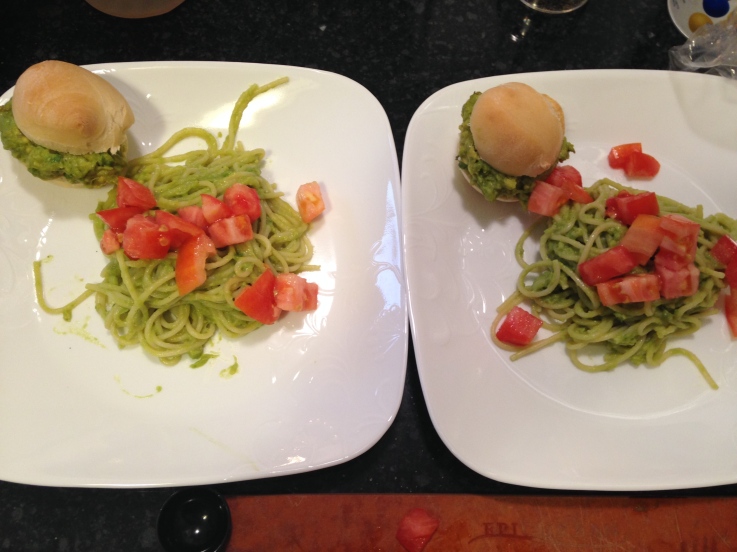
Good morning blog readers! I think this recipe was the very first that I’ve chosen from Pinterest that did not need to be altered at all. It turned out absolutely perfect. And strangely delicious. Yes, strangely… Avocado with pasta was not something I would have put together on my own, but it was so great I wish I’d had more.

I will begin from the beginning (har har). The other night I realized that I hadn’t come up with anything for dinner and Hubby was already on his way home from work. We had five avocados that were ripe yesterday so would likely be mushy already. I knew I needed to use them. But what could I do with five ripe avocados? Seemed excessive, yes? So I searched Pinterest. I found several interesting ideas (that I may try later), but the one that caught my eye was Avocado Spaghetti; it was simple, it looked good, and I had all the ingredients.

This is the recipe I followed:

– 2 chopped up garden tomatoes
– 1 cup mushed up ripe avocado meat
– 1 clove finely minced garlic
– 1 teaspoon lemon juice
– Several shakes of salt and pepper. (I didn’t measure, I just went to town shaking)
– 1/4 cup boiled pasta water
– Handful of spaghetti noodles

So after removing the *innards* from my five avocados, I separated the cup of meat into my measuring device.

IMG_1986IMG_1987

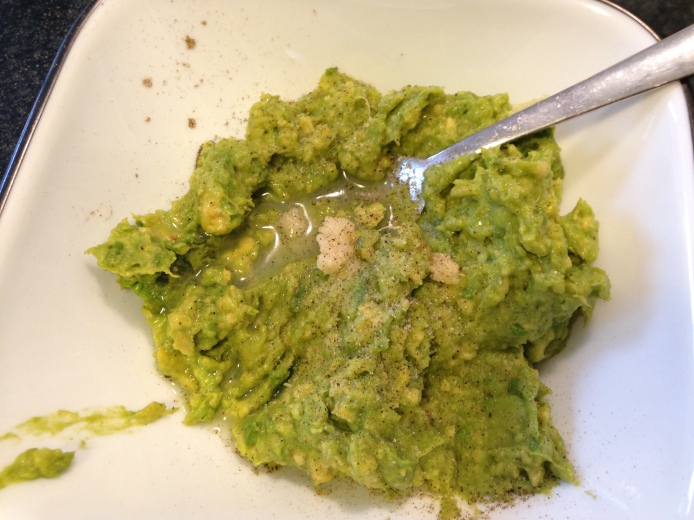
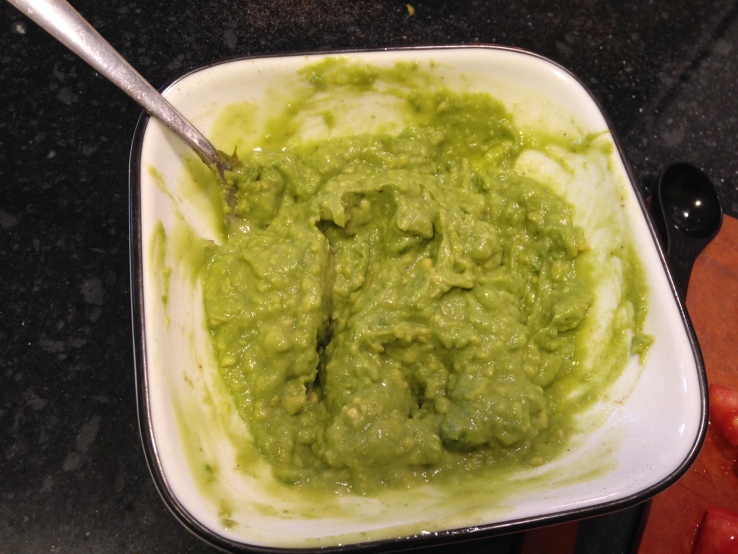
I then minced the garlic and added it to my bowl of avocado mush, added the teaspoon of lemon juice, and salt and peppered it.

IMG_1988IMG_1992IMG_1993

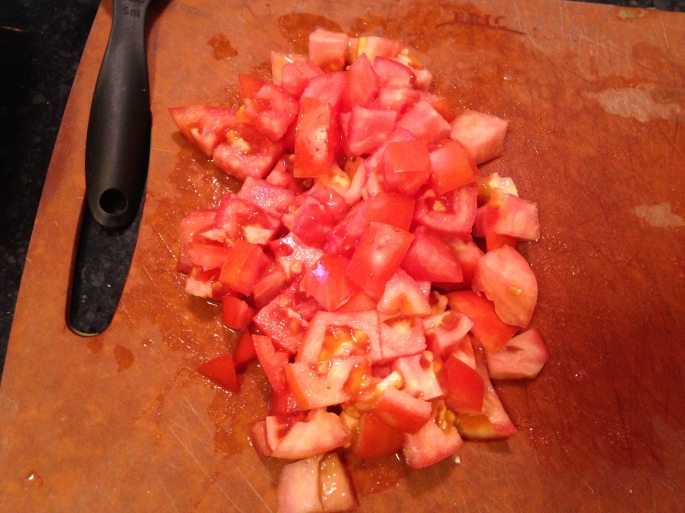
Mush, mush, mush! I made sure to put my noodles on the boil (I would have made more, but I realized belatedly that I didn’t have much spaghetti left – oh well. I’ll know for next time to make a TON because it’s delicious) and that my tomatoes were chopped (thanks to Hubby for chopping them for me while I took a break to chase kids).

IMG_1996IMG_1997

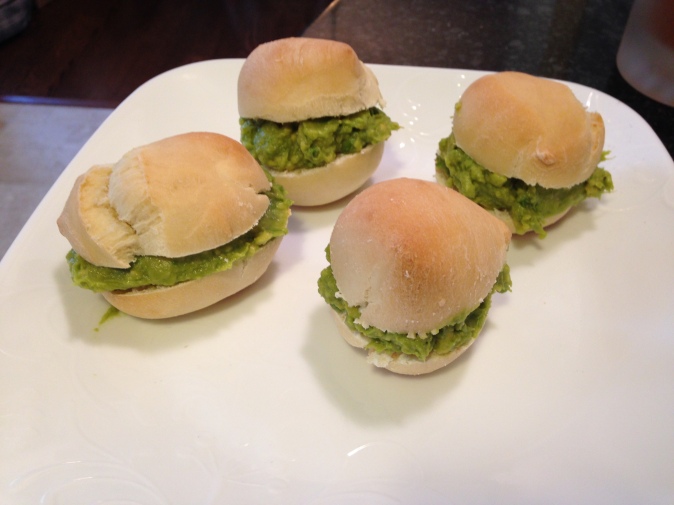
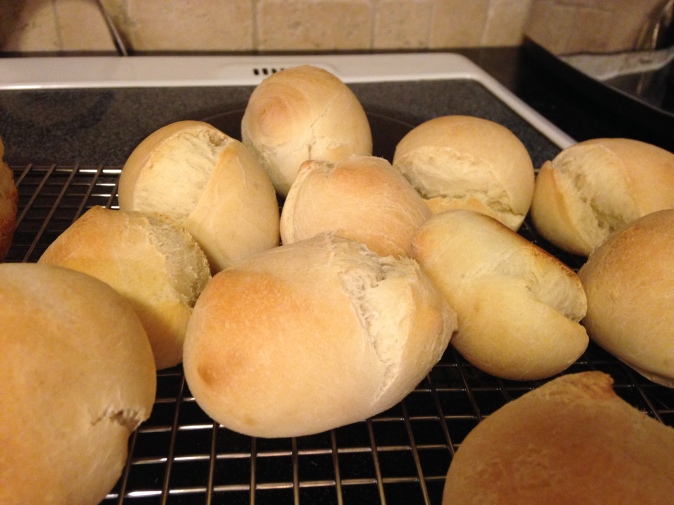
With the extra bit of mushed avocado, I added salt and pepper and put them in the buns I made previously. They made for tasty little avocado sandwiches.

IMG_1995

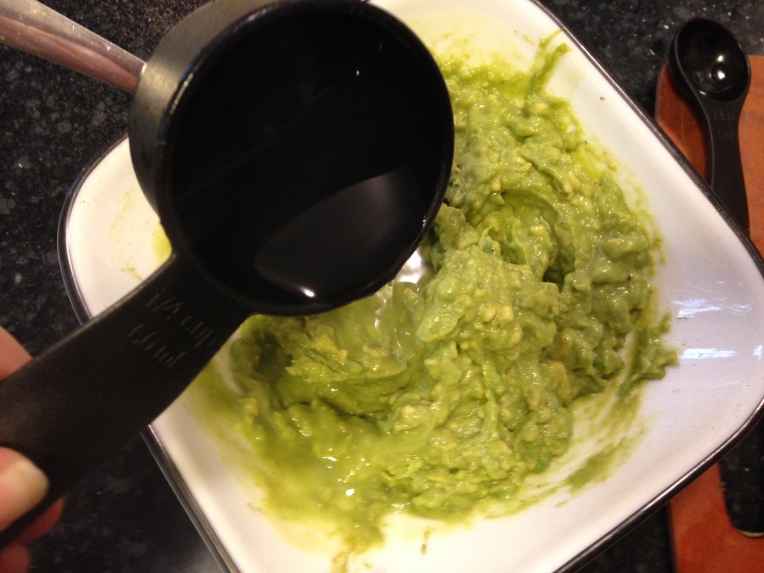
Once my noodles were ready, I scooped a 1/4 cup of water out and put it in with my avocado mixture and stirred it together.

IMG_1999IMG_2002

Lastly, it was simply a matter of plating it all. I mixed the avocado sauce with the strained spaghetti then plated it, topping it with the sliced tomatoes and adding a side of the mini avocado sandwiches. I only had enough for my older sons (5 and 4), Hubby, and I, but not enough for the twins as well. Like I said before, I’m definitely making more next time!

IMG_2003IMG_2004

Overall, if you like avocado I would highly recommend this recipe. It can be pricy with the cost of the avocados, but if you’ve got them around and are willing to give it a try, I think you’ll like it.

Cheers, and thanks for reading!

My Painful Experience with the Giant Bagel

Last night I tried something that was miles away from my comfort zone. It wasn’t good. But for a novice such as I, it was… acceptable.

Be prepared, folks, this blog post will be chock full of pictures! I took pictures along the way and hopefully we can all learn from my mistakes.

I will start at the beginning. Yesterday I knew that I wanted to try something that I’d never done before. So I searched recipes on Pinterest. I found a remarkable amount of things that I’d like to try, but sadly I did not have all of the required ingredients. Then I saw it. The perfect recipe for me to try. Bread! This is the recipe I followed. (The bread/bun recipe is below that of the sloppy joes, so you’ll have to scroll.)

I gathered all of the ingredients but then realized that I did not have bread pans. Instead, I pulled out a bunt cake pan and used that. *Please note that I doubled the recipe in the link, as I thought it wouldn’t be enough. Turned out I was wrong.

IMG_1922

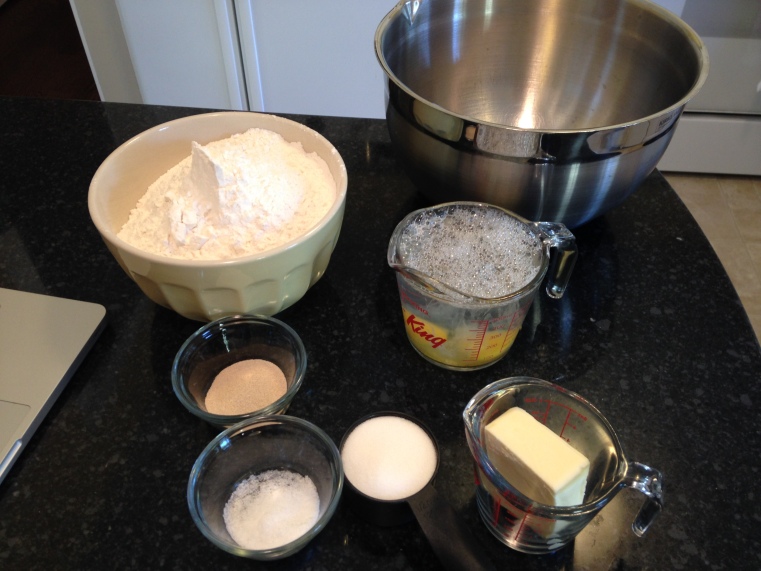
The ingredients for my doubled recipe: (*note: the regular recipe is on the link I posted)

– 2 Eggs plus enough warm water to equal 2 2/3 cups
– 1/2 cup melted butter
– 1/2 cup sugar
– 3 teaspoons of sea salt
– 8 cups of flour
– 3 teaspoons of instant yeast

Then I followed these instructions: (I mixed by hand)

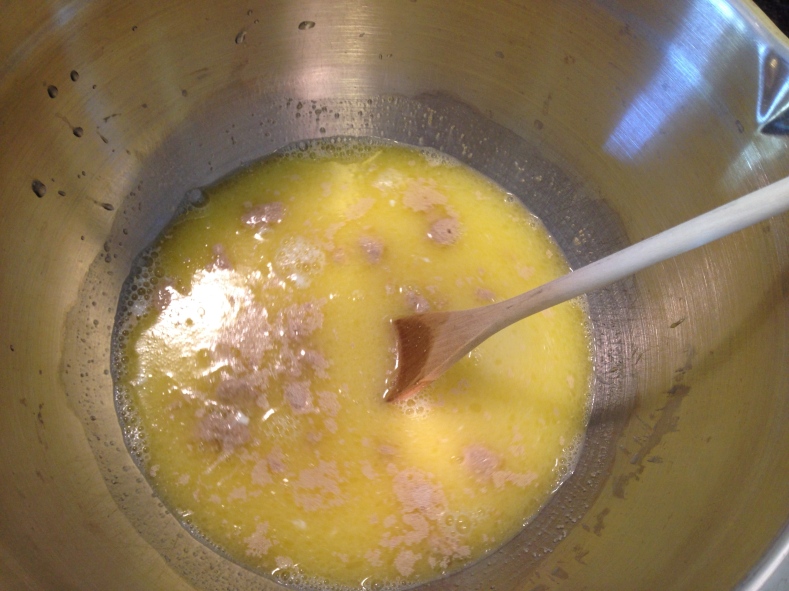
1. Blend all ingredients except flour.

IMG_1923

IMG_1924

2. Add one cup of flour at a time, mixing well after each addition.

IMG_1925

At this point, I was absolutely terrified that I was doing things wrong. Throughout this entire process, the same thoughts careened through my mind – “OMG I don’t know what I’m doing! What am I doing? What am I doing? Should I just stop? Ah! What do I do? Should I use a mixer? Should I use the blender? Ah!”

IMG_1927IMG_1928
3. When all the flour is mixed in and the dough stiffens and can be mixed by hand, put on well-floured counter and knead for 5-10 minutes.

IMG_1929IMG_1930

4. Cover and let rise for 20 minutes.

IMG_1931 IMG_1932

5. Punch down dough and let it rise again.

IMG_1933

Now, the directions on the link I posted says that the dough should get to about double its size. Well, mine didn’t. I asked my husband about it when he got home and he said that it was likely one of two things: 1. The salt and yeast shouldn’t be added at the same time because the salt does something that cancels out the rising quality of the yeast. (At least, that’s my interpretation of what he said) 2. I over-kneaded the dough.

So, after waiting and waiting… and waiting… I moved to the next step.

6. I divided the dough into buns, one giant clump for my loaf, and another chunk for my strange dinner project.

IMG_1934

7. I rolled my dough out and placed it in my bunt cake pan (which I had powdered with flour) and I put the separated buns onto a cookie sheet.

IMG_1935 IMG_1936 IMG_1939

– The instructions then said to cover them up again and let them sit, so I did. It made little difference in this situation, though, because my dough wasn’t rising.

Then I moved on to my odd dinner project. I wanted to use the dough to create something different. I’d seen pictures of things online and thought I would improvise. This is what I did:

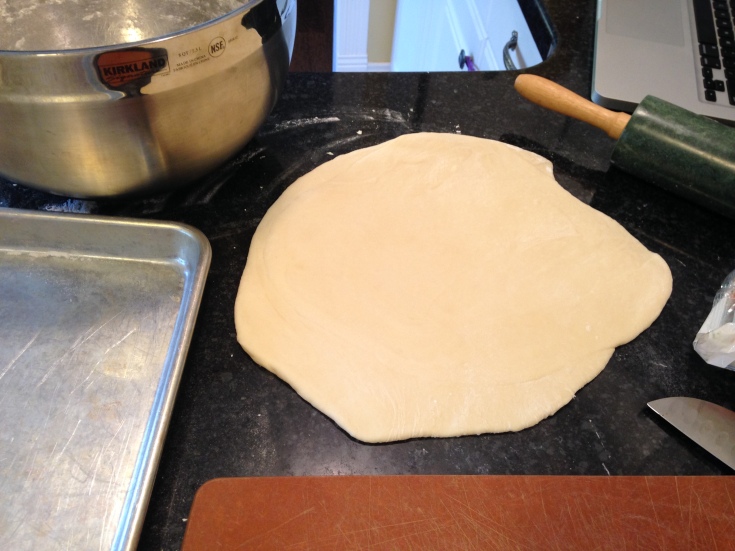
– First, I rolled out my dough with my rolling pin.

IMG_1937

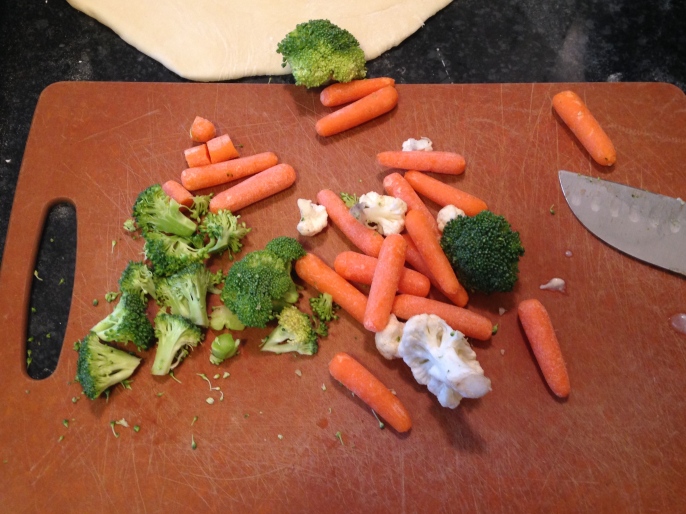
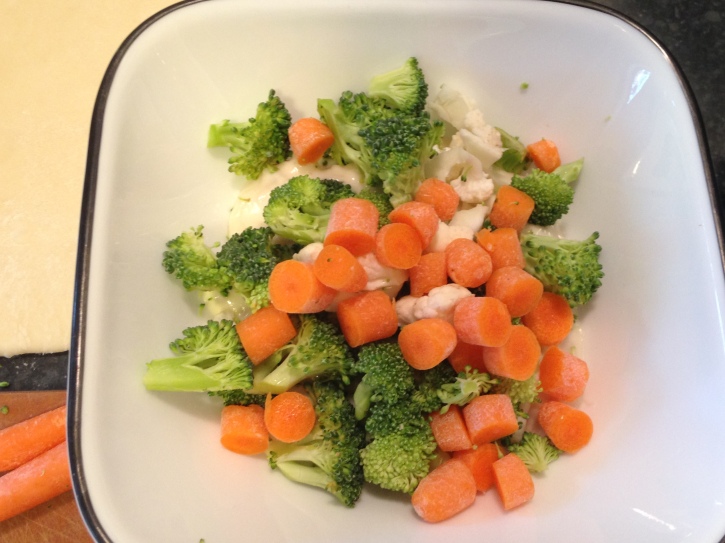
– Then I got my ingredients ready. I used cream of potato soup (only a half of a can mixed with a tiny amount of water *note: the picture of the soup below is the full can; I separated it after I took the picture) and chopped carrots, broccoli, and cauliflower, then mixed them all together.

IMG_1938 IMG_1940 IMG_1941 IMG_1942

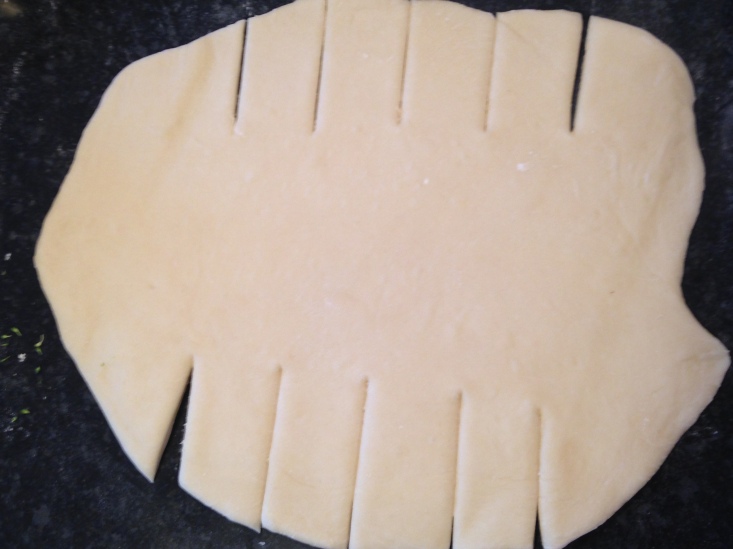
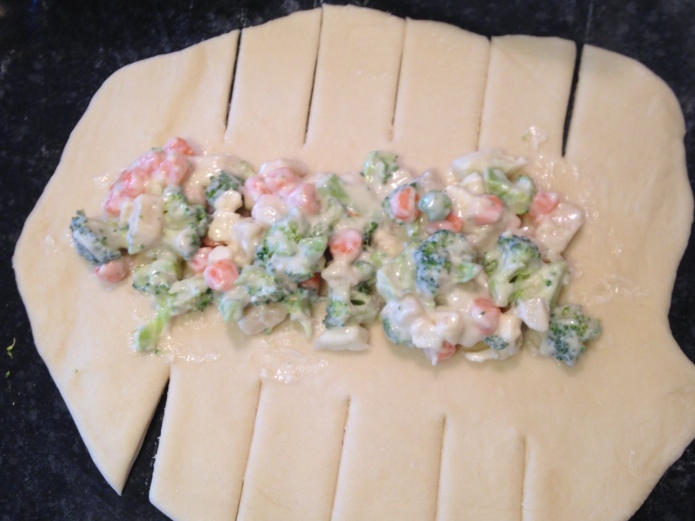
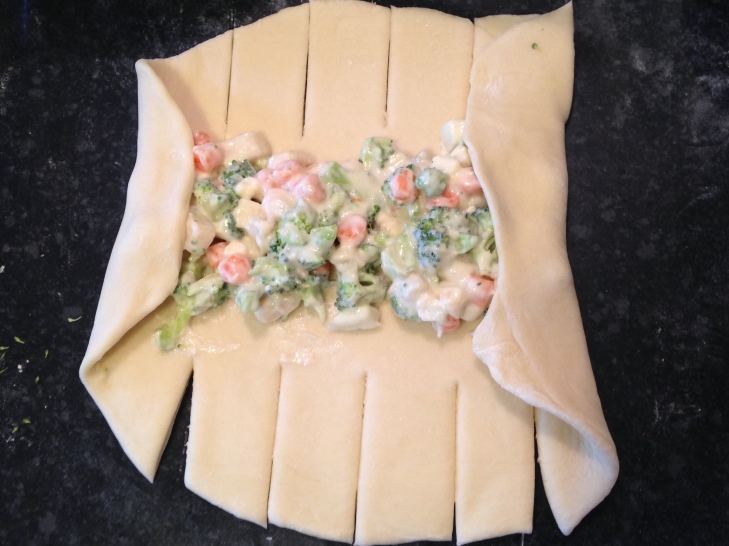
– Next, I sliced the edges of my dough and spread the mixture of soup and veggies into the centre.

IMG_1943 IMG_1944

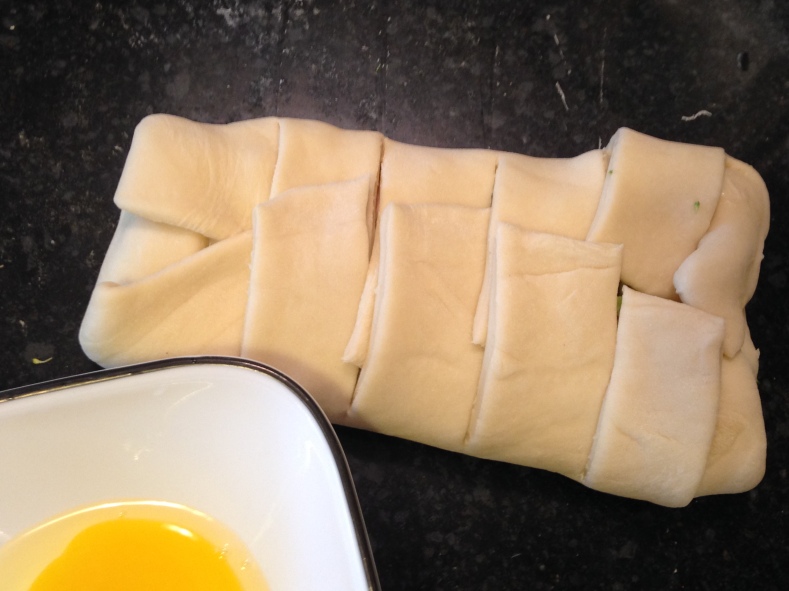
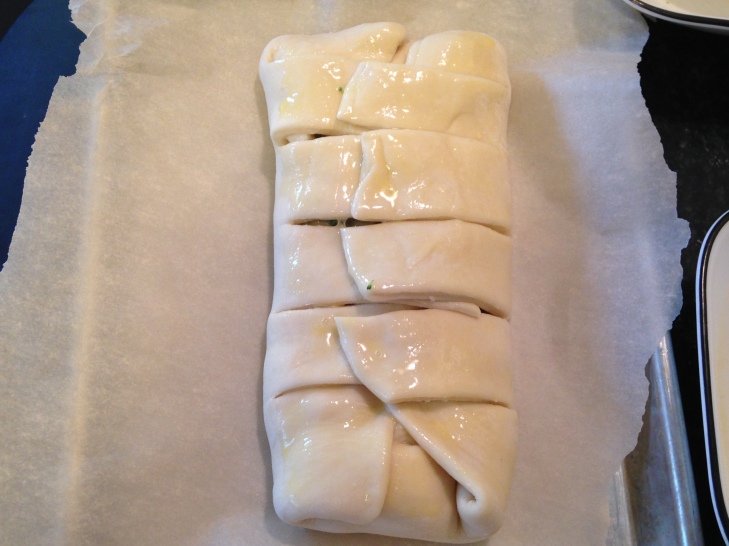
– I folded the dough over the mixture then brushed a bit of egg wash (an egg mixed with a fork) over it.

IMG_1945

IMG_1946 IMG_1948

*I used parchment paper underneath to keep it from sticking. I didn’t do that for the buns because I figured I could scrape them off if there was a problem.
– I put it in the oven at 350 degrees F for a good 20 minutes, but kept watching it to see if it would cook right. I ended up raising the temp to 375 for another 5-10 minutes, continuously watching it.

IMG_1950 IMG_1951

The end product looked and smelled pretty good, but in retrospect, I should have pre-steamed the veggies, as they came out still crunchy.

– The loaf and buns went in the oven next. Again, I started the oven at 350 degrees F. The loaf was in for 25 minutes and then kept in and watched for several minutes after that. The buns were in for 15 minutes, and again, kept in and watched for several minutes until I was satisfied with their colour.

IMG_1952

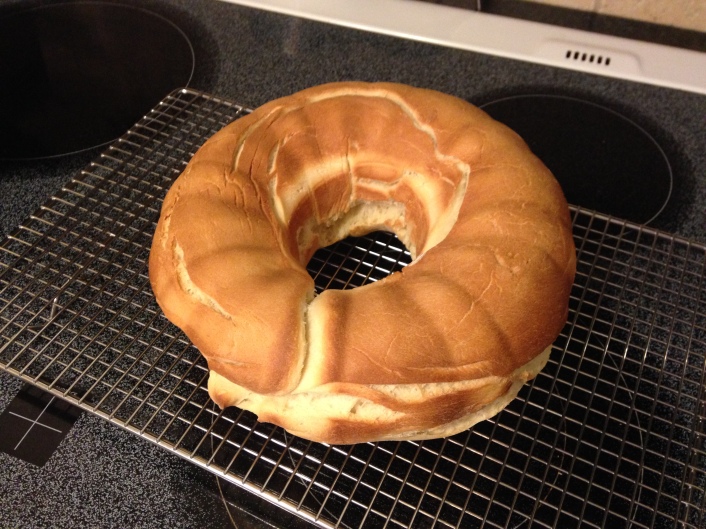
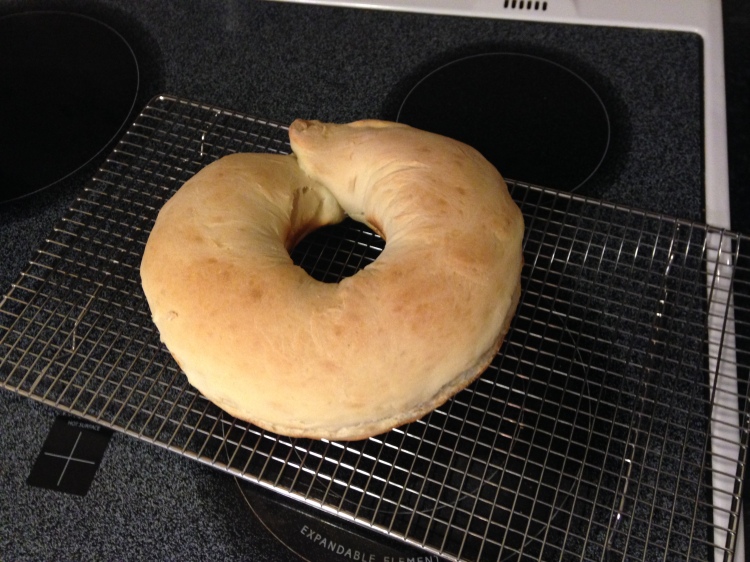
The above picture is the under-side of my giant bagel.

IMG_1953

The above picture is the top of my giant bagel.

IMG_1955 IMG_1956 IMG_1957

After reading this blog, you may be wondering what it is about this process that was “painful” as the title says. Well, allow me to enlighten you. While I was taking the buns off the cookie sheet, I had the sheet in one oven-mitted hand and the scraper in the other… and for goodness knows what reason, I decided to use my stomach to hold the sheet still as I scraped the buns off. Yes. My stomach. Needless to say, I quickly put the sheet down on the counter and ran for the ice. The burn hurt last night, but it is fine today. But boy is my pride scarred.

In retrospect, I would change four things with this process:

1. I would mix the salt with the flour, not adding it to the beginning mixture with the yeast but slowly with the flour.
2. I would not take out my frustration on the dough. (Because of the first two mistakes, my buns and “loaf” came out thick and dense like the dough of bagels. While tasty, they aren’t my goal result – bread.)
3. I would pre-steam the veggies added in all baking.
4. I wouldn’t use my stomach to stabilize the hot things that are in my hands.

Phew! All done. Now to go enjoy a slice of round bagel toast.

Thank you for reading!
The Buffalo Chicken Wrap

There are only two meals that I’m actually good at making: 1. Pulled Chicken Sandwiches (will post recipe the next time I make it) and 2. Buffalo Chicken Wraps. They’re amazing. And they happened by accident.

We do our grocery shopping on Fridays, so by the time Thursday rolls around, we’re usually pretty low on groceries. One evening I began to prepare things for burritos but realized belatedly that we hadn’t any beef, ground turkey, or lettuce. So I pulled some breaded chicken strips from our freezer and became creative.

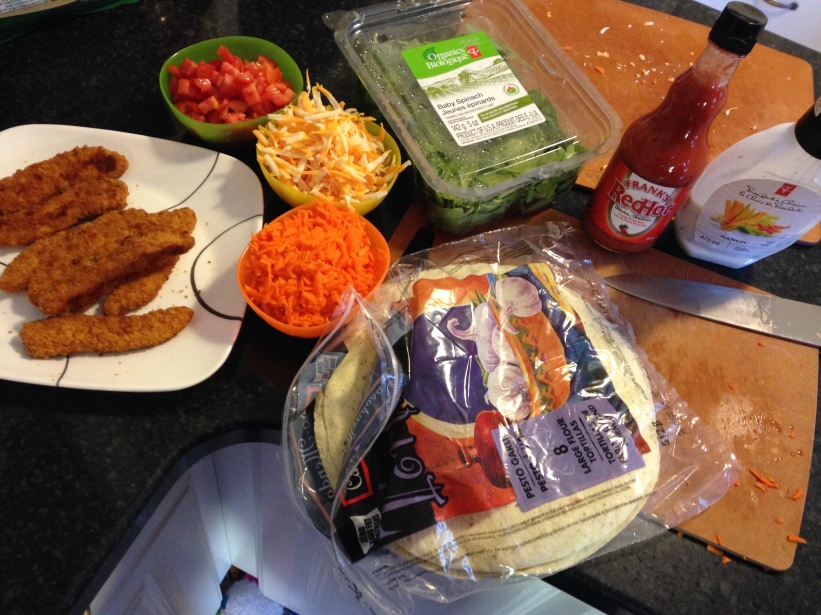
The ingredients for my Buffalo Chicken Wraps:

IMG_1679

– Breaded chicken strips – two strips used per wrap
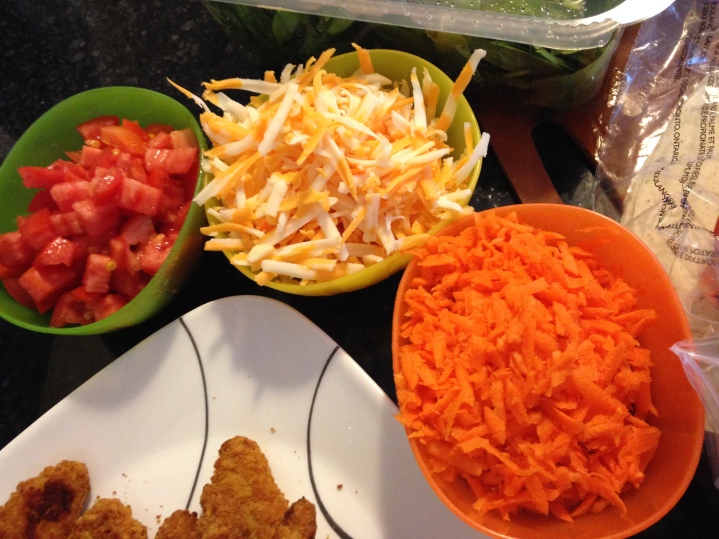
– Cheese – shredded (we use marble cheddar)
– Carrots – peeled and shredded
– Tomatoes  – chopped into small pieces
– Spinnach – we use baby spinach leaves
– Tortillas – we have used all varieties of wraps, so I don’t think the brand or flavour matters
– Frank’s Red Hot Sauce – we’ve used the “thick” variety and regular and both worked nicely
– Ranch dressing

IMG_1678 IMG_1680

The steps I use for making the wraps:

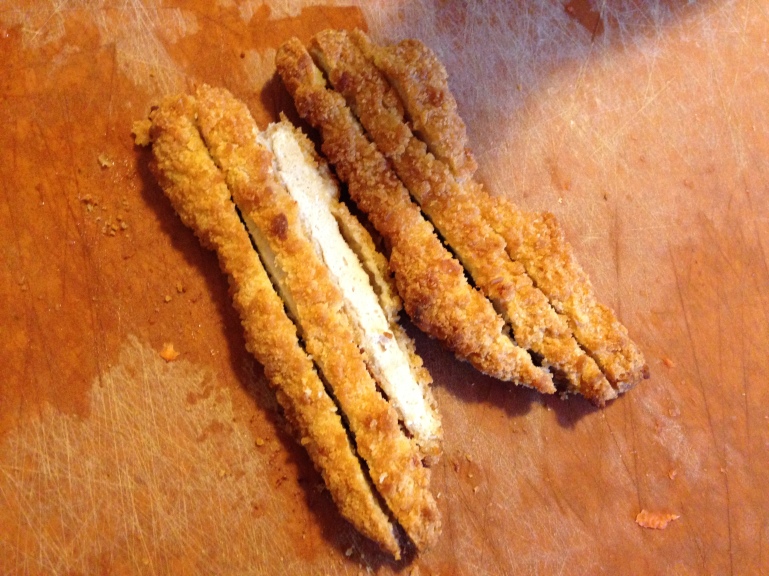
1. Cook the chicken (as directed on the back of the package) then slice into three strips (as picture shows). Allow me to explain… I do this because I’ve found that when biting into a wrap, I get one bite full of meat and the next full of extras. By slicing the chicken, I’ve found that the extras squeeze between the chicken, allowing for each bite to have both meat and extras.

IMG_1681

2. Warm the tortillas in the microwave (about 18 seconds) so that they are easier to fold/wrap at the end

3. Sprinkle cheese (I’ll let you choose the amount – it’s to taste, really) from one end of the tortilla to the other, directly through the centre. I leave a little bit of space at the bottom to make folding the wrap easier at the end.

4. Place sliced chicken (of two strips) over the cheese. With luck, the warmth of the chicken and tortilla will soften the cheese.

IMG_1682

5. Sprinkle shredded carrots and tomatoes over the chicken.

6. Add sauce. I like my hot sauce, so I usually put a healthy amount of Frank’s Red Hot Sauce on mine. Then I add a strip of ranch dressing.

IMG_1683

7. I select some leaves of spinach and place them along the top.

IMG_1684

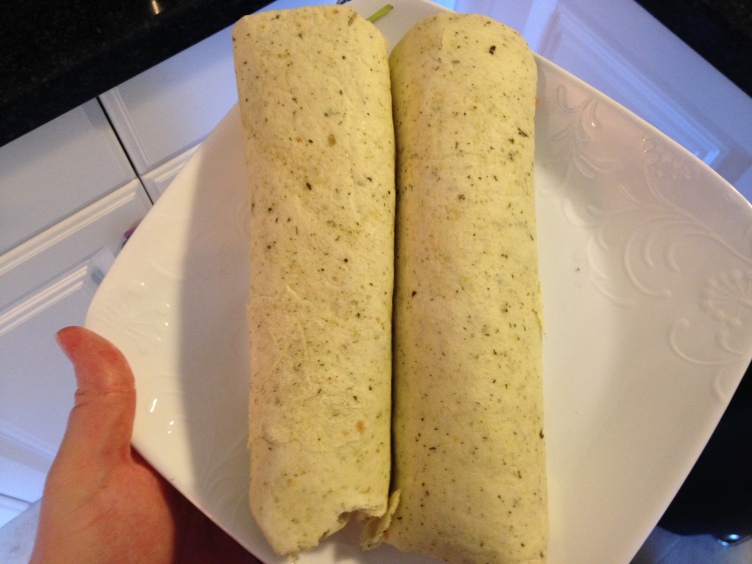
8. Once the ingredients of my wrap have been added, I fold up the bottom (so the sauces don’t drip and the food doesn’t fall out) then I wrap it.

IMG_1685

This recipe, I would highly recommend you try. It’s one of our weekly go-to meals.

Happy cooking, everyone! Thank you for reading!

Tomato Soup Disaster

Last night I thought I would be clever and make a *delicious* tomato soup. From scratch. We have a garden in our backyard, in which we have an enormous tomato plant. As such, we had a good seven tomatoes sitting on our kitchen counter waiting to be consumed. So I went on Pinterest and searched through tomato soup recipes for the Vitamix. I found several that had the same ingredients:

-Handfull of chopped tomatoes
-3 Cloves of garlic
-Handful of basil leaves
-Spices (salt, pepper, and others to taste)
Etc.

So I thought I would give it a try. I chopped my tomatoes, peeled my garlic, and gathered my spices. I put them all in the Vitamix and gave them a whirl until it was smooth.

Well, it didn’t turn out as I had expected. It tasted very strongly of garlic and it was thick and frothy. I tried adding water and putting it on the stove to simmer, but then it was, in essence, tomato-garlic-water.

In desperation, I asked my husband what he thought I should do and he suggested adding some Campbell’s Tomato soup. I must repeat, I was desperate. It was late, we were hungry, the kids were cranky, and Hubby was already nearly done cooking the grilled cheese sandwiches for accompaniment… I had to get it done quickly.

IMG_1676
It was for that reason that I quickly dumped a can into the mixture and stirred it in with a whisk, hoping beyond hope that we could all stomach what I’d made.

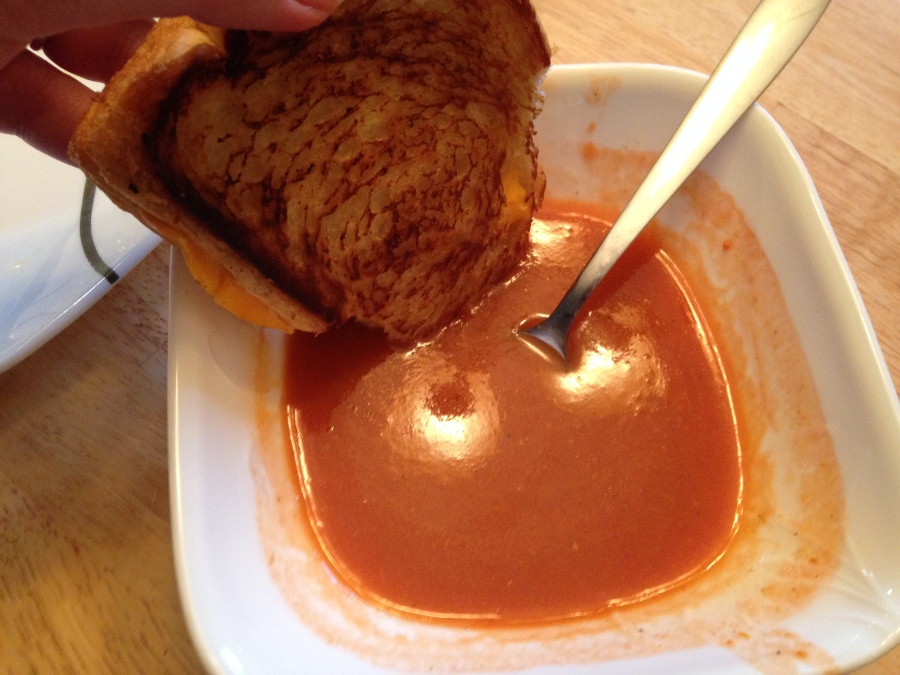
The result, I am happy to say, was actually palatable. It still had a strong garlic taste, but it was far more manageable than my original mixture. It was also excellent to dip a grilled cheese into.

IMG_1672

For all of your sakes – and your sanity – please do not try to replicate my recipe; if I had the choice, I would not make it the same way again. In the future I may try another version, but for now I’m all tomato-souped out.

Thank you for reading, and farewell for now!

The First Blog of the Terrible Cook

Hello, everyone.

My name is Cheri Champagne. I’m a historical romance author, wife, and stay-at-home Mom of four children aged five and under. And I don’t know how to cook.

I’m not certain if anyone will read this, myself excluded, but I’m writing it nonetheless. This blog is solely for the purpose of my experimental cooking. And for learning how to blog, I suppose.

Being a stay-at-home Mom and wife, I am the one that ordinarily cooks dinner. The problem is that I’m an absolutely terrible cook. I generally think cooking dinner is putting a frozen pizza in the oven and lunch is Nutella spread on bread. And even they turn out terrible. Lately, however, I have been trying to copy recipes that I find on Pinterest… and again, they turn out terribly. I’ve ruined every single recipe that I’ve tried from Pinterest.

Alas, despite my failures, I keep trying. This blog is my attempt at a log, of sorts, in which I discuss which recipes worked and which didn’t. I will take a picture (or several) of each attempt and post it on here (my Facebook friends probably wouldn’t appreciate an overwhelming amount of foodie pictures).

Thank you for reading!

Cheers!