Salty But Strangely Delicious Cookies

Good evening, everyone! Today I’m writing about the batch of cookies that I made last night for my son’s Kindergarten class’ party today. It was kindly suggested/requested by my son’s teacher that parents bring goodies if they wished. So of course, I couldn’t refuse.

This is the recipe I followed:

– 2 1/4 cups flour
– 1 teaspoon salt (Hubby commented that this and the baking soda was too much while we were baking, but I was adamant that the recipe called for it, so it must be put in…)
– 1 teaspoon baking soda (same comment as above)
– 1 cup unsalted, room temperature butter
– 3/4 cup white sugar
– 3/4 cup brown sugar
– 1 teaspoon vanilla extract
– 2 eggs
– Chocolate chips (recipe called for “1 bag” but as we buy huge bags, this wouldn’t work. So I estimated)

IMG_3616

The directions:

1. Preheat oven to 375 degrees F.

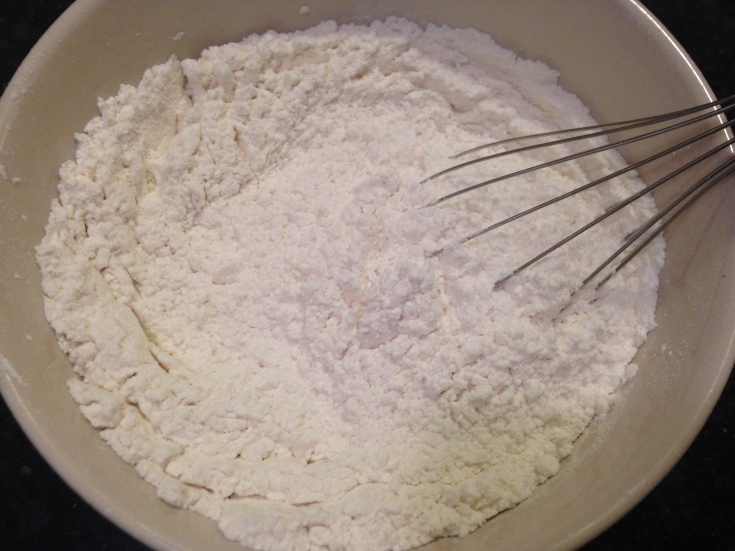
2. Pre-mix dry ingredients. I mixed this with a whisk just for fun. Note: This is when my husband said that there was too much baking soda and too much salt. I was adamant that I was correct because it said so in the recipe.

IMG_3617

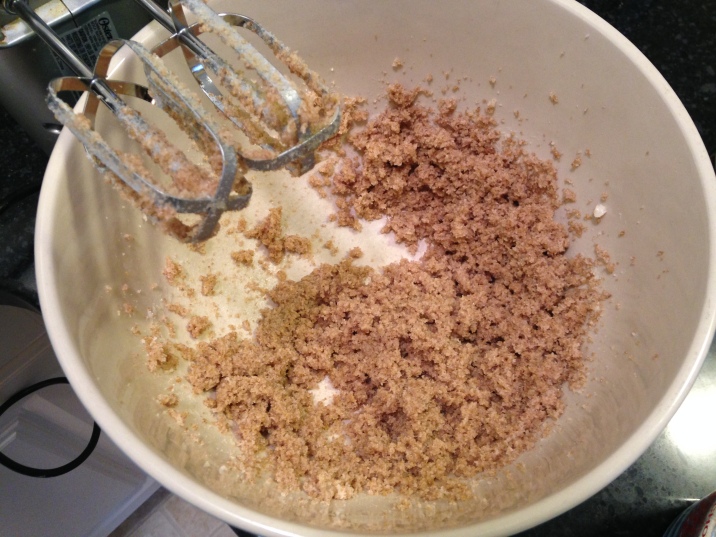
3. Smooth/soften butter by mixing. I would ordinarily use my hand mixer for this, but Hubby insisted that he could do it himself.

4. Add white sugar to butter and mix.

5. Add brown sugar to sugar-butter mixture and mix.

IMG_3618

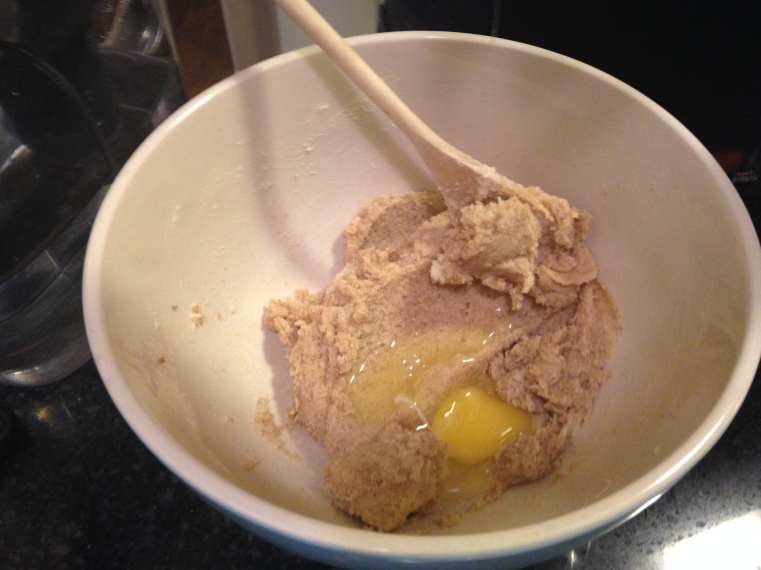
6. Add one egg at a time and mix.

IMG_3620

7. Add vanilla extract.

IMG_3623

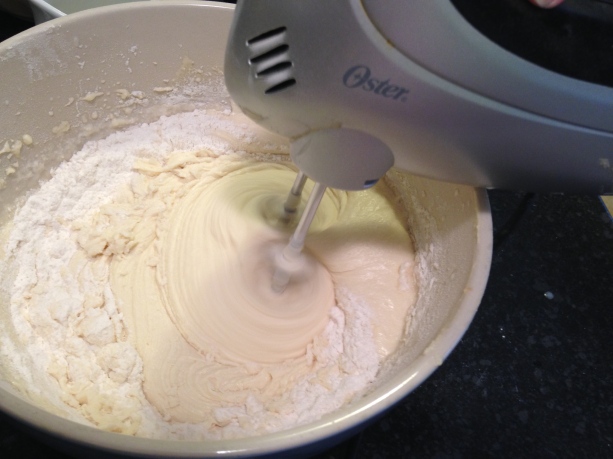
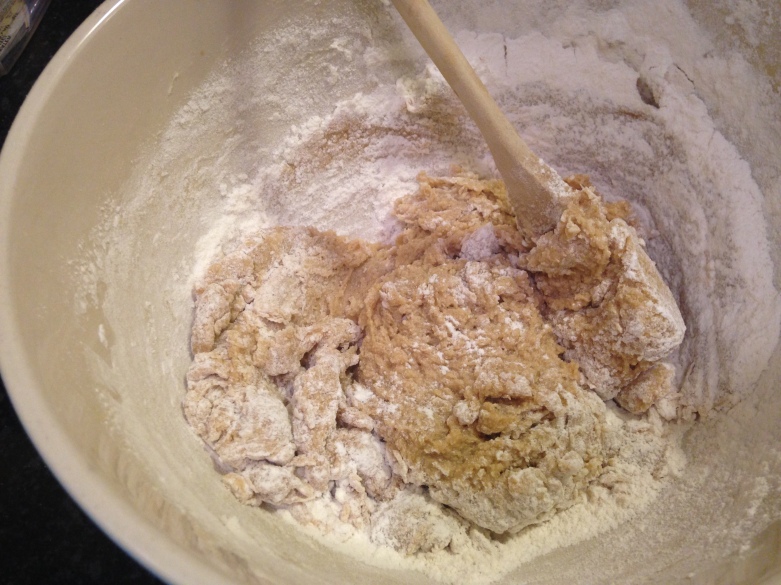
8. Slowly incorporate flour mixture.

IMG_3625 IMG_3626 IMG_3628

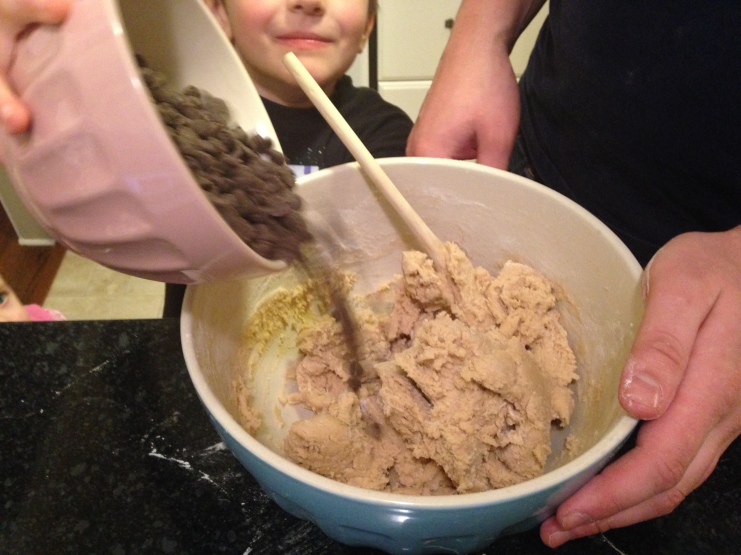
9. Add chocolate chips. As you can see, we had helpers. My kids added the ingredients and Hubby stirred.

IMG_3629 IMG_3633

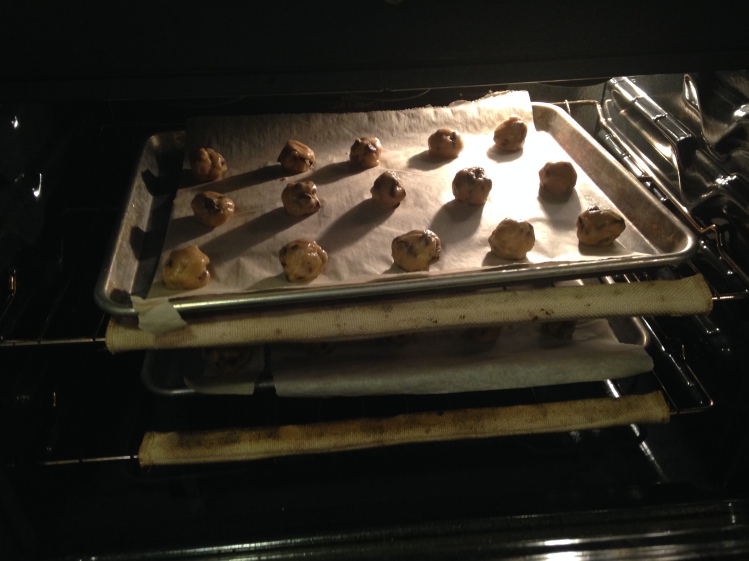
10. Roll into balls and put on cookie sheet. We used parchment paper, which really helped with getting the cookies off the sheet afterward.

11. Bake for 9-15 minutes, depending on how hot your oven cooks. Ours tends to be on the low side, so ours took 15 minutes to bake. This recipe made four cookie sheets of cookies.

IMG_3636 IMG_3635 IMG_3634

12. Let cool and enjoy!

IMG_3637 IMG_3638

Final thoughts: This recipe definitely had “too much” salt and baking soda. Needless to say, the cookies had an odd, salty flavour to them. But strangely enough, they ended up delicious. The salty taste contrasted the sweet, which could be dangerous in that one could easily eat too many.

They were a big hit with my family. I’m not sure how my son’s classmates enjoyed them, though, as I had to pick my son up early from school. He fell on the playground at recess and chipped one of his teeth. But don’t worry. He’s seen the dentist and is a-ok for tomorrow’s school day.

Thanks for reading, everyone!

The Strawberry Cinnamon Buns

Happy Thursday, everyone! Today I’m writing about my experiment with strawberry cinnamon buns. I found the recipe on Pinterest (where else?) and wanted to try it instantly. They didn’t turn out exactly how they look on the recipe I followed, but I’m blaming that on my yeast. I think that perhaps it’s a little old… or it’s the salt in the recipe. But I figured that if this person makes them all the time, then they know what they’re doing, right? So it must be the yeast. Anyway…

This is the recipe I followed:

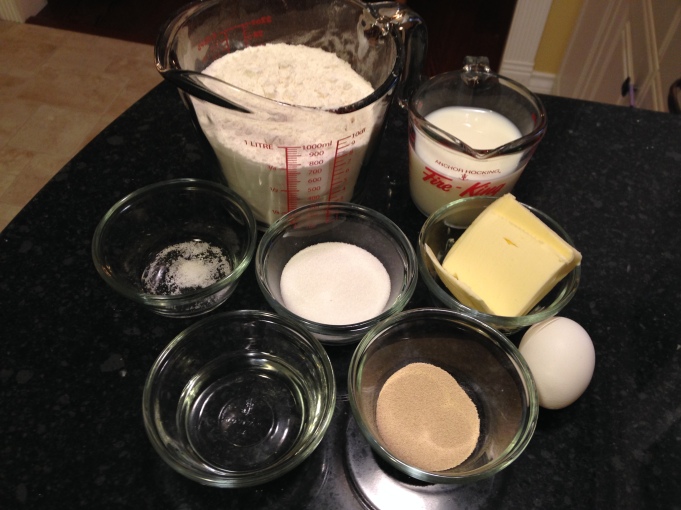
– 3/4 cup milk
– 1/3 cup softened butter
– 3 1/4 cups all purpose flour
– 2 tsp instant yeast
– 1/4 cup white sugar
– 1/2 tsp salt
– 1 egg
– 1/4 cup water

IMG_2858

For the filling:

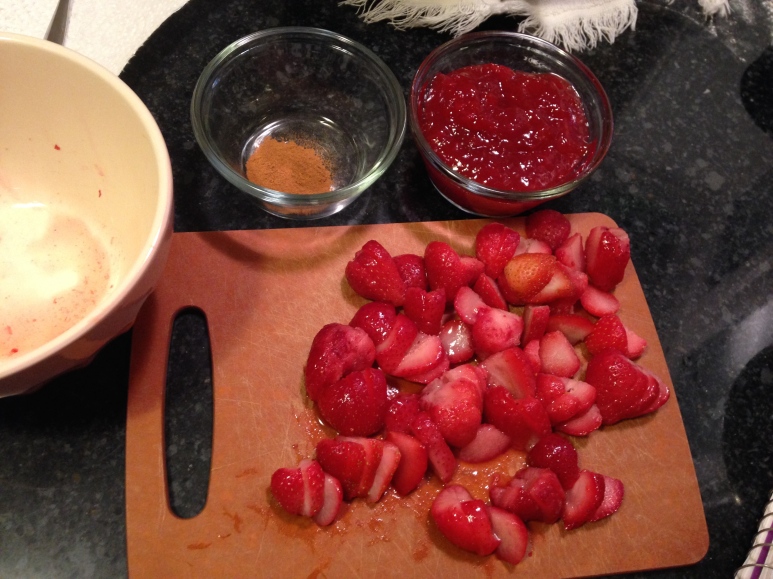
– 1 cup strawberry jam
– 1/2 teaspoon of cinnamon
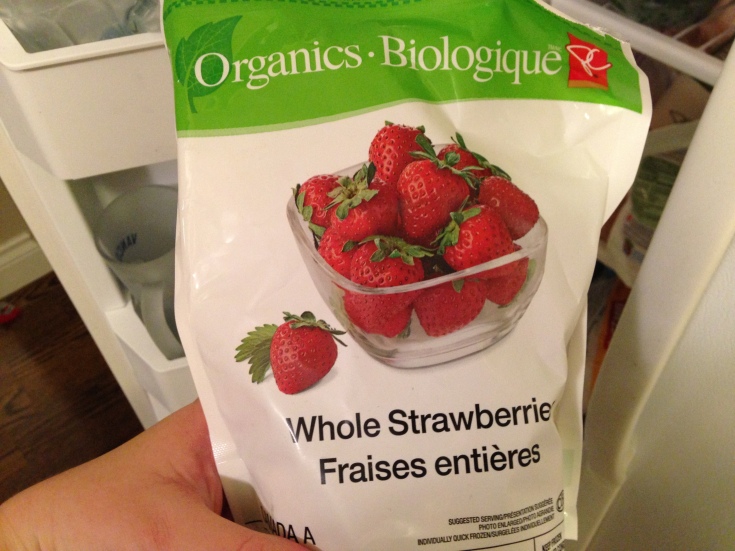
– 2 cups sliced strawberries (all we had were frozen strawberries, but I used them anyway)

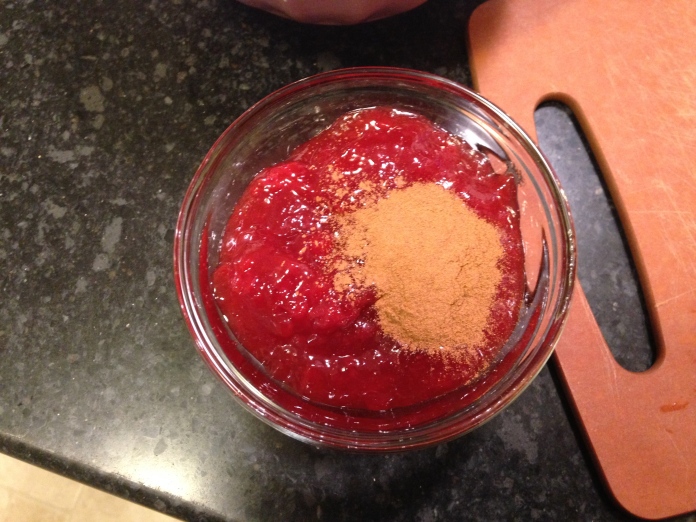
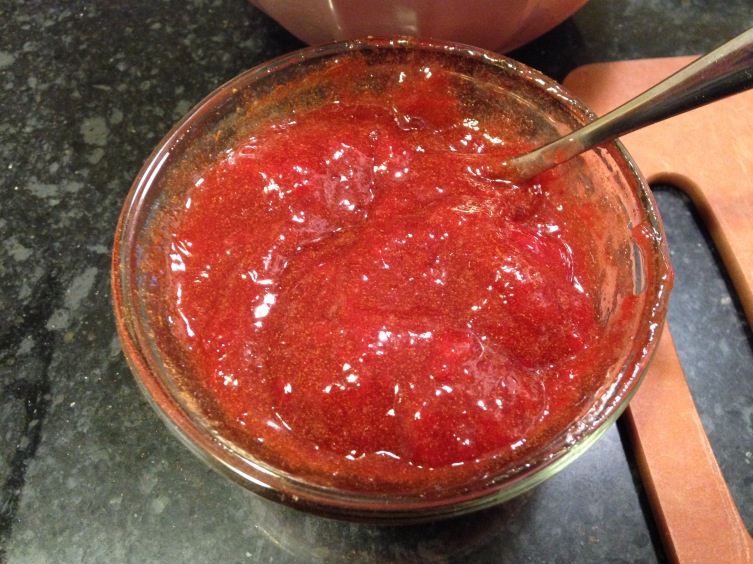
*Note: The recipe says to add ingredients separately here, but I’m terrible at “sprinkling” things because it always ends up in clumps. I didn’t want anyone biting into a cinnamon clump, so I pre-mixed the strawberry jam and the cinnamon.

IMG_2870 IMG_2871 IMG_2872 IMG_2873

Icing:

– 1 cup powdered sugar
– 1/4 tsp cinnamon
– 1-2 tbsp milk

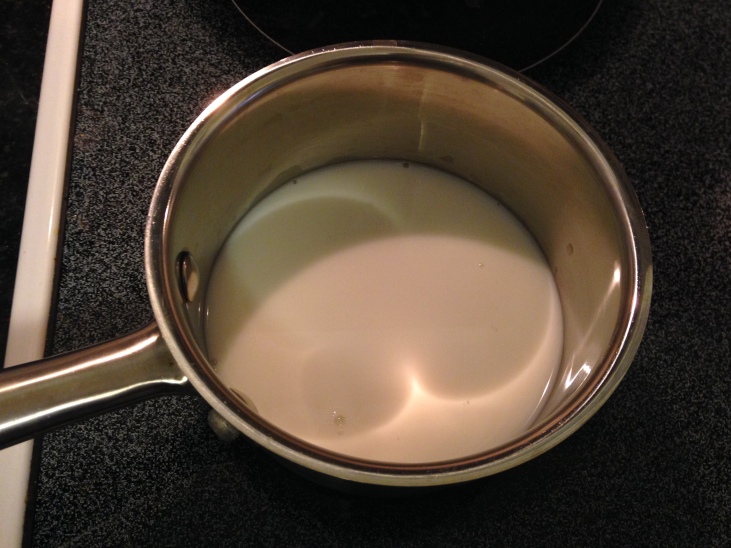
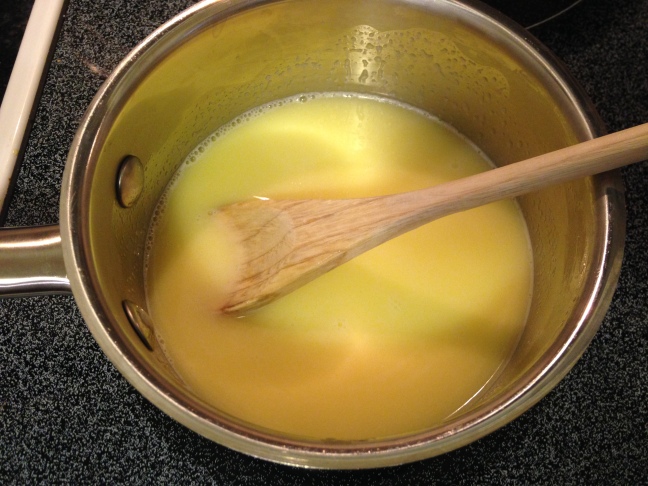
1. Heat the milk in a small saucepan until it gets warm. Then mix in the butter until it’s nice and melted. Take it off the heat and work on the rest of the recipe while it cools (mine was still pretty warm/hot when I added it, but as my husband says, it’s better for the yeast to be warm)

IMG_2859 IMG_2860 IMG_2861

2. In a lage bowl, combine flour, yeast, sugar, and salt (the recipe said to only put in 2 1/4 cups of flour in at this point, but I clearly didn’t read that, as I dumped the whole thing in). Mix well.

IMG_2862

3. Stir in the egg and water. Mix well.

IMG_2863

4. Stir in the milk mixture (probably still warm/hot) until dough forms.

IMG_2864 IMG_2865

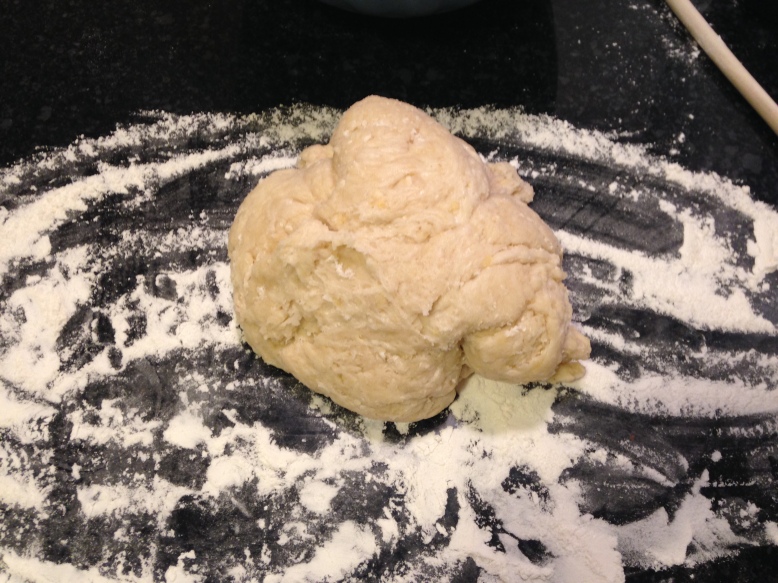
5. This is where the recipe says to add in the extra cup of flour. Then dump the dough on a lightly floured surface and kneed until smooth.

IMG_2866

6. Put the dough ball back in the bowl and cover with a damp towel. Let it rest for 10 minutes.

IMG_2867 IMG_2868

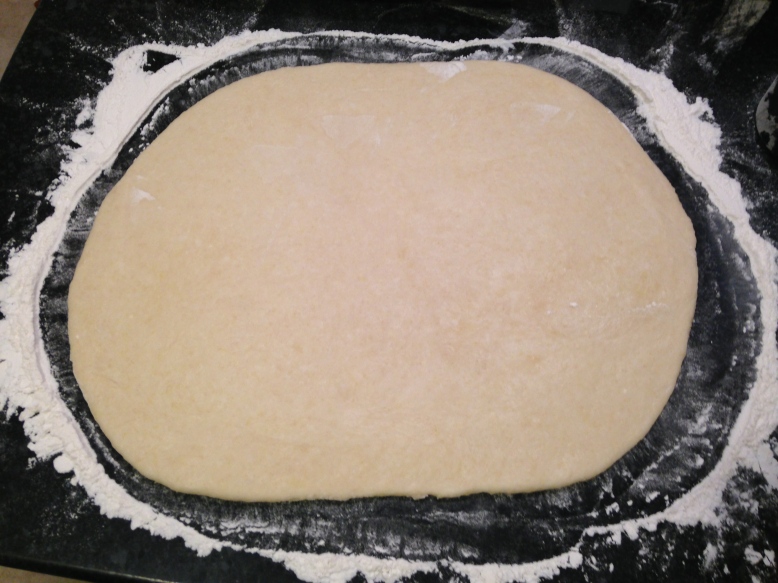
7. Roll out dough into a “15-10” inch rectangle (the recipe seemed very specific here, but as I didn’t have measuring tape around, I guessed at this size).

IMG_2874 IMG_2875

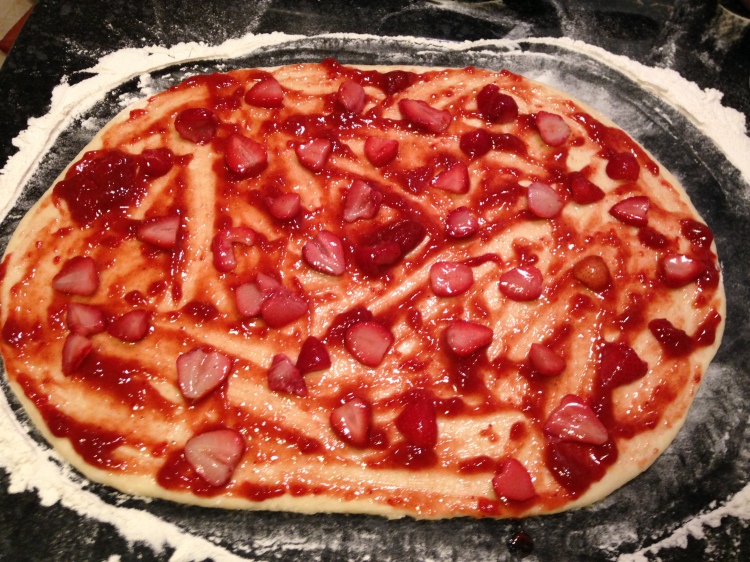
8. Spread the strawberry jam mixture over the dough then evenly cover with chopped strawberries. It looks like a sweet pizza!

IMG_2876

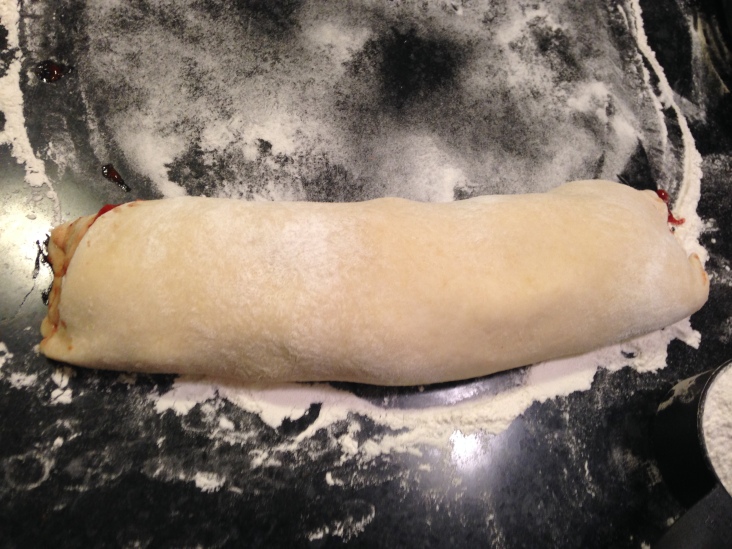
9. Roll up the dough and pinch the seam to seal. (This didn’t really work for me, as the jam  made it goopy).

IMG_2877 IMG_2878

10. Cut into 12 equal size rolls. (Again, this didn’t work. My knife wasn’t sharp enough and the dough just got squished. I did my best, though, and it didn’t end terribly.) *Note: Watch out, it can get really messy.

IMG_2879

11. Place rolls on a “greased 11×13” baking dish. Cover with a cloth and let rise until doubled (30 minutes). Ok, as I said above, my yeast clearly isn’t working… or there’s something else wrong with this recipe, because mine did not rise until doubled. They pretty much just stayed the same.

IMG_2880 IMG_2881

12. Preheat the oven to 375 degrees F.

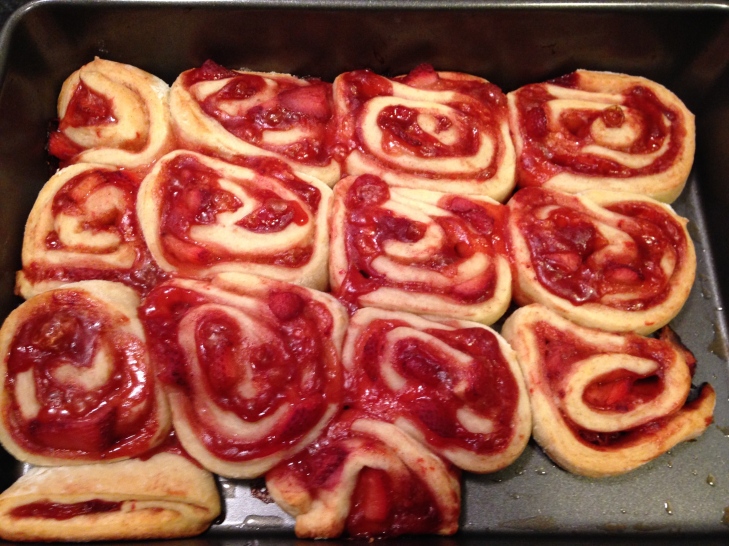
13. Bake in the preheated oven for 30 minutes or until golden brown.

IMG_2892

The icing:

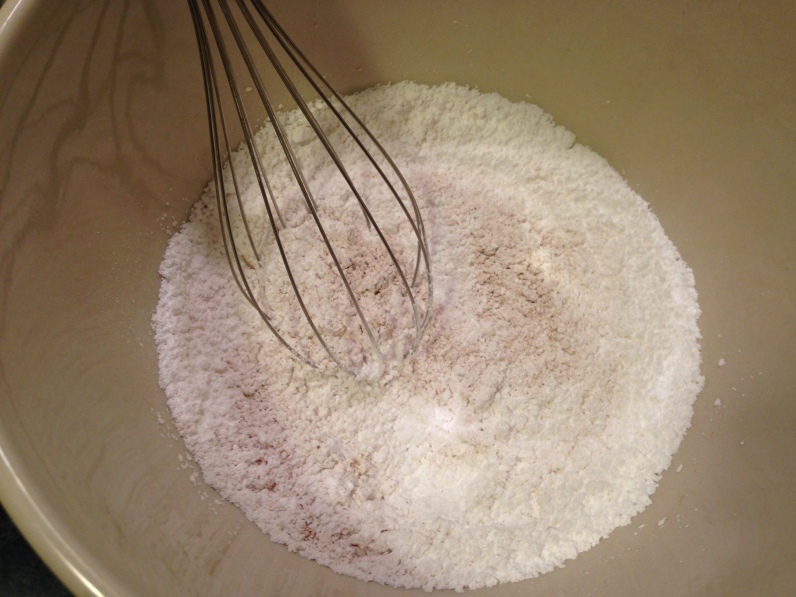
1. Mix the powdered sugar and cinnamon with 1 tbsp of milk and mix. Add other tbsp of milk or until you reach the desired consistency.

IMG_2883 IMG_2885 IMG_2886

IMG_2888

2. Drizzle over finished rolls.

*Note: I found the cinnamon a little overwhelming in the icing and there wasn’t nearly enough for all the rolls (we like lots of icing). What I would suggest, is adding perhaps 2 cups of icing sugar to the listed amount of cinnamon and add milk based on that.

IMG_2897 IMG_2898

Final thought: These were delicious. They were perhaps a little more dense than they were meant to be, but I liked them anyway. My older boys weren’t as taken with them as my twins and my husband and I were, though. It was an interesting experience, and the end was yummy, but I’m not sure I’d make them again.

Thank you all for reading!

Colourful Chocolate Chip Cookies

Good morning, blog readers! Today I’m writing about a very odd batch of colourful chocolate chip cookies. My eldest son wanted green cookies and my middle son wanted purple… so I obliged them.

Again, I went on Pinterest and searched cookie recipes (let me tell you, there are some crazy delicious-looking cookies on there that I definitely plan on trying) and this is what I found:

*Note: firstly, I’d like to add that I thought the ratio of chocolate chips to flour was off, so I removed 1/2 a cup of chocolate chips and added 1/2 cup of oats (the recipe below reflects this change).

This is the recipe I followed:

– 1 1/4 cups flour
– 1 tsp baking soda
– 1/2 tsp salt
– 1/2 cup unsalted butter at room temperature
– 1/2 cup brown sugar, packed
– 6 tbsp granulated white sugar
– 1 egg
– 1tsp vanilla extract
– 2 cups semisweet chocolate chips
– 1/2 cups oats

IMG_2646

These are the directions I followed:

1. Preheat oven to 350 degrees F.

2. Line two cookie sheets with parchment paper. I ran out of space on my sheets, so I snuck in a couple of larger cookies. Next time, I think I’m going to prepare a third cookie sheet.

IMG_2648

3. Sift together flour, baking soda, and salt. As I did in a previous recipe, I didn’t sift these. I used a whisk and mixed the dry ingredients together.

IMG_2649

4. In large bowl, beat butter, brown sugar, and white sugar until smooth (two minutes?).

IMG_2650 IMG_2651

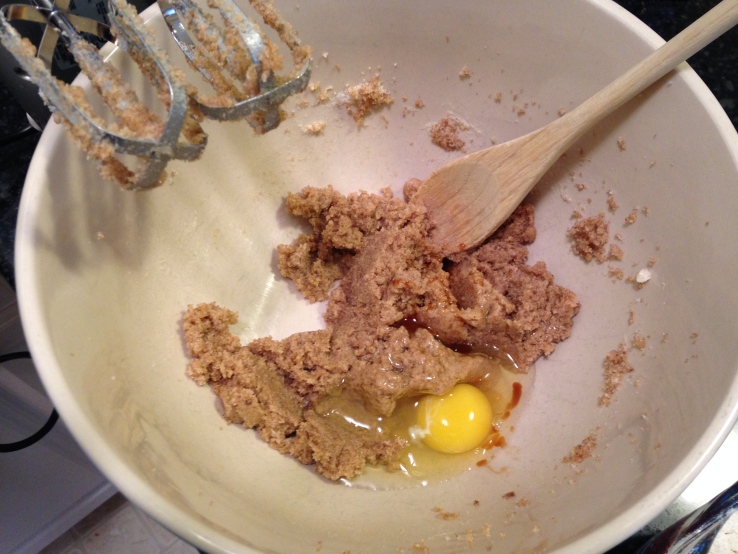
5. Add egg and vanilla then mix on low.

IMG_2652

IMG_2653

6. Slowly add flour and mix until incorporated. Here, my electric mixer began to sound like was going to burn out… the grinding and groaning tipped me off, so I switched to a wooden spoon.

IMG_2655

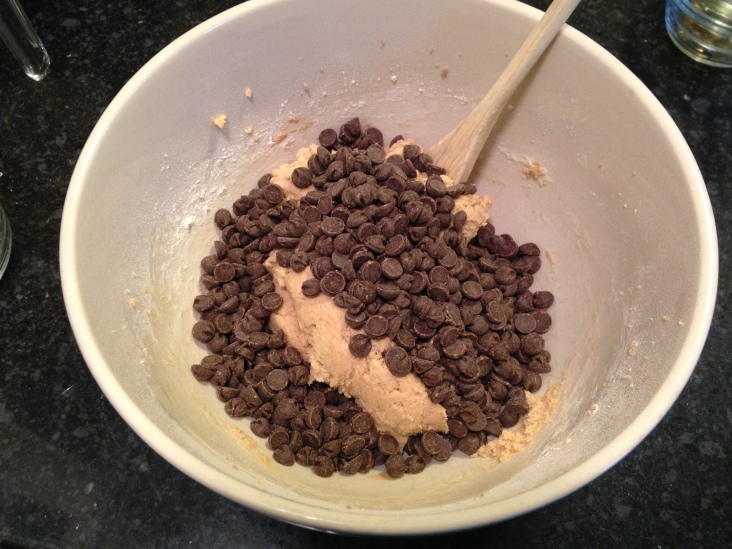
7. Add chocolate chips and oats.

IMG_2656

IMG_2657

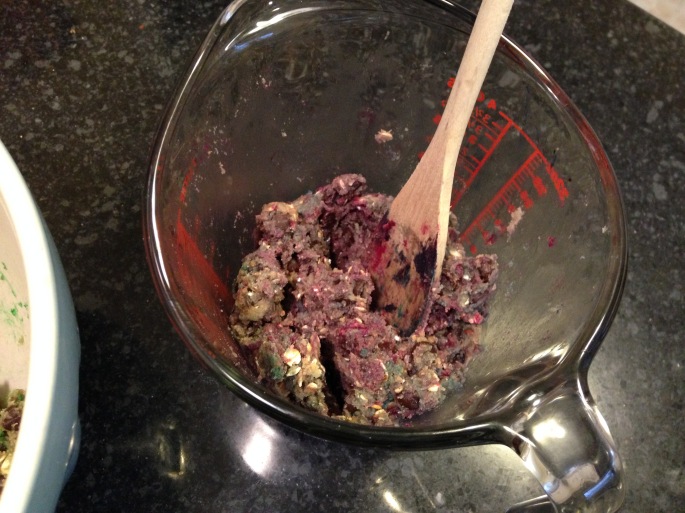
8. Here, I separated my dough into two sections and began adding the food colouring. In retrospect, I probably should have added the colour along with the wet ingredients, because this was very difficult to stir and the colour didn’t integrate very well.

IMG_2658 IMG_2660 IMG_2661

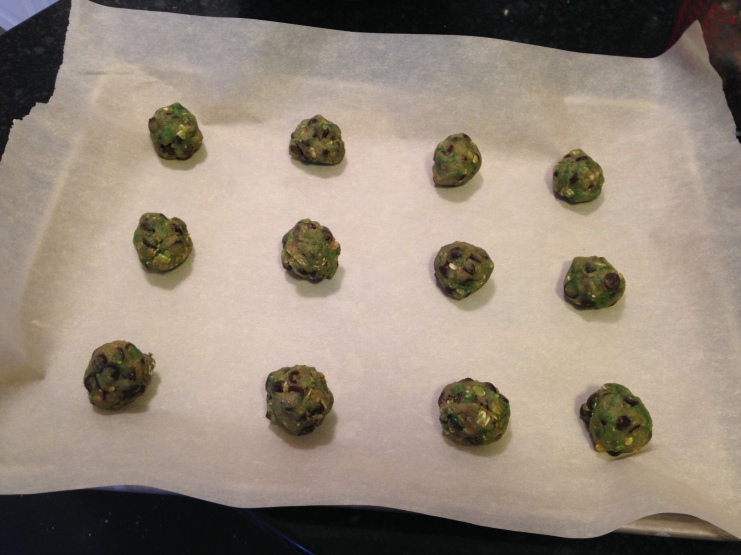
9. Scoop balls onto parchment paper.

IMG_2662 IMG_2663

10. Bake one sheet at a time for approximately 13 minutes. Mine were in for a little longer because my cookies were bigger. It was also very difficult to judge if they were fully ready because of the colour. Some cookies ended up a little crunchy on the outside.

IMG_2664 IMG_2666

Despite what the recipe that I followed had said, this was FAR from the perfect cookie recipe. I’m trying a different one next time. Plus I’m going to avoid using colouring. There’s just something strange about eating green and purple cookies. My kids loved them, though!

IMG_2672_2

Enjoy and thank you for reading!

Pineapple Upside Down Cake – Thanksgiving Dinner (Part 4 of 4)

Good evening, blog readers! I’m sorry it’s taken me so long to get to this post. Things are always busy in the Champagne house. But here I am, ready to write for you!

This blog is about the pineapple upside down cake that we had for dessert for our Thanksgiving dinner. Let me tell you something… it was delicious! Very, very sweet… but delicious.

This is the recipe I followed: (I doubled the recipe)

Cake:

– 4 eggs
– 1 1/3 cups white sugar
– 8 tbsp pineapple juice
– 1 1/3 cups flour
– 2 tsp baking powder
– 1/2 tsp salt

Topping:

– 1/2 cup butter
– 1 1/3 cups brown sugar (packed)
– 1-2 cans pineapple rings (we only needed 1)

*Note: I left the maraschino cherries out of the recipe because we as a family do not like them. Also, in the photos below, I had already mixed the flour, baking powder, and salt together.

IMG_2428 IMG_2427

The directions:

1. Preheat the oven to 350 degrees F and butter/spray muffin tins (or in my case, my oft-used bunt cake pan).

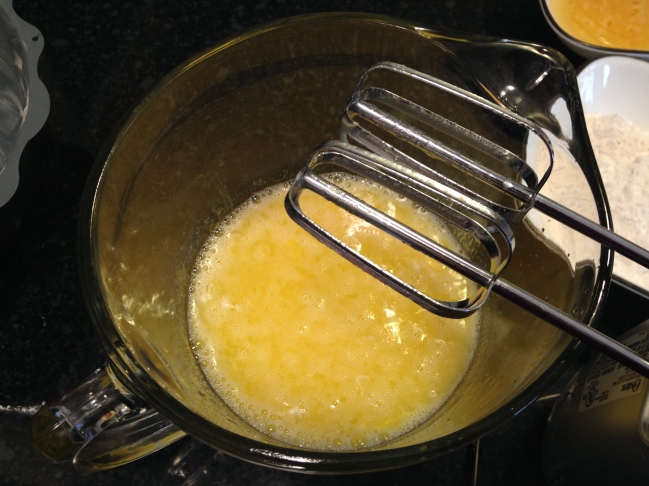
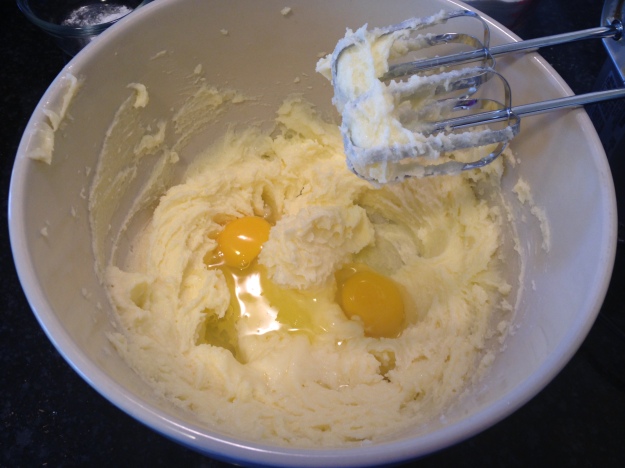
2. In a mixing bowl, add eggs, sugar, pineapple juice and beat for 2 minutes.

IMG_2437

3. In a separate bowl, sift together flour, baking powder, and salt. (I just mixed them, I didn’t sift them. It still turned out well.)

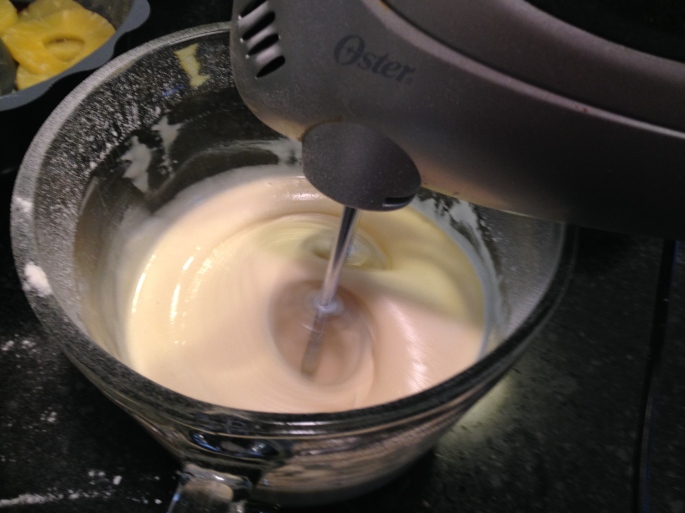
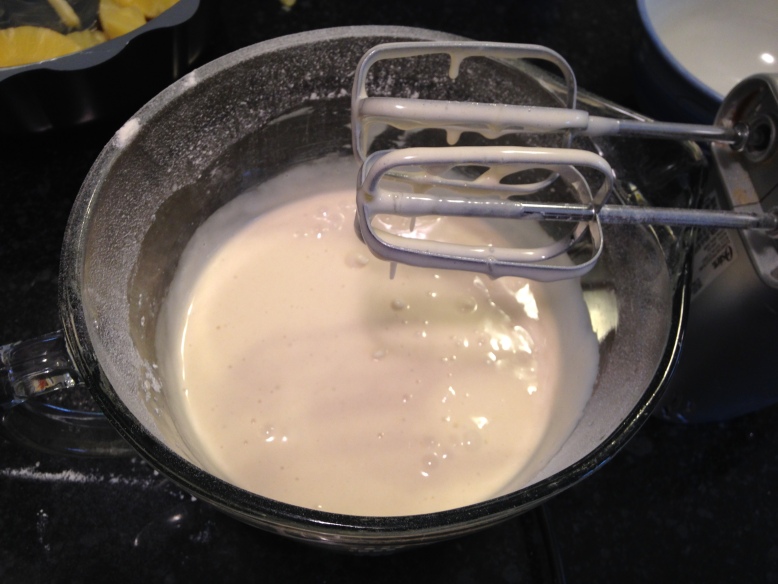
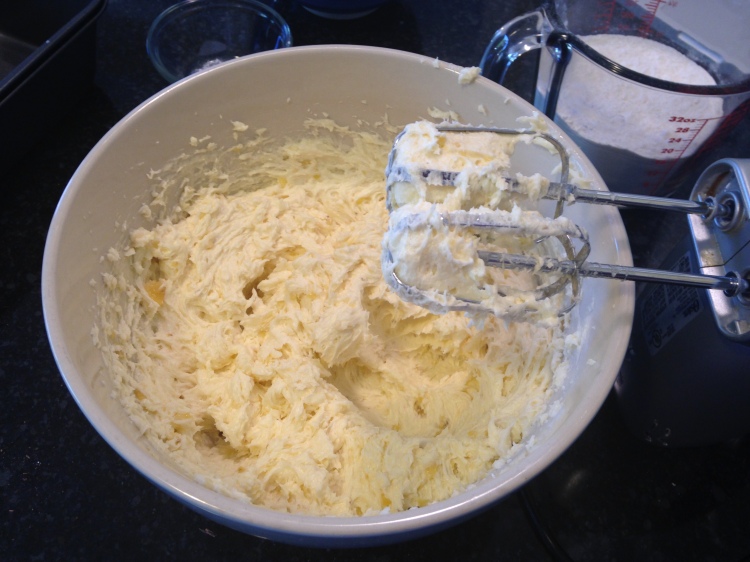
4. Add the dry ingredients to the wet ingredients and mix for two minutes.

IMG_2442 IMG_2443 IMG_2444

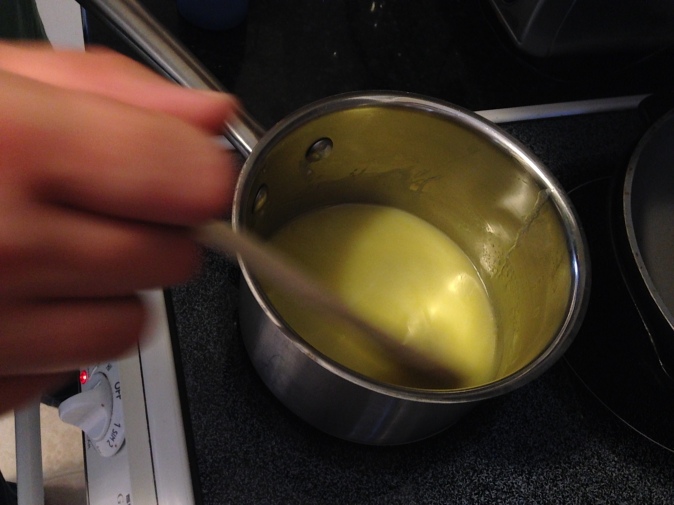
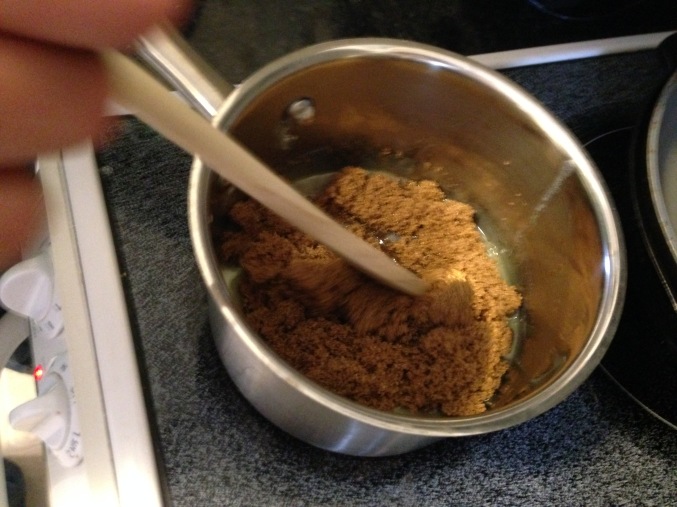
5. In a sauce pan, melt butter and add brown sugar. Stir on low for one minute.

IMG_2430 IMG_2433 IMG_2434 IMG_2436

6. Pour layer of warm brown sugar mixture into bottom of cake pan/muffin tins.

IMG_2439

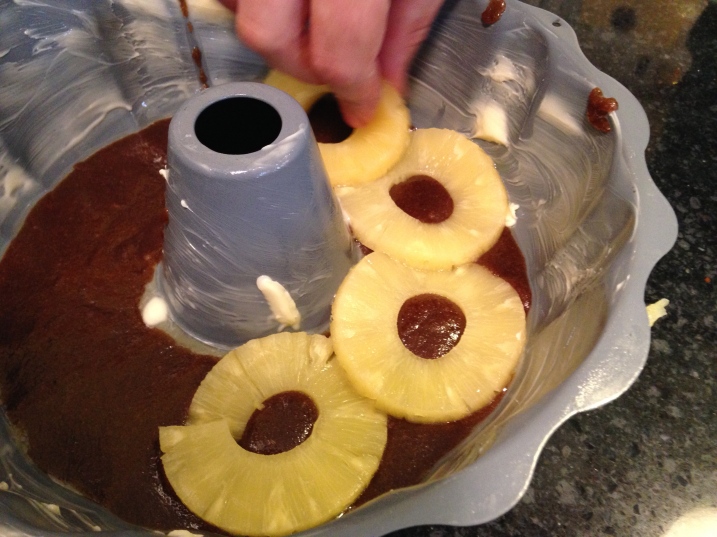
7. Place pineapple rings on top.

IMG_2440 IMG_2441

8. Pour cake mixture over pineapple rings (until pan 3/4 of way full).

IMG_2445 IMG_2446

9. Bake! We baked ours originally for 25 minutes, but when I went to check it, it was still watery. I kept it in the oven for another 20 minutes. After that, I kept checking with the toothpick test until it was done. I’m not certain how long it was, precisely.

IMG_2491

10. Remove from oven. Let it cool for “3 minutes”. Run a knife around the edge. The recipe says to place a wire rack on top and flip the whole thing over, but I wanted to preserve the topping juices so I turned it over onto a plate.

IMG_2493 IMG_2494

I’ve got to say that I was very impressed with my work here. It looked beautiful!

11. Cut, serve, and enjoy!

IMG_2496

Thank you all for reading!

The Hideous but Delicious Banana Bread

Good morning, foodie readers! Today I’m blogging about my experience with making banana bread.

I had realized that we had an abundance of bananas that were a day or two past their “perfect” ripeness, and as I had so many, I decided to make something with them. I searched Pinterest for a recipe. Lo-and-behold I found one that seemed perfect.

This is the recipe I followed:

– 3/4 cup of room temperature butter (I got impatient so I put mine in the microwave for 15 seconds)
– 1 1/2 cups of sugar
– 2 cups flour
– 2 eggs
– 1 1/2 tablespoons of milk
– 3 ripe bananas
– 1 teaspoon of baking soda
– Chocolate chips (recipe said 1/2 a bag, but we buy huge bags, so I had to guestimate how much that would be – plus in this particular case, we were nearly out of chocolate chips so I had to improvise)

IMG_2279

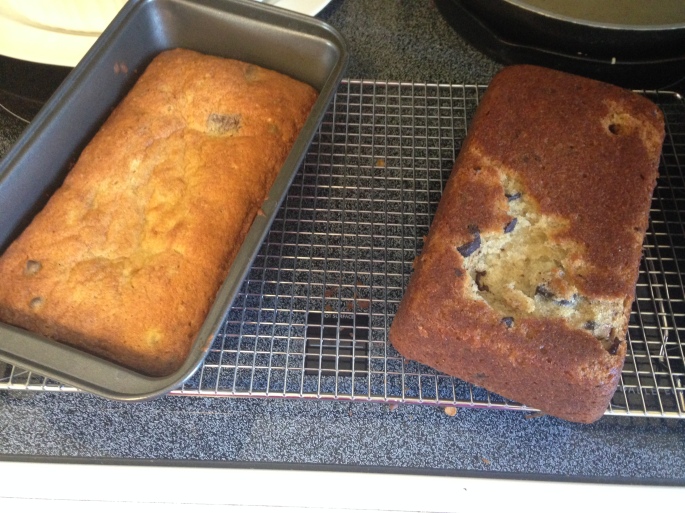
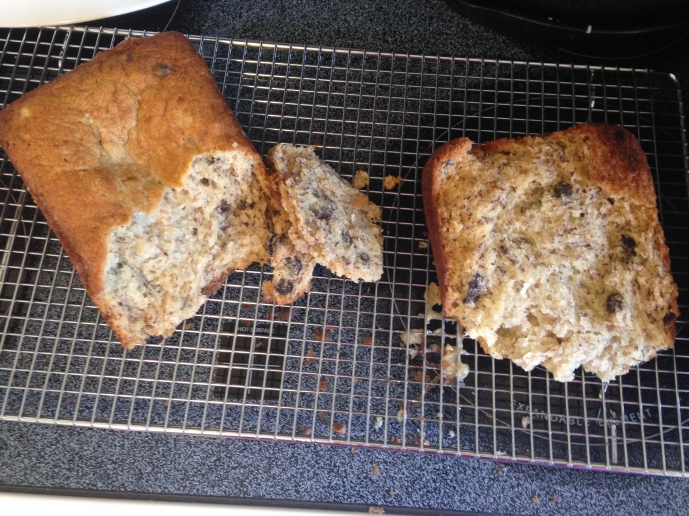
As appealing as the “featured image” at the top of this blog may be, when the banana bread came out of the pans, they were anything but pretty.

Here are the steps that I took:

1. I measured out the ingredients, including the chocolate, which I replaced with a crunched/chopped 85% cocoa organic chocolate bar (yes, crazy expensive, but it was all I had) – as pictured below.

IMG_2273 IMG_2275 IMG_2278

I took lots of pictures of the chocolate… because I love chocolate.

Step #2. Preheat the oven to 350 degrees.

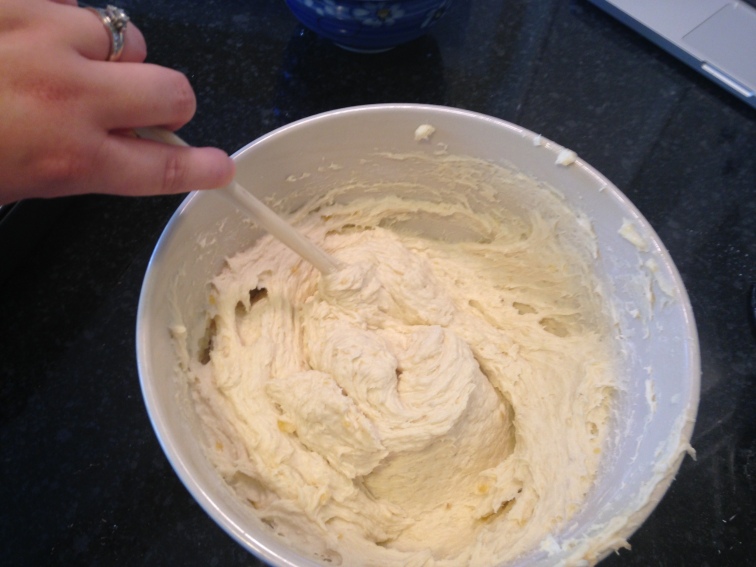
3. Combine, in a large bowl, the butter and sugar. I used my hand mixer, which worked very well.

IMG_2280

4. Add eggs and blend.

IMG_2281

5. Add in the bananas and milk and mix well. It’ll be lumpy because of the bananas.

IMG_2282

IMG_2284

6. Add baking soda and flour (I mixed the two together before I put it in my mixture) and stir.

-Here I tried to continue using my hand mixer and I ended up feeling like a fool. Please don’t do what I did; it ended up being a giant, clumpy mess that took a little while to clean. When mixing in the flour, I highly recommend using a wooden spoon or whatever utensil you are accustomed to using.

IMG_2285 IMG_2286 IMG_2287

7. Stir in chocolate chips (or in my case, the crunched chocolate bar mixed with chocolate chips).

IMG_2288

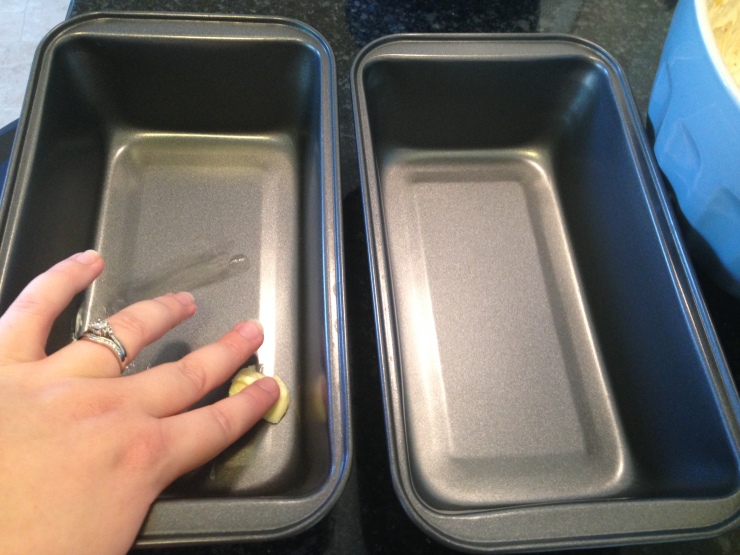
8. The recipe I used called for “non-cook spray” on the pans, but as I don’t use that, I spread butter over my two loaf pans.

IMG_2289 IMG_2290

8. Divide the batter between the two pans.

IMG_2291

9. Bake for 45 minutes. I put mine in for 40 minutes and then kept an eye on it for another 5, just in case it had browned enough before the full 45 minutes.

IMG_2292

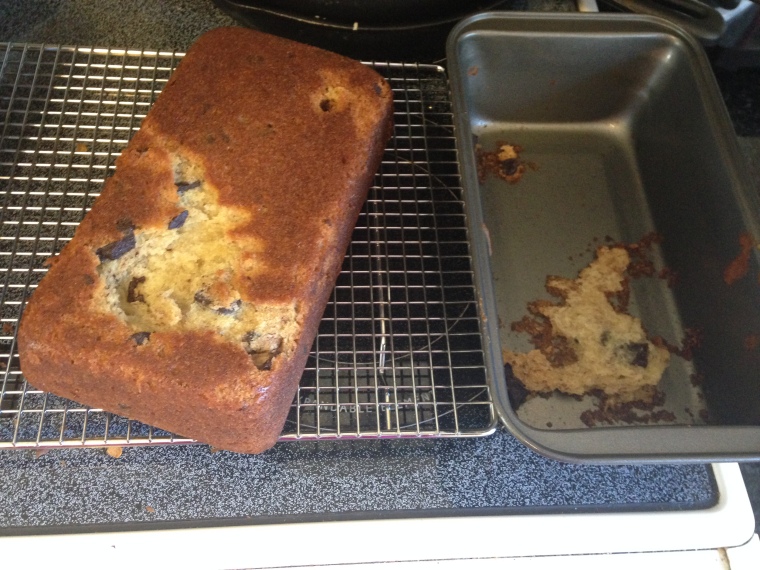
10. Let them cool! I *thought* I had learned my lesson with my son’s birthday cake (when I hadn’t let the cake cool before I tried taking it out – it ended up falling apart), but even after having let my loaves cool for an hour on the counter then half an hour in the fridge, they still came out looking like the pictures below.

IMG_2293 IMG_2294 IMG_2296

I just don’t understand it. I thoroughly buttered the pans, I waited until they’d cooled… what more did I miss? How can I get a cake/loaf to come out absolutely perfectly? Any advice would be appreciated.

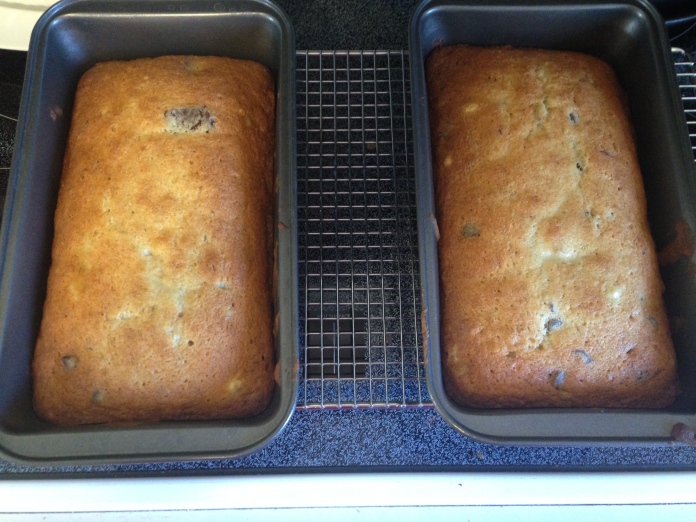
Despite my banana bread looking hideous, it was startlingly delicious. I will definitely make this again, regardless of whether or not the loaves come out of the pans looking pretty.

Enjoy, and thank you for reading!

Calamitous Cake

It has been a few days since my last post; thank you for your patience! For future reference, I don’t cook on the weekends. At least I try not to. I leave that up to my husband.

Now, for my blog:

Yesterday was a big day for us in the Champagne household. It was my eldest son’s first day of Kindergarten and my middle son’s 4th Birthday! And I had to make the cake.

Let us be clear on one thing… I am a cake-out-of-the-box or store bought cake kind of girl. And even those sometimes turn out wrong, or dropped, or somehow ruined at my hand. I’ve never before tried to make a cake from scratch, so last night’s mess *wasn’t* my fault. I mean, if you’d wanted a nice-looking cake, you wouldn’t have asked me, right?

Ok, now that we’ve got that out of the way, I’ll tell you how it all went down. First, I looked on Pinterest – BAD idea. All the pictures of gorgeous cakes labeled “The best cake recipe ever!!” is both deceiving and insulting. When you try these recipes out for yourself and they end up horrible, it just leads to questions such as “What did I do wrong?!” and “What’s wrong with me that my cake didn’t turn out like the one in the picture? They said it was so easy!”

Needless to say, I immediately turned off my computer and went to my husband’s cookbook (yes, my husband’s. He’s an absurdly good cook – so unfair) and I looked up vanilla cake (which is what my son wanted).

IMG_2123

This is the recipe I used:

IMG_2077

It all started out as planned. I used:

– 3/4 cup butter
– 3 eggs
– 2 1/2 cups flour
– 2 1/2 teaspoons baking powder
– 1/2 teaspoon salt
– 1 3/4 cups sugar
– 1 1/2 teaspoons vanilla
– 1 1/4 cup milk

IMG_2098

1. I greased up my non-stick bunt cake pan (yes, I used it again… couldn’t find any other ones).

2. In a bowl, I stirred together flour, baking powder, and salt. (Note: If you copy this recipe, make sure you mix this in a bowl other than the one you intended on mixing the entirety of the cake in… I had to switch mine half-way through because my other bowl was too small.)

IMG_2099

3. I preheat the oven to 375 degrees F.

4. In a (small – oops!) mixing bowl I beat the room-temperature butter (I got tired of waiting for it to warm, so I put it in the microwave for 13 seconds then poked at it with a wooden spoon) with an electric mixer on medium to high, then gradually add sugar, mixing well. (The recipe said to “see picture below”, but the picture was so tiny, there was no way I could see what they meant. So I just assumed I was doing it correctly.)

IMG_2100 IMG_2101

5. Mix for 2 more minutes.

6. Add eggs one at a time, beating well after each egg.

IMG_2102

7. Beat in vanilla.

IMG_2103

8. Alternately add flour mixture and milk, mixing slowly in-between (slowly, to keep from spraying flour everywhere. – it is at this point that I both put on an apron and switched from the smaller bowl to the bigger one.)

IMG_2104 IMG_2106 IMG_2107

9. Mix thoroughly.

10. Pour into cake pan and put it in the oven. (I put mine in for 25 minutes, checked it, saw that it was still liquid, so I kept it in for another 10 minutes… then another 5 minutes… then another 10 minutes… then another 5 minutes… you get the picture. I think it was because I put it into such a thick pan, but I kept having to check it.)

IMG_2108 IMG_2109

11. Once it’s done cooking, take it out of the oven and let it cool.

Note: I didn’t know how long this process would take (particularly between parenting duties, screaming babies, and the birthday boy constantly asking “Is my cake done yet?”) so by the time mine came out of the oven, it was nearly dinner time and I hadn’t done the icing yet or even thought about what I would make for dinner.

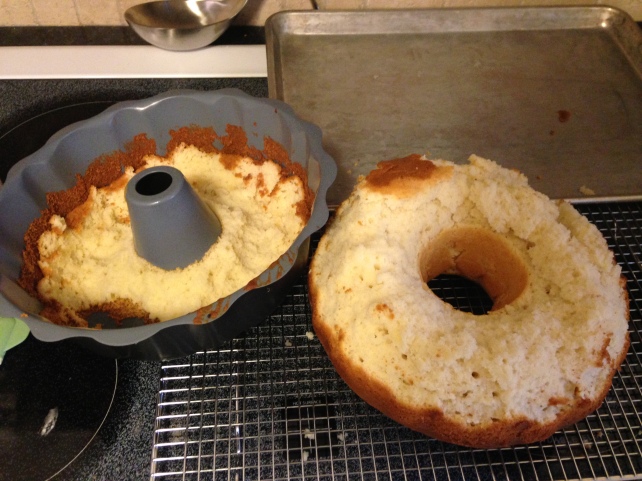
12. Ease the cake out of the pan upside down. Also note that step 11 is important… As I mentioned, I was in a rush, so I went and did it before my cake had cooled. Then this happened.
IMG_2111 IMG_2112

That’s right. Cheri’s disastrous experience with cakes continues… My husband came home a little later and tried to fix it for me. He cut off the top of the cake and stuffed it in the centre hole. It still looked like a mess, but at least it was semi cake shaped.

IMG_2118

Next came the icing. This is the recipe I used:

– 1 cup unsalted, softened butter
– 3 to 4 cups of SIFTED confectioners (powdered) sugar (I used 4 cups)
– 1/4 teaspoon salt
– 1 tablespoon vanilla extract
– Up to 4 tablespoons of heavy cream or milk (I used 4 tablespoons of cream)

IMG_2110

This recipe called for a “mixer” with a “paddle attachment” but as I don’t have one, I used my little hand mixer.

The steps:

1. Beat the butter for a few minutes.

2. Add the sifted, powdered sugar and mix (on slow speed) until sugar is fully mixed in with the butter. (I put my apron back on at this point, after having been splattered with sugar butter…)

IMG_2113

3. Increase speed and mix.

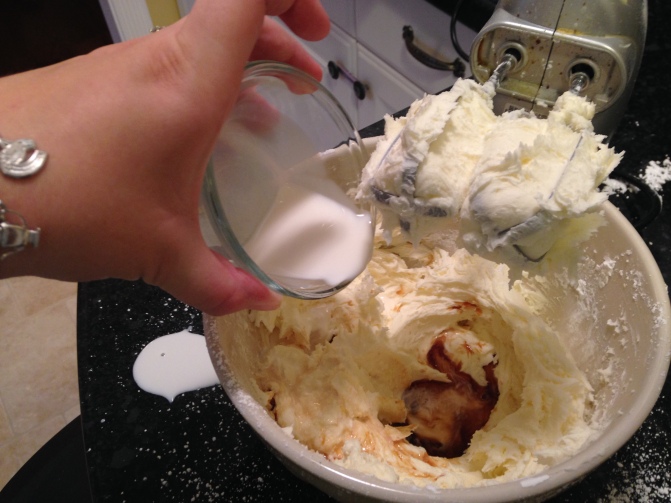
4. Add vanilla extract, salt, and the milk and beat. (Recipe called for only two tablespoons of milk to start, then to add more if needed, but I dumped all of mine in – it worked perfectly for me.)
IMG_2115

5. Mix, mix, mix for 3 minutes.

IMG_2116

Next came icing the cake… Now, I’m absolutely terrible at this, but gratefully my babies started crying so I had to go tend to them and left the icing of the cake to my husband. (Huzzah!)

IMG_2119 IMG_2120

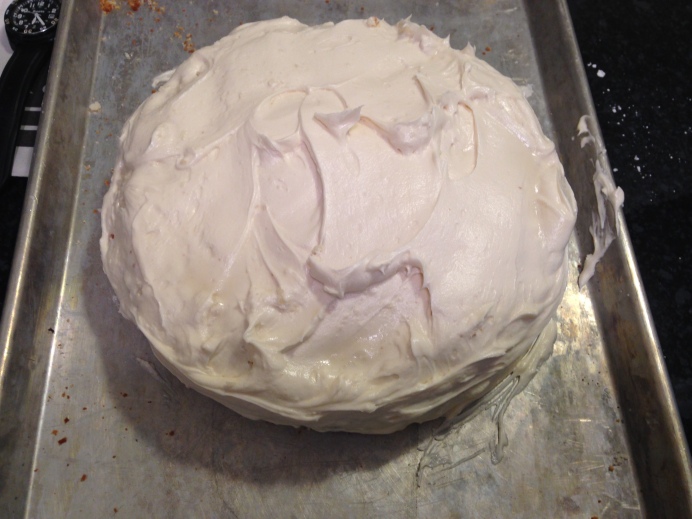
I didn’t take any pictures of it after it had been decorated (with sprinkles and candles) for my son’s birthday, but this was what it looked like after it had been iced. It wasn’t all that great looking and the centre crumbled out when we cut it, but man, oh, man was it delicious! The cake was thick and moist, the icing was sweet and creamy… mmm… It was a hit, despite my having made a hash of it.
Well, there you have it. My mess of a delicious cake at its end. I honestly don’t know if I’ll ever try to make a cake from scratch again, as it took WAY too long and the cake from a box is so much easier. I think it was worth it, though. Happy 4th to my son!
Thanks for reading!